- Joined
- Sep 20, 2001
- Location
- Bakersfield, CA
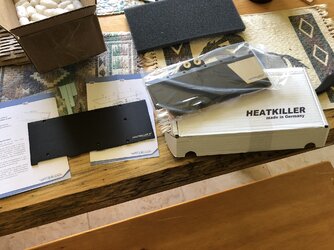
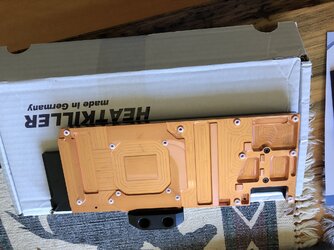
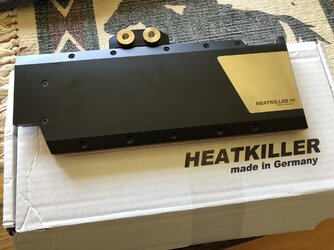
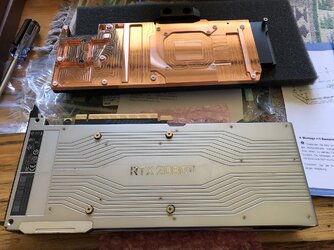
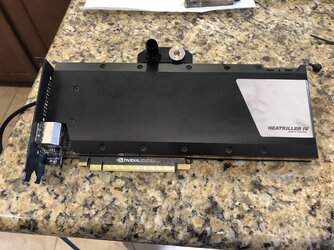
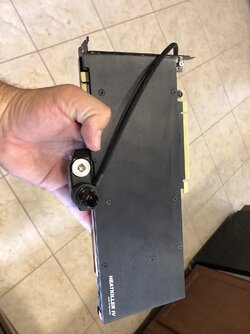
I got quickly tired of my 2080Ti going Tornado-mode when playing Borderlands 3, so I shopped around and it turned out the Heatkiller IV copper/acetal block is a pretty good deal for a massive chunk of copper. I considered the Swiftech Komodo Heirloom because it's just a gorgeous piece of kit, but expensive and it looked like the GPU cooling engine flowed across the die instead of entering at the center. Probably doesn't matter much, but I decided to pass on it. The Heatkiller is still very nicely made and a stealthy clean black.
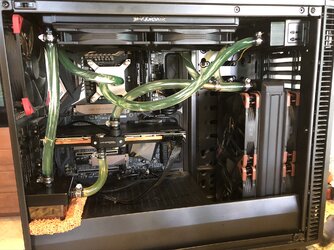
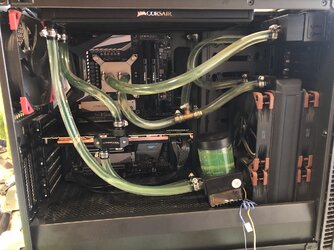
I also decided to rob my old Sandy Bridge system of some necessary water parts, namely the reservoir. The GPU in my new rig is on a separate loop from the CPU, mainly because I wanted to see what kind of temps it would do on its own. Honestly I could probably effectively cool the whole loop on the single 280GTX radiator in the front, but I had another Corsair 280 that was sitting unused.
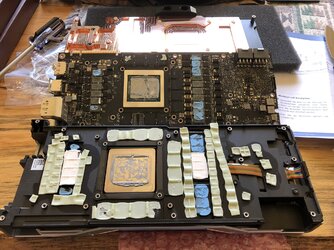
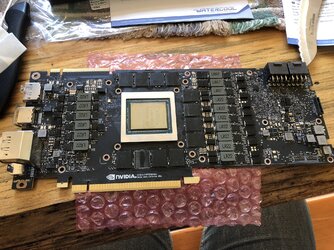
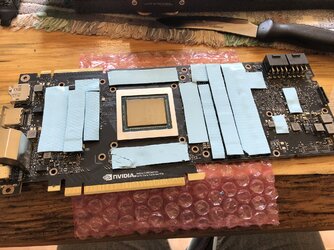
Overall, the Founders heatsink removal and Heatkiller installation are not difficult, just tedious but in a fun way. Just take your time and be careful with the final bolts on the Founders heatsink. They're like 3 or 4mm size hex heads. Side note, the 2080 die is HUGE!
Loop components:
Heatkiller IV copper/acetal block with backplate
DDC-3.1 10 watt pump, 3000rpm
Corsair 280mm radiator
Fractal 1000rpm case fans pushing air out the top of the case, running at full speed
Phobya inline water temp sensor on the waterblock outlet
Healthy amount of Thermal Grizzly Kryonaut thermal compound
Original temps: 85C on load. No idea what it was clocking in at. One fan would cycle between 2500 and 4500 rpm. Rather annoying.
Heatkiller loop: 55C load, 40C water. Running at full boost clocks. Gained roughly 10% on 3Dmark Time Spy. Not in any danger of breaking any records, but I may as well try to maximize what I have.
Now I'm in the process of overclocking it. So far, MSI Afterburner OC Scanner says I can get an easy 100MHz extra.
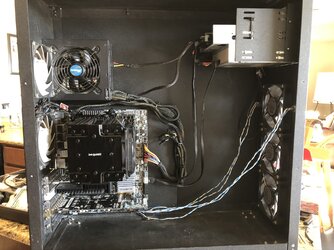
So here's some pics, and my old rig loafing along with a Dark Rock Pro 4 now since it was the only heatsink I had laying around. I think the separate GPU loop has a very clean look with its hose routing. I may want to work on the CPU hoses, though.
Last edited:

