• Welcome to Overclockers Forums! Join us to reply in threads, receive reduced ads, and to customize your site experience!

PROJECT LOG 7Cubed, a mitx WC scratch build

Overclockers is supported by our readers. When you click a link to make a purchase, we may earn a commission. Learn More.

Thanks, i hope the industrial look counters it somewhat

update time

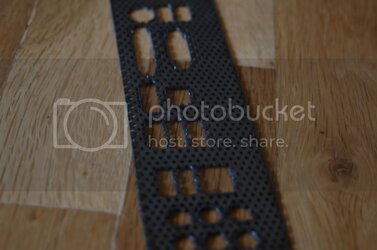
I made some parts yesterday, and though I don't have much to show for all my work it did take a while (Drawing the slot holes was tedious, with all the measuring and all)

Well here you go.

DSC_1042.jpg

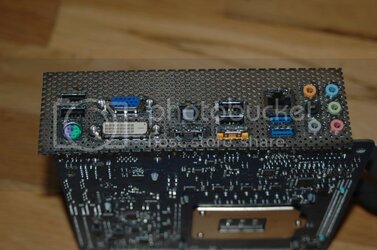
DSC_1051.jpg
And it FITS:D


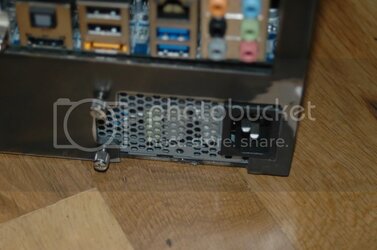
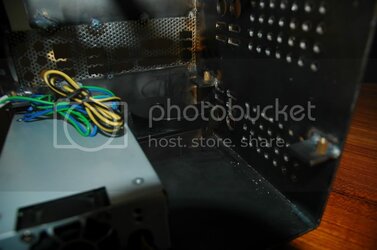
Got the PSU mounted (the screws will be black hex heads)

DSC_1054.jpg


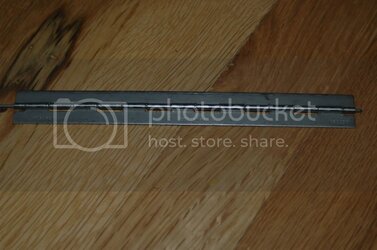
I cut the hinge to length (7 inches)
DSC_1052.jpg

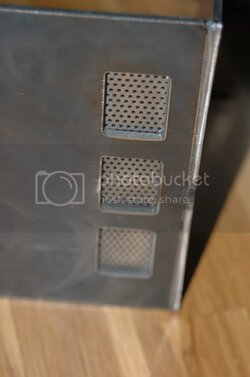
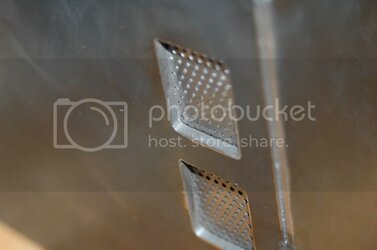
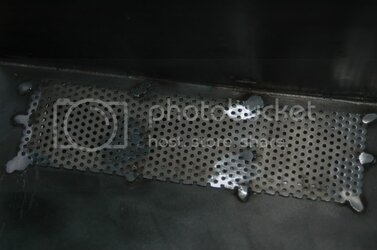
And finally I got the vent done, looks good huh?

DSC_1059-1.jpg

DSC_1060.jpg

And Here's the back (in case you care)

DSC_1056.jpg

Should I paint it or not, i'm going to put some kind of protective, whether its clear or colored, I still haven't made up my mind.
 
Last edited:
Looking great man. Many people can start to build a from scratch case... few make it look good. Yours looks promising.
 
Looking great man. Many people can start to build a from scratch case... few make it look good. Yours looks promising.

Thanks,


Okay got some real stuff done today, and if you don't mind me saying I think it looks pretty sick.

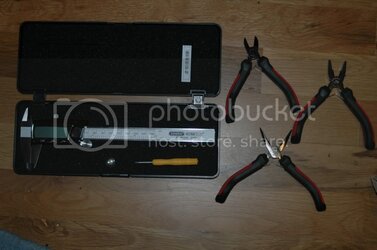
but first, tools for Christmas

DSC_1086.jpg

okay Here'es my set up,

DSC_1085.jpg

and after i was all done,

DSC_1087.jpg

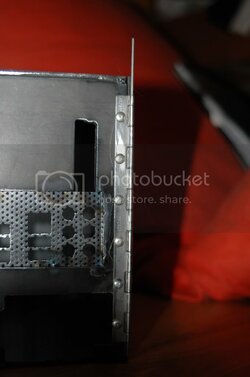
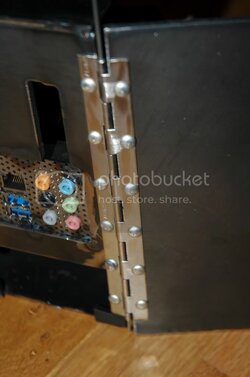
but wait there is more, a HINGe

DSC_1090.jpg

DSC_1096.jpg

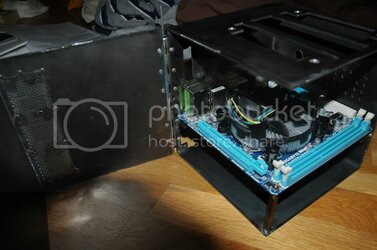
Here's the full view

DSC_1098.jpg

DSC_1099.jpg

DSC_1101.jpg

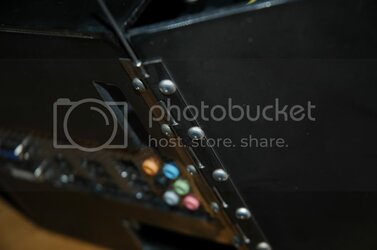
and a close up of the rivets, there aluminum aircraft rivets in case you cared

DSC_1103.jpg

STAY TUNED

PS: Color or Clear
 
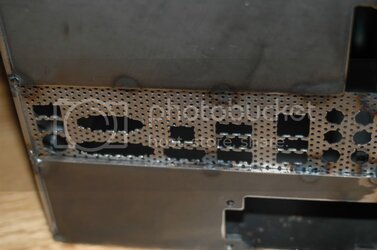
i am in love with that mesh i/o plate! that is sick, might have a go at one of them for myself, looking good with the rest of the project though, sub'd.
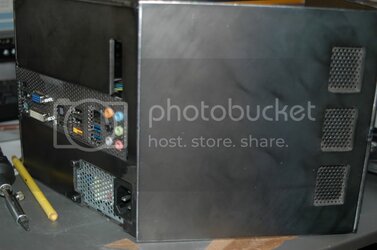
Thanks, I like it a bit myself. I did cheat though as I have access to a plasma table (how I cut the sides too).

It took three tries to get it right though, the first one the audio ports were off a bit (easy fix), and after that the bridges between the usb ports would always land on a hole so they fell off.

Glad you like it.:)
 
Update 1/8/2011

Hello, short little update, I didn't actually do anything noticeable but I did receive my pump.

It's a swiftech MCP 35X, expensive but it's small which is what's important.

DSC_1138.jpg

Okay so there are two ways to possibly mount it, I did my design based on idea A
the problem arises with the side hole, the top hole is taken care of with a 90 degree fitting and a triple rotary.

DSC_1118.jpg

problem here is that I need to get some adapters and grind down the base of the metal to lower the pump so that I can put an extension through the hole and then actually connect to the tube. It looks like a pain that won't work as well.

but plan B looks promising

DSC_1130.jpg

here two 90 degree adapters, a triple rotary for the top hole, and presto it all looks good. Only problem is I get less room for the hdd, and two 2.5" are impossible (it was just very very tight before), but i can always use a 1.8" ssd.

I will get more room with both of them when I make notches for the cables (granted only about 3mm but it;s something)
 
Last edited:
Just be careful when mounting a waterblock to that motherboard, their are a lot of ICs on the bottom of the board. Make sure you have some rubber grommet washers to make the back plate rest above those components on the back.
 
Just be careful when mounting a waterblock to that motherboard, their are a lot of ICs on the bottom of the board. Make sure you have some rubber grommet washers to make the back plate rest above those components on the back.

will do, thanks for the advice. I might not even use a backplate, will see how it all works out (I will order one though).
 
:drool: I haven't checked in lately, but now that I looked again, this is insane! Very nice build. It's sleek, it's small and most importantly powerful. Great craftsmanship!
 
Very cool build, I wish I had the tools to do something along these lines. Following this one to see the final product.

Yeah, I am blessed with access to a shop, but use aluminum and some ingenuity and who can do some very cool stuff without much.

:drool: I haven't checked in lately, but now that I looked again, this is insane! Very nice build. It's sleek, it's small and most importantly powerful. Great craftsmanship!

Glad I'm keeping you interested I appreciate the compliments, but it would be more powerful if I had waited and gone with a sandybridge cpu/mobo, dam you INTEL.

Anyway Stay tuned I've got a big update coming (WC stuff and sleeving should be here very soon)
 
:clap: I'll definitely check in more often.
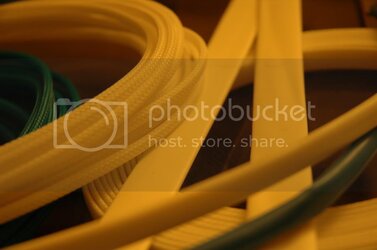
Well to keep you entertained here's that update I promised


Okay got some good stuff for you guys today, while I couldn't make it out to the shop, I dit get some stuff done and some stuff in.

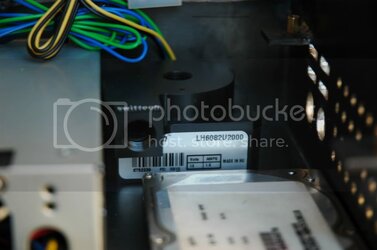
First I had to shorten that pci-e cable, it was just too long and it was too expensive to buy a short one (imagine that).

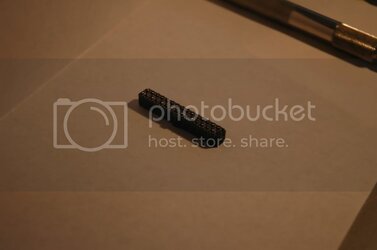
First I removed the plug from the cable
DSC_1140.jpg
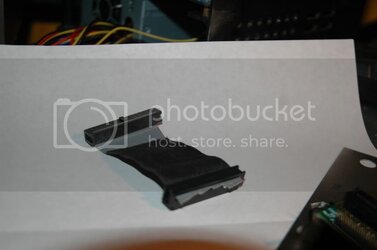
then I shortened the cable and smashed the plug (with all its little pins) back onto the cable, making sure everything lined up and all. Took a lot more effort than I expected.

DSC_1148.jpg

Trimmed and viola
DSC_1150.jpg


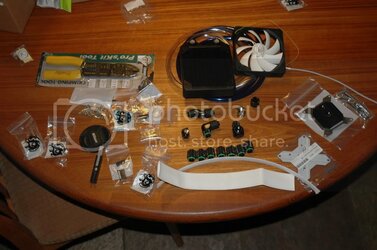
Now onto my presents, first I got a package from MDPC-X and Nils

DSC_1195.jpg

I also got tape to color the PSU wires,

DSC_1176.jpg

But I know this is what you really wanted to see

DSC_1202.jpg

Next a package from performance PC's, I still have to get some more stuff from there, but i"m waiting for a black 90 degree adapter to come back into stock.

DSC_1217.jpg

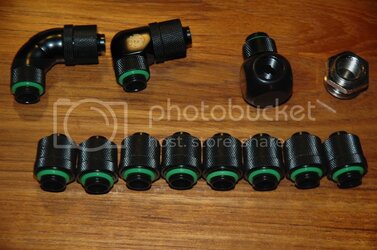
Bitspower fittings (Got BLue o rings in case they show anywhere)

DSC_1205.jpg

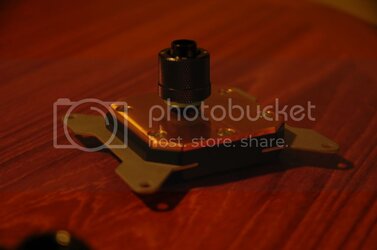
a heatkiller block

DSC_1211.jpg

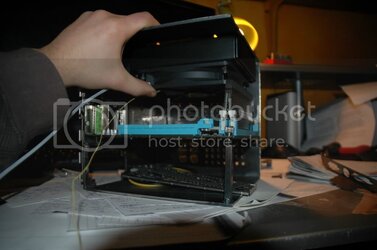
Here's the rad and fan in place, the fan hits the memory (which I knew would happen) but a little sanding on the fan will take care of that. The fan is an artic cooling pwm fan with PWM sharing (means an extra PWM plug), which i'm going to use with my pump.

DSC_1218.jpg

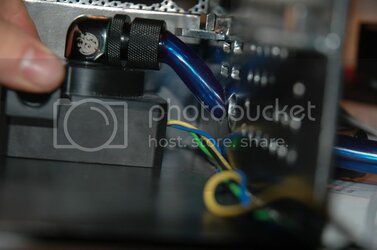
Speaking of pump it's not fitting to well

DSC_1228.jpg

It's okay, I'm going to see if I can manufacture something with multiple angle adapters, I was hoping my triple rotary snake would work but it doesn't fit either (it is and was going to be used on the radiator, but if it fit I would either get another one or figure something else out for the radiator). If you guys have any ideas let me know, they would be appreciated.

Until next time.
 
Perhaps a 45-degree adapter + one of those triple rotary fittings? That's a really tight space though; not sure if it would be the right angle or not.

Maybe, I tried my triple rotary with the 90 degree adapter, and the rotary (which I'm disappointed in, not nearly as versatile as I thought, as is really just two rotary 45's stuck together) both is too long and doesn't give me the drop to the hole that I need.

I'm not all that confident that two 45's will do it (my latest idea), I can't use any rotary fittings because of that extra space the rotary takes up. I would like to find metal coil/snake like object that can move in any which way.
 
:clap:

Also, I'm definitely not a WC'ing expert. In fact, I have no experience at all, but if you were to plumb either hardline (kinkless) or just connect fitting to fitting, to fitting, wouldn't that work?
 
^ it might but I can't control the size of the fittings, so it may end up being too long, wrong angle, drop too much, or not enough. No way to really tell without doing it, which requires buying numerous combinations of fittings. On the other and if I could do some sort of kinkless hardline, as you mentioned, I could maneuverer it to be at the right place with the right angle.

I'm going to get some 45's to see what I can do with them.

Glad you like it though
 
Back