- Joined
- Jan 7, 2012
- Location
- Back back in Cali Cali
Lot of stuff going to go on in this post.
*First pictures of all the parts I just received that I was asked to build for a friend.
*Then a couple of pictures of a custom test bench I made and setting the computer up on it with a few notes on the parts and what came with them.
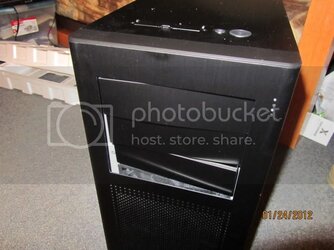
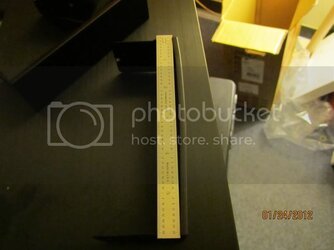
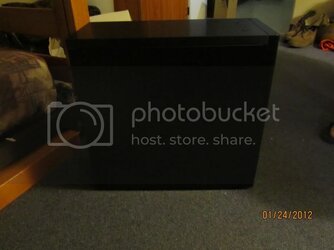
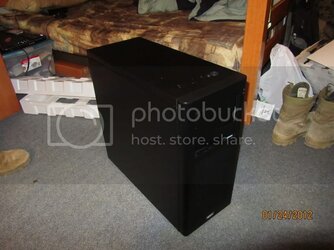
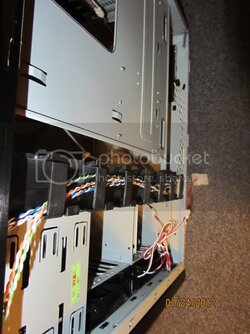
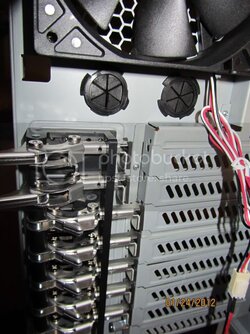
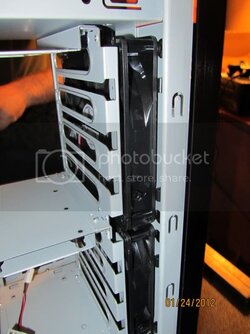
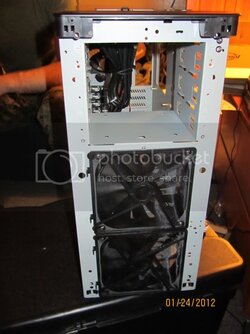
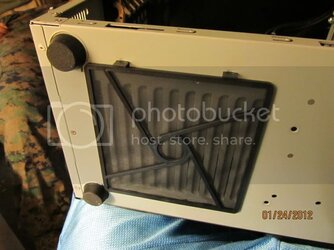
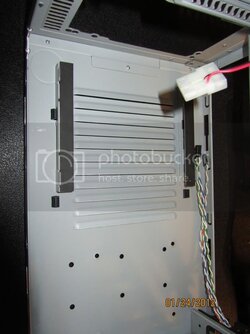
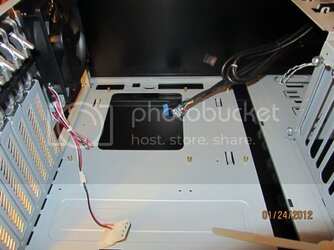
*The next day I received the tower and fully installed the computer.
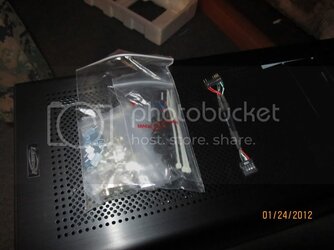
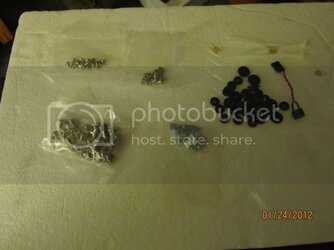
Received all this in the mail.

Parts list:
AMD FX 8120 3.1GHz
Gigabyte 990FXA-UD3
GeForce GTX580 1536MB GDDR5
G.Skill Ripjaws X 16GB DDR3 1600
Seasonic X-1050w
Zalman 120mm heatsink
Everything came from newegg in about 10 days, all the way to me in Okinawa, with no damage.

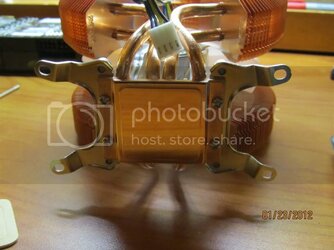
In particular i was very impressed with the Zalman's base, it was highly polished, better than my mirror. The direction were very easy to understand and it even came with a very lightly magnetized alan key to make installation easier. Also the hold down screws were only threaded about halfway up the shaft to prevent overtorque and aid in even pressure on all screws.
Picture of super reflective base:

With hold down tabs installed:

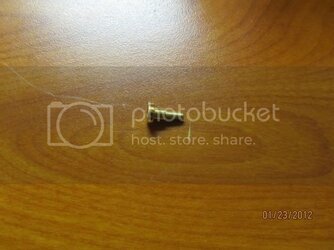
Closeup of the hold down screws and the half threading:

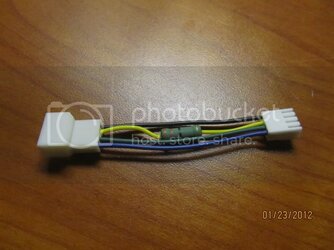
Also the Zalman came with an inline resistor for quieter operation:

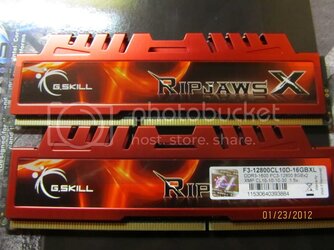
Closeup of the RAM:

And the CPU

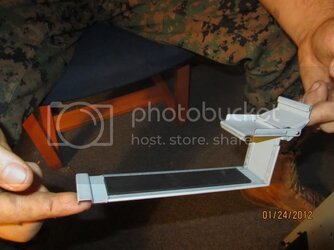
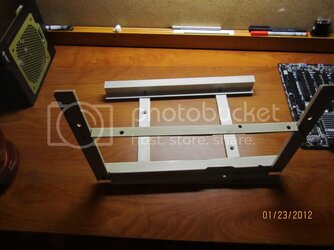
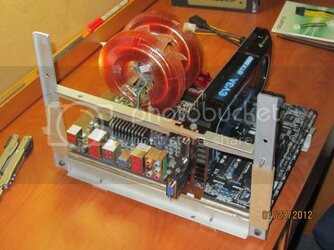
Now on to putting it together on the test bench. Took me about 2 hours to make this test bench out of some extruded aluminum I found in the scrap bin.


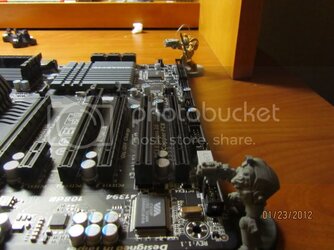
With the heatsink backplate installed the mobo would not sit flat so i had to lever it out FOR THE EMPEROR!!!

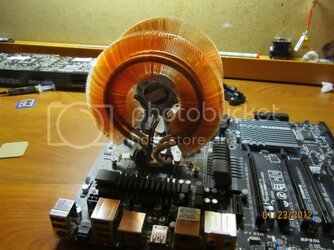
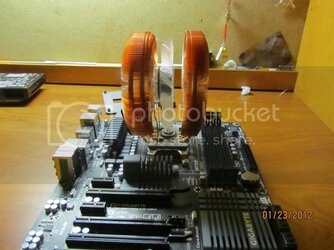
Heatsink installed 2 different angles:


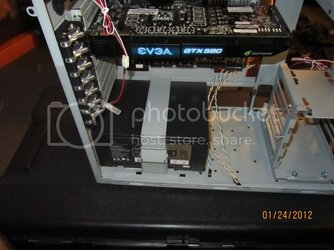
GPU installed and everything placed on the test bench:

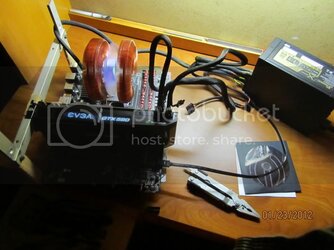
Wire management like a boss:

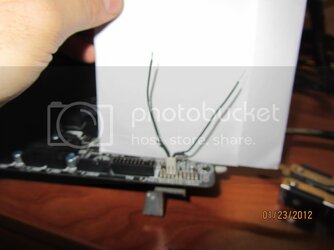
After getting this all together I realized that the power button doesnt come with the mobo, it comes with the tower which i had yet to receive at this time. But since I had to test it, it was time to improvise! Knowing that the power switch was just a momentary switch I cut the 2 pin connector off a junk fan I had lying around, stripped the ends, and touched them together briefly to turn the mobo on.

*First pictures of all the parts I just received that I was asked to build for a friend.
*Then a couple of pictures of a custom test bench I made and setting the computer up on it with a few notes on the parts and what came with them.
*The next day I received the tower and fully installed the computer.
Received all this in the mail.
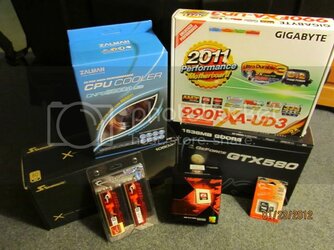
Parts list:
AMD FX 8120 3.1GHz
Gigabyte 990FXA-UD3
GeForce GTX580 1536MB GDDR5
G.Skill Ripjaws X 16GB DDR3 1600
Seasonic X-1050w
Zalman 120mm heatsink
Everything came from newegg in about 10 days, all the way to me in Okinawa, with no damage.
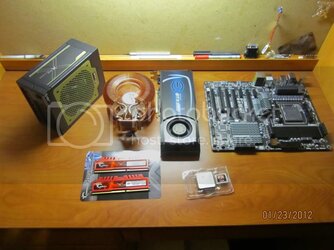
In particular i was very impressed with the Zalman's base, it was highly polished, better than my mirror. The direction were very easy to understand and it even came with a very lightly magnetized alan key to make installation easier. Also the hold down screws were only threaded about halfway up the shaft to prevent overtorque and aid in even pressure on all screws.
Picture of super reflective base:
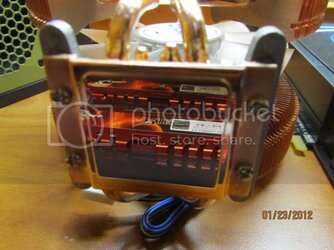
With hold down tabs installed:
Closeup of the hold down screws and the half threading:
Also the Zalman came with an inline resistor for quieter operation:
Closeup of the RAM:
And the CPU
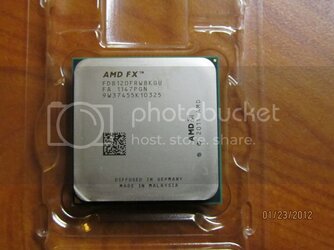
Now on to putting it together on the test bench. Took me about 2 hours to make this test bench out of some extruded aluminum I found in the scrap bin.
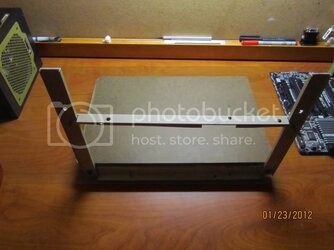
With the heatsink backplate installed the mobo would not sit flat so i had to lever it out FOR THE EMPEROR!!!
Heatsink installed 2 different angles:
GPU installed and everything placed on the test bench:
Wire management like a boss:
After getting this all together I realized that the power button doesnt come with the mobo, it comes with the tower which i had yet to receive at this time. But since I had to test it, it was time to improvise! Knowing that the power switch was just a momentary switch I cut the 2 pin connector off a junk fan I had lying around, stripped the ends, and touched them together briefly to turn the mobo on.
Last edited:
