IF u want to relax watch the video, IF u want complete guide then follow the guide
These fans are among the top tier radiator fans and really liked by PC water cooling enthusiasts. (May be not)
Fan specs:
Requirements for this MOD


Step 1: Removing the fan blades


Remove the sticker at the back of the fan
Get 2 needles and place em between the oval shaped gaped present on the black metal clip ( See pic one for reference )
Now move these pins apart like you are trying to open that clip.
When the clip is stretched apart enough the pin comes off mostly by itself as the spring between the bearings pushes it.
It might sound a bit complex but just stretch that clip apart by placing needles in that oval portion and rest will be done by fan
Once you have that pin removed the blade can be pulled.
After pulling the blade remove the bearings and the spring. Its really simple use needle to pull out bearings
Once all the things are pulled place them in a small box like i did. These things are tiny and if lost on floor will be really hard to find.
Repeat the steps for other fans(s).
Step 2: Cleaning


Clean the sticker remnants by scraping off by nails or use some plastic thing. Dnt use metal it will scratch the plastic.
To clean the glue left by sticker use petrol/wd-40 or any other cleaner like these having acetone in it. Even perfumes / body sprays can be used.
After all that take a bowl, fill it with water and mix some washing detergent in it.
Put the blades ( only ) in the solution for 2-5 min and then rotate them in there to make sure all the dirt is clean.
Now run some fresh water over the blades and dry em.
Step 3: Masking for painting


Tape the small holes at the fan top.
I used a less wider tape and covered the fans from inside ( see pics for reference )
Then used a wider tape to cover the whole magnet area.
Use a blade to cut the access tape
Step 4: Painting and Results


Make sure that masking is done properly.
Spray outside use mask too as aerosol spray cans have a really bad smell.
Shake the can well for 2-3 mins
Maintain a distance of .7-1 foot from the object while painting
Spray in a rhythm and keep the can moving like a car windshield wiper moves.
Keep your layers of paint as thin as possible and rest 5-8 min after every layer.
After painting let it dry for 24 hrs and clean once with a clean cloth to remove dust.
Assemble back ( I dnt think u will need a guide to do that now )
Enjoy
Sorry about the low quality pics
These fans are among the top tier radiator fans and really liked by PC water cooling enthusiasts. (May be not)
Fan specs:
- Mechanical and electrical specifications:-
- Speed: 1850 rpm (+/- 10%)-
- Rated Voltage: 12V DC-
- Power Draw: 1.44W- PWM
- Connector: 4-pin PWM header
- Dimensions: 120 x 120 x 25 mm
- Performance characteristics:-
- Max Air Flow: 63 CFM
- Noise Level: 29.5 dBA
Requirements for this MOD
- 2 Needles
- Any glue cleaner or few drops of petrol
- Tape
- Spray paint
- Cloth for cleaning and drying
- A small bowl to clean the fan blades
- A small box to keep tiny parts of fans ( Its imp )
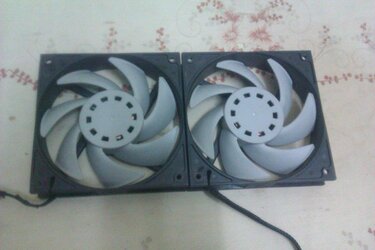
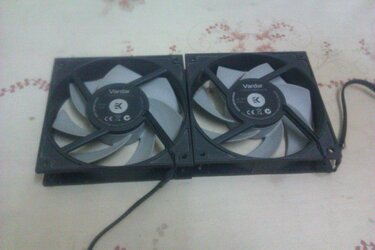
Step 1: Removing the fan blades
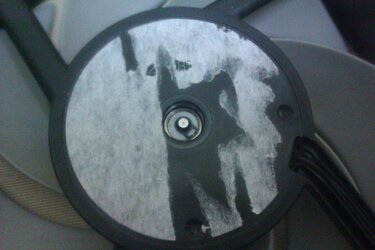
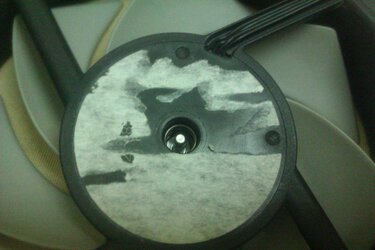
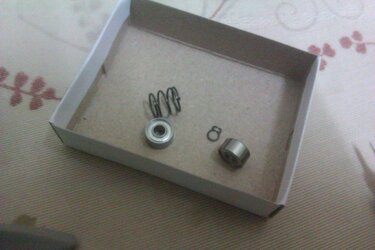
Remove the sticker at the back of the fan
Get 2 needles and place em between the oval shaped gaped present on the black metal clip ( See pic one for reference )
Now move these pins apart like you are trying to open that clip.
When the clip is stretched apart enough the pin comes off mostly by itself as the spring between the bearings pushes it.
It might sound a bit complex but just stretch that clip apart by placing needles in that oval portion and rest will be done by fan
Once you have that pin removed the blade can be pulled.
After pulling the blade remove the bearings and the spring. Its really simple use needle to pull out bearings
Once all the things are pulled place them in a small box like i did. These things are tiny and if lost on floor will be really hard to find.
Repeat the steps for other fans(s).
Step 2: Cleaning
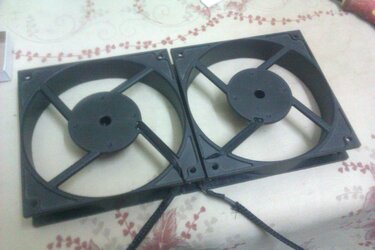
Clean the sticker remnants by scraping off by nails or use some plastic thing. Dnt use metal it will scratch the plastic.
To clean the glue left by sticker use petrol/wd-40 or any other cleaner like these having acetone in it. Even perfumes / body sprays can be used.
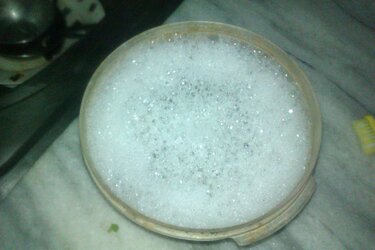
After all that take a bowl, fill it with water and mix some washing detergent in it.
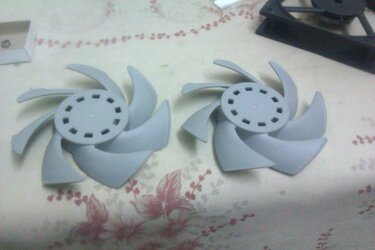
Put the blades ( only ) in the solution for 2-5 min and then rotate them in there to make sure all the dirt is clean.
Now run some fresh water over the blades and dry em.
Step 3: Masking for painting
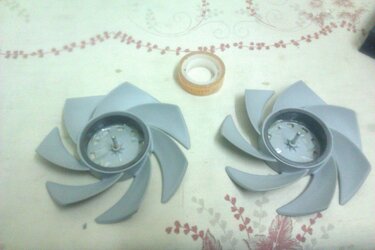
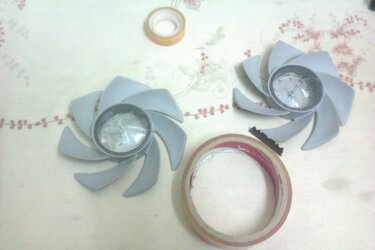
Tape the small holes at the fan top.
I used a less wider tape and covered the fans from inside ( see pics for reference )
Then used a wider tape to cover the whole magnet area.
Use a blade to cut the access tape
Step 4: Painting and Results
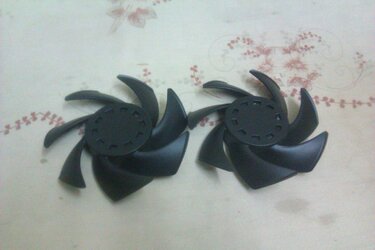
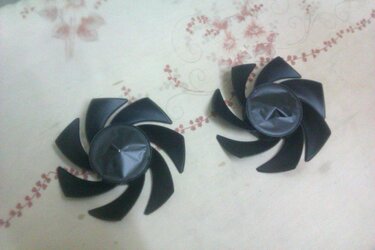
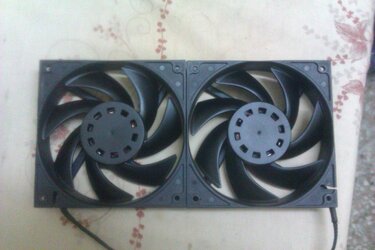
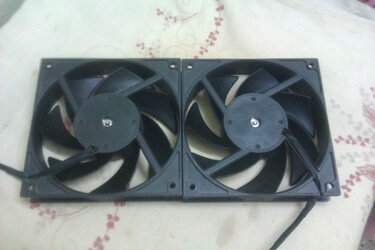
Make sure that masking is done properly.
Spray outside use mask too as aerosol spray cans have a really bad smell.
Shake the can well for 2-3 mins
Maintain a distance of .7-1 foot from the object while painting
Spray in a rhythm and keep the can moving like a car windshield wiper moves.
Keep your layers of paint as thin as possible and rest 5-8 min after every layer.
After painting let it dry for 24 hrs and clean once with a clean cloth to remove dust.
Assemble back ( I dnt think u will need a guide to do that now )
Enjoy
Sorry about the low quality pics
