Hi.
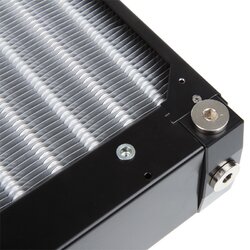
My old MO-RA3 120 Pro recently start leaking a few months after warranty period, so I replace it with new MOR-RA 140. But I would like to take apart the casing on old one, and see if it is possible to mend it in some way. Maybe I can solder crack if it is possible.
My question is, beside two tiny screws on sides I can not find anything else to 'release' casing. Is there any schematics, guides or maybe someone else tried that before?
Cheers!
