- Joined
- Dec 4, 2017
- Location
- San Angelo, Texas aka Hell
All,
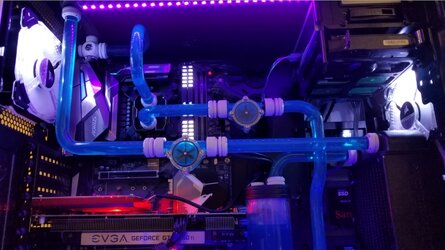
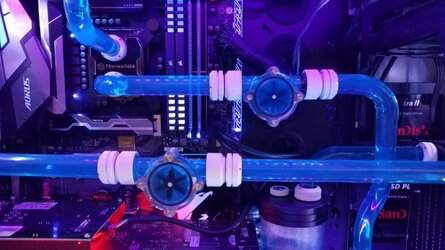
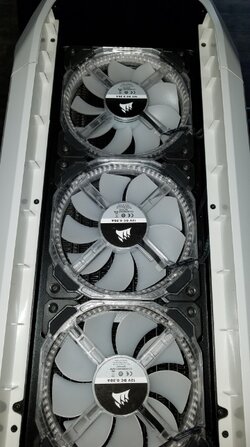
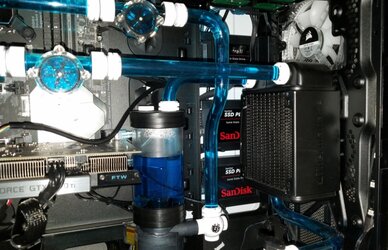
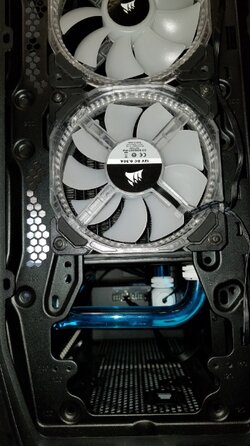
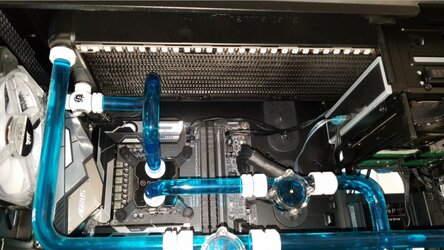
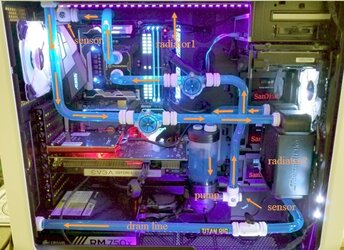
I just wanted to post a few pictures of my first water-cooled build. A shout out to forum members GTXJackBauer and Maxfly
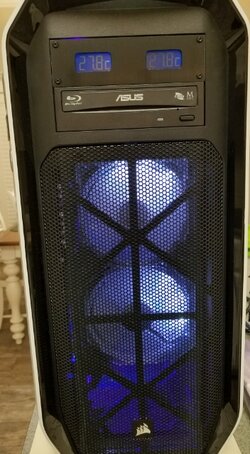
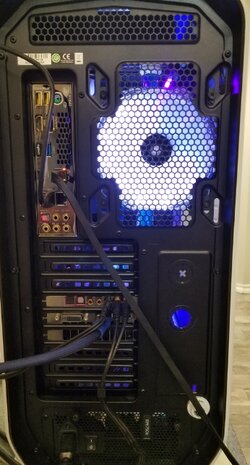
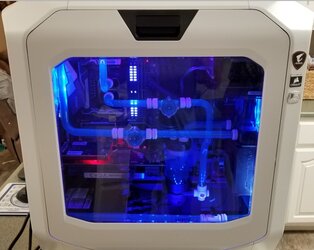
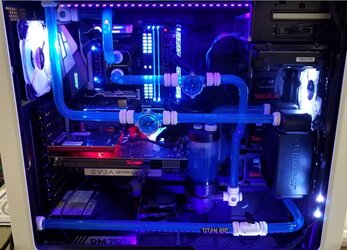
  for their recommendations in getting this build off the ground. I know I should have gone with a better GPU, but having a wife I had to cut costs someplace. A new higher end GPU is in this builds future and I plan to add it to the cooling loop. The only thing I don't like about it is its so quiet that whenever the ASUS Blue-Ray spins up its annoyingly loud. I also might have gone a little overboard with the lighting, at night it kind of looks like the Vegas Strip is living on my kitchen counter.
The only thing left to do is I am going to 1) add another 32gb memory, 2) Have my niece laser etch the name of the build into the top side of the case "The Valkyrie" and 3) I'm going to replace the Plexiglas with glass and have an opaque image of a Norse Goddess a winged Valkyrie dye sublimation printed on the lower half of the glass. It will be mounted on a floating shelf in my home office. Once I finish those last pieces I'll post some final images of the build.
Any questions, comments or suggestions are welcome.
Thanks!!
Gordon


I just wanted to post a few pictures of my first water-cooled build. A shout out to forum members GTXJackBauer
 and Maxfly
  for their recommendations in getting this build off the ground. I know I should have gone with a better GPU, but having a wife I had to cut costs someplace. A new higher end GPU is in this builds future and I plan to add it to the cooling loop. The only thing I don't like about it is its so quiet that whenever the ASUS Blue-Ray spins up its annoyingly loud. I also might have gone a little overboard with the lighting, at night it kind of looks like the Vegas Strip is living on my kitchen counter.
The only thing left to do is I am going to 1) add another 32gb memory, 2) Have my niece laser etch the name of the build into the top side of the case "The Valkyrie" and 3) I'm going to replace the Plexiglas with glass and have an opaque image of a Norse Goddess a winged Valkyrie dye sublimation printed on the lower half of the glass. It will be mounted on a floating shelf in my home office. Once I finish those last pieces I'll post some final images of the build.
Any questions, comments or suggestions are welcome.
Thanks!!
Gordon
