• Welcome to Overclockers Forums! Join us to reply in threads, receive reduced ads, and to customize your site experience!

PROJECT LOG Project Redefine

Overclockers is supported by our readers. When you click a link to make a purchase, we may earn a commission. Learn More.

hokiealumnus

Water Cooled Moderator
Joined
Oct 14, 2007
Hello all, it's time for another beautification project! A lot of the system components will look familiar, with a fun new addition. It's all going into a new case with a twist to the water loop and other fun stuff.

-------------------------------------------
Project Updates
Post #2 - Cooling, with New Primochill Reservoirs
Post #7 - Tubing, lights & pump top arrived.
Post #12 - Leak Test!
Post #18 - Small build log
Post #19 - Not Quite Project Redefine Finished
Post #20 - Fractal Design's Define XL R2 review published.
Post #21 - Thanking Cooler Master for supplying the PSU
-------------------------------------------

Rhapsody in Red was, well, pretty easy based on the insane amount of RED in the system. This one will be less uniform than the previous build, with some contrasts thrown in. I hope it looks good when we're all finished. Since it's using a lot of the same components, my astute colleague mdcomp has helped me come up with a perfectly fitting name: Project Redefine.

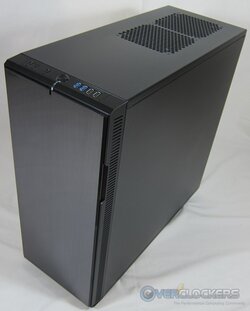
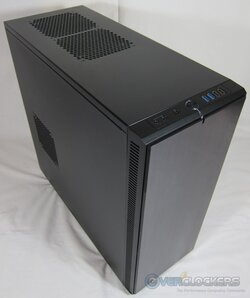
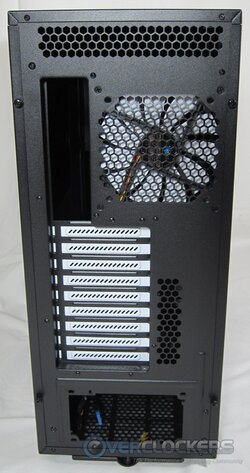
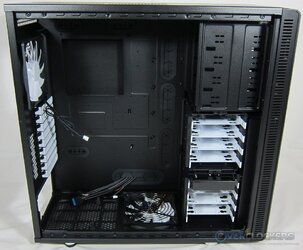
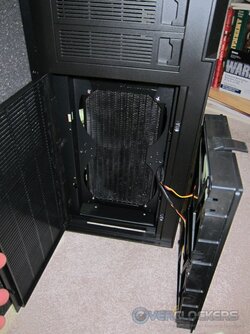
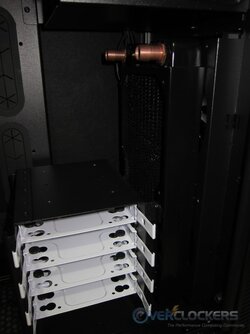
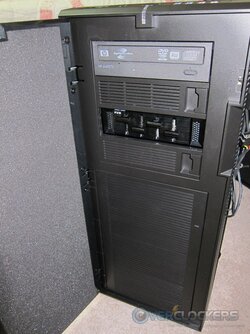
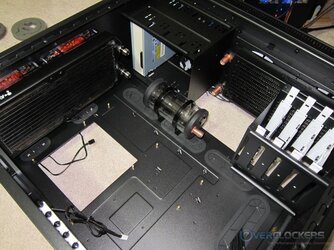
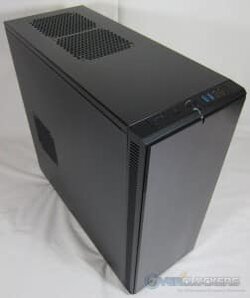
The name is actually very astute considering the first part of the project to arrive was a case we received for review, the Fractal Define XL R2. It is a massive piece of hardware I'm looking forward to building in.

fractal-define-xl-r2-10.jpg

fractal-define-xl-r2-16.jpg

fractal-define-xl-r2-25.jpg

fractal-define-xl-r2-31.jpg

The system going in it shares many of the same components as Rhapsody in Red, with one large upgrade....TITAN!

CPU: Intel i7 3960X
MB: ASUS Rampage IV Extreme
RAM: 32GB G.Skill TridentX DDR3-2400 in Quad Channel
GPU: NVIDIA GTX TITAN
SSDs: OCZ Vertex 3 Max IOPS 240G (main OS), Patriot Inferno 100GB (benching OS)
HDDs: Samsung 1TB, Hitachi 2TB
ODD: ASUS CD/DVD RW
Fan Controller: Lamptron FC9
PSU: Cooler Master Silent Pro Hybrid 1300W

In the next post, I'll go over cooling. :)

As always, I'll update the top of this post with links to project additions in case you miss some or want to refer back to a spot. :salute:
 
Last edited:
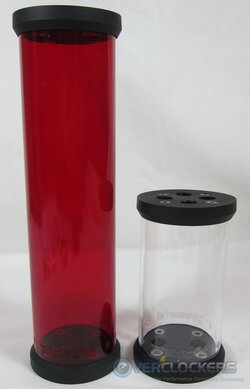
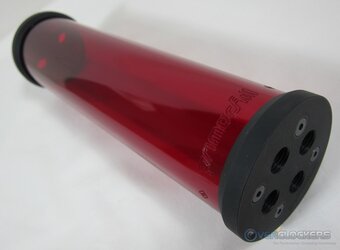
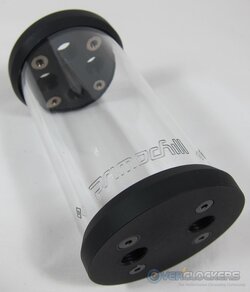
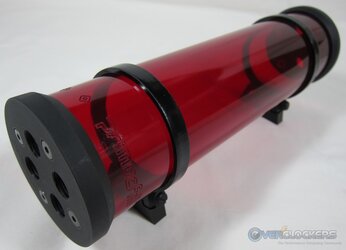
Like most of my projects, this one will be water cooled. Like the system, this will be a mix of the old and the new. The first part to talk about is a new Primochill Compression Tube Reservoir (or Primochill CTR), which Primochill sent for us to have a look at.

They sent two of them, one for use and review and the other for a giveaway. I fear there might not be enough room for the giant red one in the case we're working with. So that one might be given away in lieu of the smaller clear one if I can't figure out a way to mount it.

Anyway, the reservoirs definitely look nice; take a peek!

primochill-ctr-17.jpg

primochill-ctr-09.jpg

primochill-ctr-19.jpg

primochill-ctr-13.jpg

The rest of the loop as far as I can gather so far will consist of

Swiftech MCP-350 pump with a Swiftech MCP35X top
Swiftech Apogee XT CPU block
Swiftech MCR220 (2x120mm) radiator
Koolance HX-CU-1402V (2x140mm) radiator

Tubing will be Primochill Pro LRT white 7/16" ID.

Lighting will be much more subtle than my last build and consist of two white 5-LED lights from Jab-Tech.

That's all there is so far. My old loop is torn down and now I'm waiting for some other stuff to get here. I've been asked about Mod/Smart single sleeve cables recently and they might be sending some white cables to go with the white tubing. Should make for a very interesting look before all is said and done.

EDIT - My first problem with these reservoirs (other than figuring out where to put them) is that they don't come with stop fittings. How many people just have stop fittings sitting around? That is disappointing. They should come with four stop fittings. Two open holes for input/output and four stop fittings so you don't have to buy extra fittings.
 
Last edited:
You already got the 3960x I assume? Because why wouldn't you get a 3970x if you wanted to bench the highest :L
 
Yep, had it for a long time. Most of the parts I've had in operation, this is just making them pretty in a new build.

If you're talking competitive benching, it wouldn't make much of a difference between the two.
 
Another Hokie Build great i really liked the last, so this should be very interesting as well good luck. AJ. :) :thup:
 
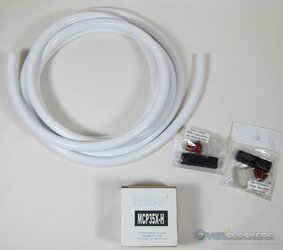
Small update - I received the tubing, lighting & pump top today. The white tubing is awesome; can't wait to see how it looks.

proj-redefine-01.jpg

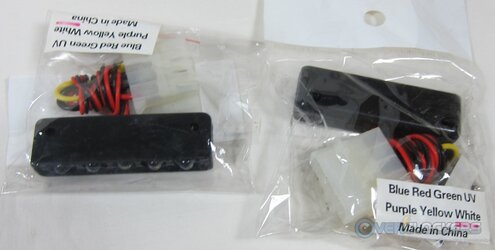
Lighting:

proj-redefine-02.jpg

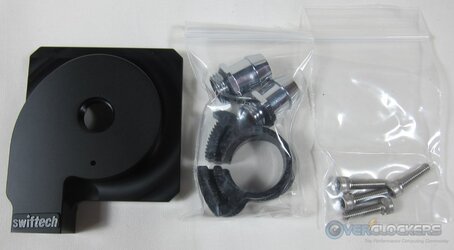
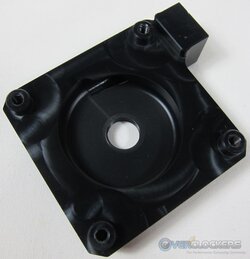
The pump top was expensive for such a small piece of plastic, even if milled nicely. Come to find out the reason for that is that it comes with barbs and tube clamps. Can't argue with that...score!

proj-redefine-03.jpg

proj-redefine-04.jpg

Now for the great news...I'm relatively certain (not 100%, but close) that EVGA is sending a Titan water block (by Swiftech) to go on the card...so now we've got a water cooled GPU for this build; yay!

This is going to be it for a little bit though. First off, I have to get the stop fittings for the reservoir (in case you didn't see my edit above, it's ridiculous a reservoir with six holes in it doesn't come with stop fittings!) and I've got a couple pressing time-constrained reviews that need to get done. So please be patient. Updates will come, I promise. :thup:
 
This going to be a great build Hokie...
I was torn between the 655 and 35x last week and went with the 655 and bitspower mod top v2 and a chrome mod kit. I went with less head pressure for bling... I'm a sucker for bling :)
 
Awesome! Can't wait to see more of this build, especially that Titan on water. :drool:
 
Well, it seems this project as a whole may be a bit delayed. The white cabling hasn't come, so I'll be recycling red for now. The GPU block hasn't come because EVGA doesn't have one to send me yet.

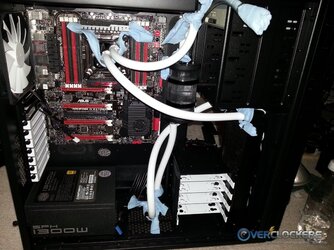
That said, I still have a case review to write, so I went ahead and started with what I've got in-hand. There are a couple interim photos before this one, but those are all on my camera....and this is our primary computer that houses all our photos, which is obviously non-functional at the moment. Thus, for now, you get a cell phone picture of leak testing the loop.

redefine-leak-testing.jpg

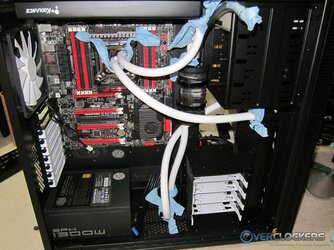
It has been leak testing about eight hours so far. When I checked it this morning, all was still well and dry. As you can see, I had to go with the clear reservoir; there was no way the red one was fitting. As it is, it's going to be an interesting time managing the cables in this beast.

On the plus side,the radiators fit perfectly; the case does exactly what it says it will do. I could have gone with a few 90° fittings here and there (considering ordering some for the final project), but it's not too bad for using only barbs. Hope you like it so far!
 
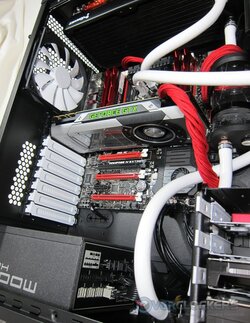
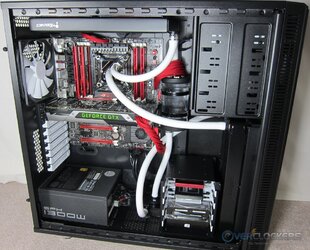
Well, the Not Quite Project Redefine build is done! I'll post short log photos & several finished ones sometime this weekend, but I'm dead tired so here's just one to tide you over. :)

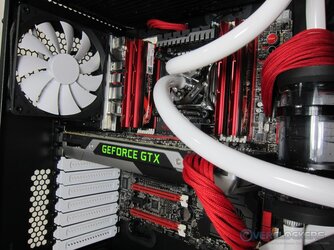
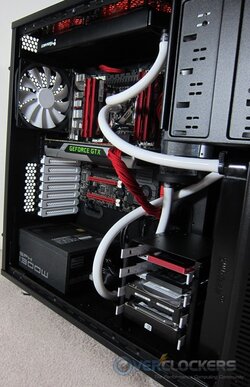
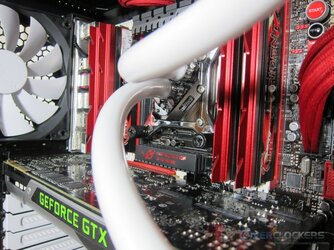
fractal-def-xlr2-finished-20.jpg

G'night!
 
Because I still need the white cable extensions, Titan water block and then figure out how to light it.
 
Ok, here we have a little bit of a build log...and I do mean little. When these things start, I tend to stay up until it's done. In the case of water loops, I tear down the old, build the new loop then leak test overnight and finish the next evening.

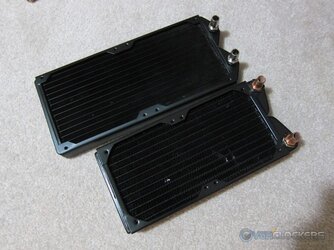
First, we have the radiators, a 140x2 by Koolance (for the top) and a MCR-220 by Swiftech (for the front).

proj-redefine-05.jpg

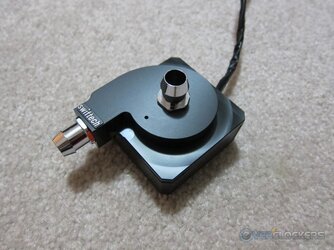
Then I pulled the old XSPC res top off my trusty 10W DDC and put on the MCP-35X top.

proj-redefine-06.jpg

Then I installed the MCR-220 in the front location. I'll be using the two Fractal 140mm fans for now, so there will be small gaps around the rad. Temps look good so far though, so that doesn't seem to be a bad decision.

proj-redefine-07.jpg

proj-redefine-08.jpg

Unfortunately, with the insulated door it is impossible to use a fan controller that sticks out. Thus, the FC-9 is recessed. Surprisingly it doesn't look too bad, but if you go with this case, you may want to consider a touch controller.

proj-redefine-09.jpg

Then I installed the reservoir (requires drilling, FYI) and top rad. The loop was coming together nicely at this point.

proj-redefine-10.jpg

Of course, you already saw leak testing, but this is a small bit better than the cell picture.

proj-redefine-12.jpg

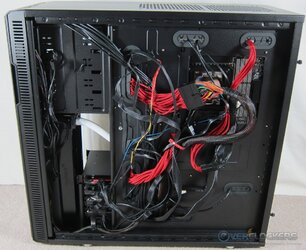
That's all the building pics I have; here's what the rat's nest looked like after it was finished.

fractal-def-xlr2-finished-01.jpg

Finished pics coming when I decide which ones to use. :)
 
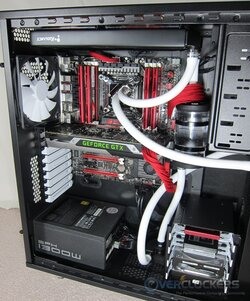
Finished Not-Quite-Project-Define pictures. :)

fractal-def-xlr2-finished-10.jpg

fractal-def-xlr2-finished-12.jpg

fractal-def-xlr2-finished-17.jpg

fractal-def-xlr2-finished-26.jpg

fractal-def-xlr2-finished-19.jpg

Well, that's about it. Now at least I can work on the Define XL R2 review.

Still to come for Project Redefine down the road:
  • White cable extensions
  • Titan water block from EVGA
  • Lighting
  • Some 45° and/or 90° fittings maybe?

salute.gif
 
In case anyone looking at this thread wants more info on the case, its review published yesterday afternoon. :)

fractal-define-xl-r2-16-252x300.jpg

Since Fractal Design has jumped into the component market, they have done a great job of bringing us affordable cases that look great. Today we look at a refinement of their venerable Define XL, the Define XL R2. Did they make the right changes to make an already solid case a top contender? Let's find out together, shall we?

... Return to article to continue reading.
 
Back