- Joined
- Jun 16, 2003
- Location
- Cranberry Twp. PA
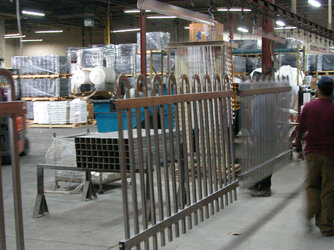
I'm working on your shrouds trying to get 'em finished by this weekend like I promised.
Welcome to Overclockers Forums! Join us to reply in threads, receive reduced ads, and to customize your site experience!
") )
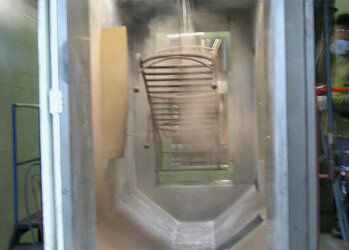
) . .) told me that everything should be done mid-way through this week.
 Powder coating is a paint application consisting of fine dry powder pigment and resin. It is applied electro-statically to metal parts and heated to a temperature of about 400°F. The powder reacts at this high temperature, resulting in a beautifully smooth, highly durable finish.
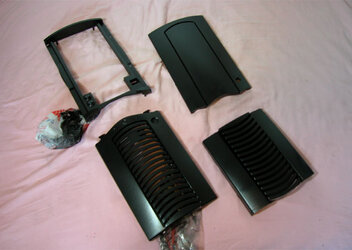
felinusz said:Klimpen - Don't worry dude. I'll be posting a lot of pictures of the finished case, inside and out

I'm not worried anymore
May I dare you in a challange where we try to have the cleanest looking inside of the case??
No dust, no visible cables and so on....
.Challange accepted though - once I've put together and built the machine side of things, we'll start a new thread
Klimpen
Fine, challange accepted *smile*. I won't win the competition "Heaviest" or "tallest" though
can you take a picture of you stand next to the case?
. As soon as it all gets back from the powdercoaters, I'll take a nice picture of me (almost) being dwarfed by the Beast