• Welcome to Overclockers Forums! Join us to reply in threads, receive reduced ads, and to customize your site experience!

Xigmatek Elysium build: Monster (many photos)

Overclockers is supported by our readers. When you click a link to make a purchase, we may earn a commission. Learn More.

elari20

Member
Joined
Aug 24, 2010
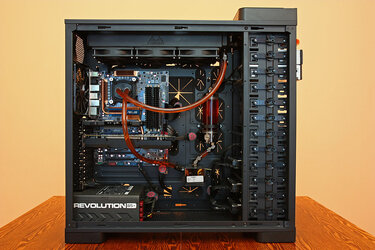
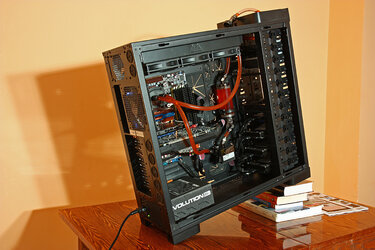
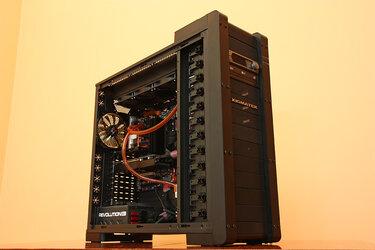
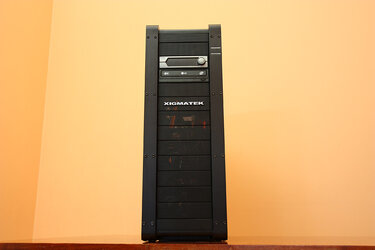
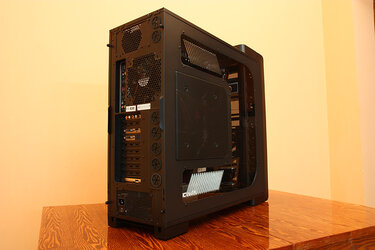
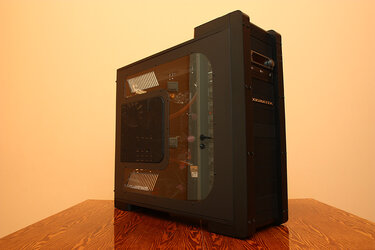
I have had my old Chieftec case since 2003. Back then it was a great case. Plenty of room, a side window and enough holes for ventilation. I even put red LED's inside it for more bling. It was OK until I bought an HD5870. Couldn't get temps under control ever again. A year passed. Then another year. So, about 2 months ago I decided I needed a new, bigger case, with a gazillion fans attached to it. But this time I wanted to do it right. No bling-bling, keep it cool, keep it minimalistic. I started searching for a perfect case and almost bought one of those: Mountain Mods Pinnacle 24, Haf-X, Antec 1200, Corsair 800D, Lian Li PCX1000. Changed my mind a million times. Then I saw Xigmatek Elysium in a local computer store. Holy mother of all cases! I bought it. Had trouble fitting it into a medium sized car.

Then I took a pen and lots of A4 paper and started planning my dream build. About 25 sheets of paper later I had my perfect vision written down, with every cable and hose labeled and numbered. So I started ordering things:
- all cables, cable ties, cable clamps etc from FrozenCPU.com (all black)
- rad, res, pump, fittings from local stores and forums
- tubing, fans, coolant, grills, fillport from Caseking.de
- some more misc parts from Aquatuning.de

It took nearly 2 months for the parts to arrive. Some of them got lost on the way... Everything arrived eventually and I decided to build on April 7, 2012.

So, it started. I had 2 friends at my place to help me. One of them is an electrical engineer and knows the electrons well. Other is as dumb as a lamppost but helped me with some dirty work (like cable management). I made around 1000 photos and yelled at people. It took 18 hours from start to finish. Proper leak testing was done the next day.

The build went well. We had no trouble whatsoever on the way. Check the photos and see for yourself.
Spec: in the sig. Currently an heavily clocked Q6600 but soon an IB. And a 680.

Gear used:
- Canon EOS 450D
- Canon EF-S 17-55mm F2,8 IS USM
- Canon EF 70-200mm F4,0 L USM
- Sigma EF-500
- Manfrotto stand
- studio lights.

Have fun :)

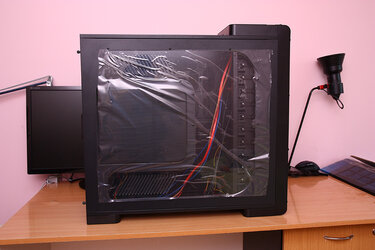
Holy mother of all cases! Behind it is a tiny 27" display.
1.JPG

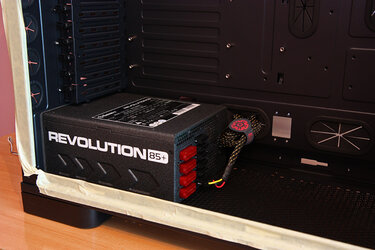
Enermax Revolution 85+ 1250W, one heavy *******.
2.JPG

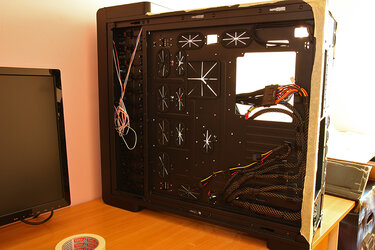
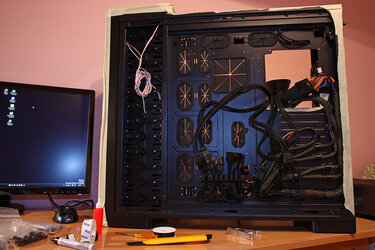
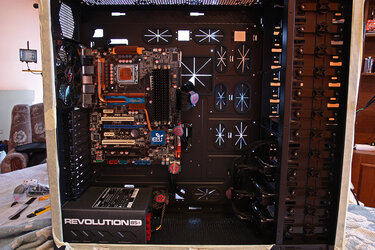
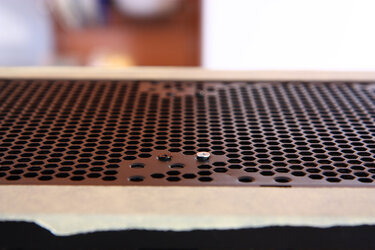
So many holes............
3.JPG

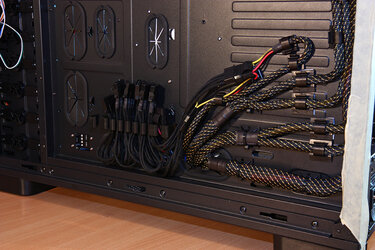
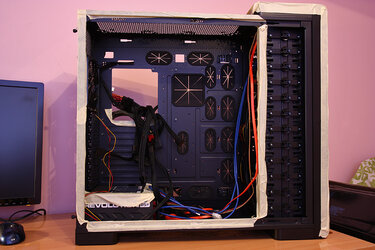
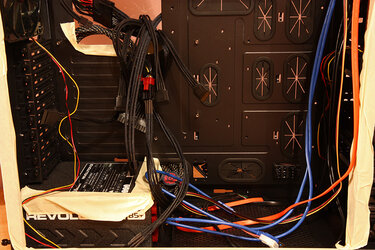
Cable management test: molex heaven. Didn't work.
4.JPG

Testing various cable routes.
5.JPG

Like a rainbow. It is time to take this thing apart.
6.JPG

Esata, Sata hotswap, USB3, audio, ... All that was removed.
7.JPG

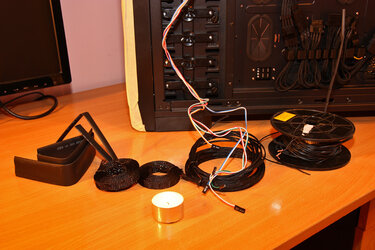
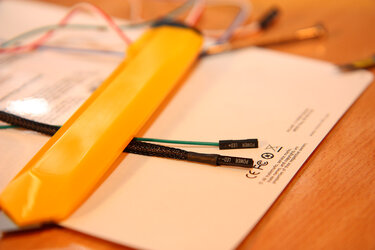
Some random sleeving kit.
8.JPG

Power LED.
9.JPG

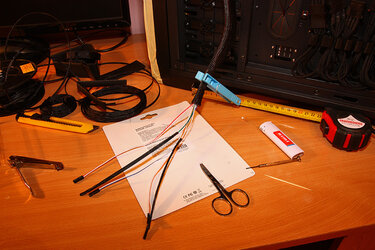
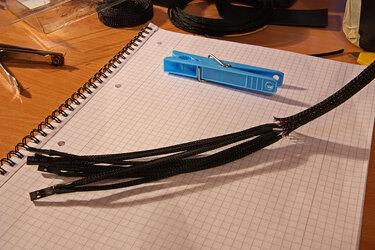
Sleeving motherboard wires. Took a week to get everything sleeved.
10.JPG
 
Motherboard wires almost sleeved.
11.JPG

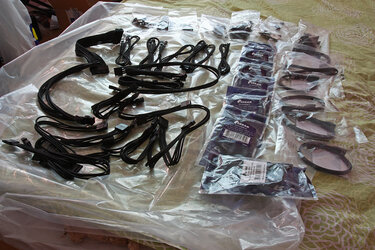
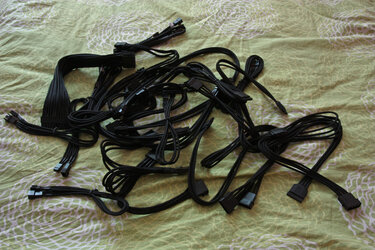
Selection of cables and cable management items (from FrozenCPU.com). All black.
12.JPG

Some of the cables used. All cables individually sleeved black. Bitfenix, ModRight, Phobya.
13.JPG

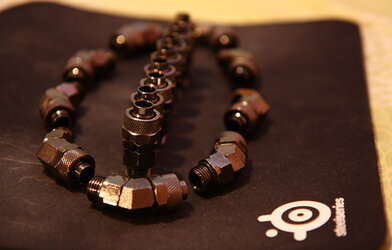
Compression fittings 10mm ID, black nickel, rotary edition.
14.JPG

Taking my old PC apart. I am not lazy! Blame my cat!!!
15.JPG

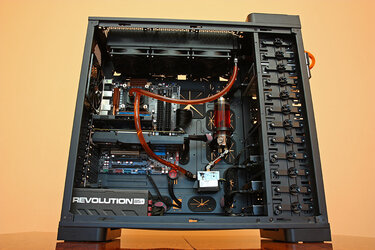
Tiny motherboard. A friend asked if he can move inside. He said he won't be paying the rent.
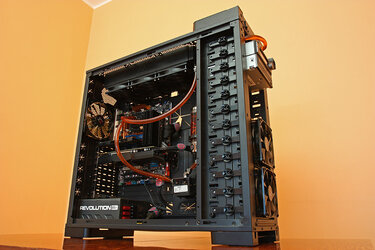
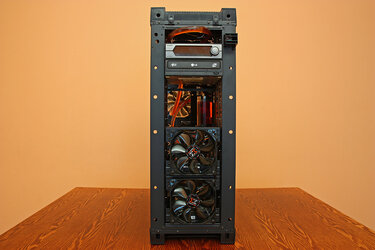
16.JPG

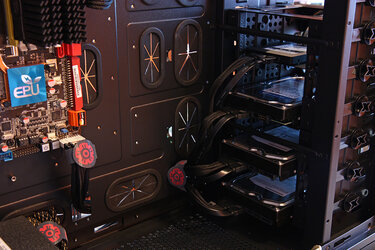
4 harddrives installed and wired.
17.JPG

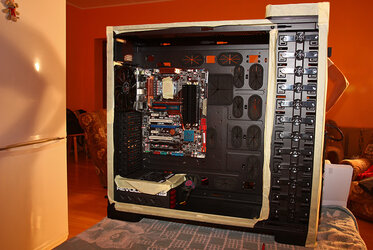
Looking nice and clean. Installation was a breeze. You may notice CPU being lapped. Not sure about those red Enermax cable ties though. Might remove them later.
18.JPG

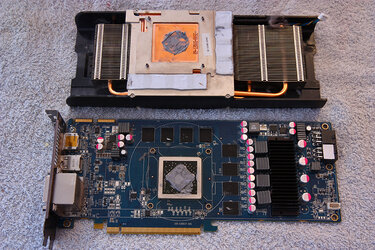
Cleaning the HD5870.
19.JPG

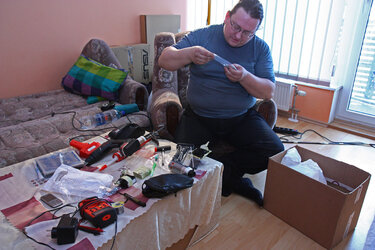
Another friend came to help.
20.JPG
 
Electrical engineer, can build a tube amp while sleeping. Awesome skillz!
21.JPG

Supreme HF installed.
22.JPG

Half way there. Cable management is not an easy job.
23.JPG

Radiator ready to be mounted. You may notice a fan being missing. It was added later (after I got a new one). Fans: Noiseblocker BlackSilent Fan XL2
24.JPG

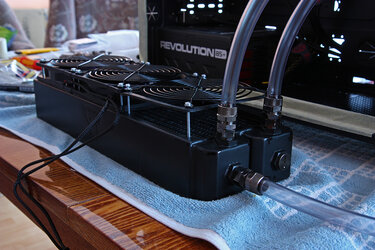
Radiator: Phobya G-Changer 360 Ver. 1.2 Black. Third tube is for filling. Tubing: Feser 10mm ID clear.
25.JPG

Cable management finished, only one free molex left, for pump.
26.JPG

Radiator screws. Custom length, pyramid shape, painted black. Made right there at the construction site.
27.JPG

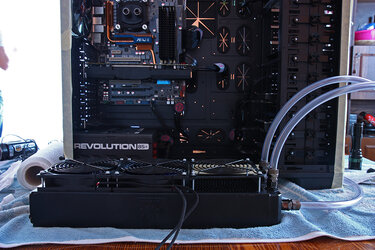
Radiator installed. All’s good so far. I probably went overboard tightening the fittings and the tubing.
28.JPG

Radiator installed. Time to dig out the res.
29.JPG

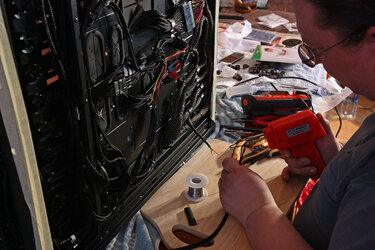
Professionals at work. Some soldering magic for the fan controller.
30.JPG
 
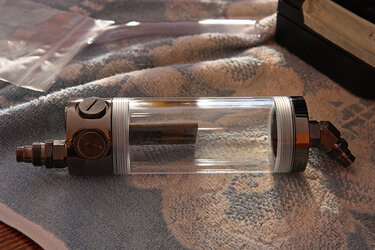
Res: Phobya Balancer 150 (black nickel).
31.JPG

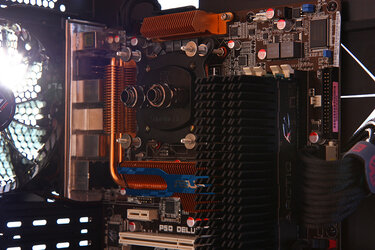
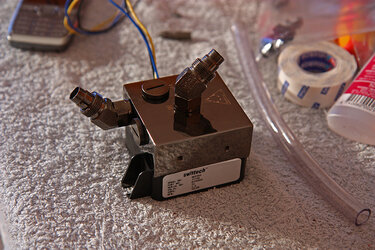
Pump: Laing DDC-1T/Swiftech MCP355 with Phobya Laing DDC top (black nickel).
32.JPG

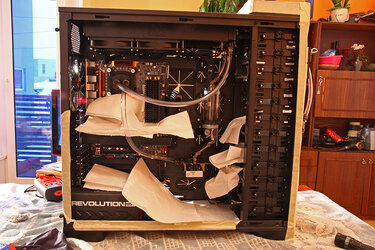
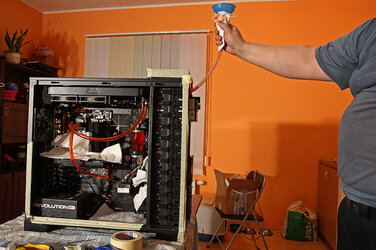
Preparing for the filling.
33.JPG

Not a single leak!
34.JPG

Next day: leaktest was successful!
35.JPG

Time to put the front face back on. So nice and neutral. Looks even better in the dark.
36.JPG

Side shot. 3rd rad fan still missing, took the whole week to get that.
37.JPG

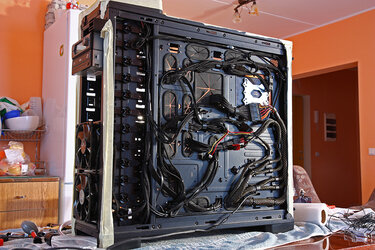
Over an inch of room behind the motherboard tray!
38.JPG

Not the best cable management job out there, but I can live with it.
39.JPG

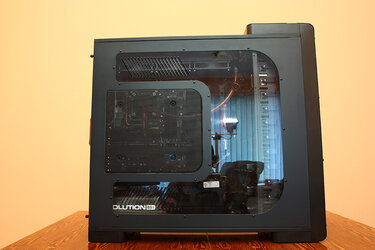
Side window. Time to play!
40.JPG
 
Helper #4. Norwegian wildcat.
41.JPG

One week later: photoshoot. Note to self: sleeve PSU!
42.JPG

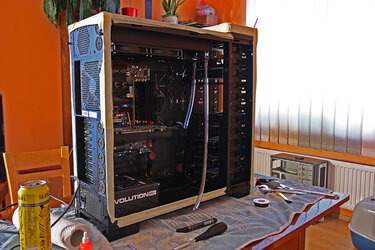
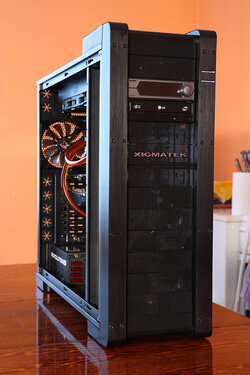
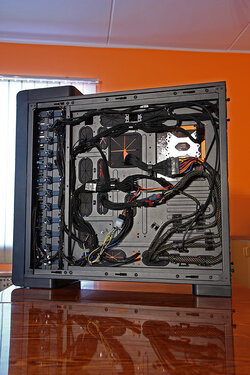
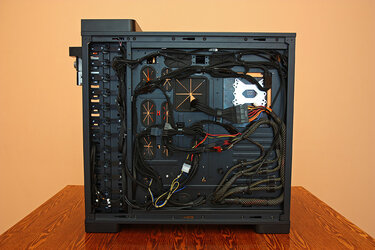
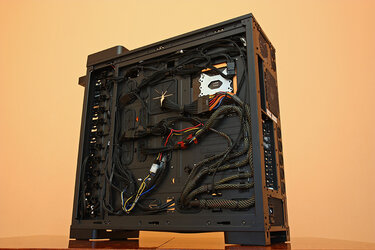
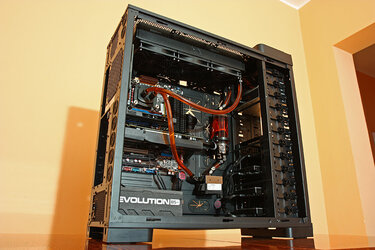
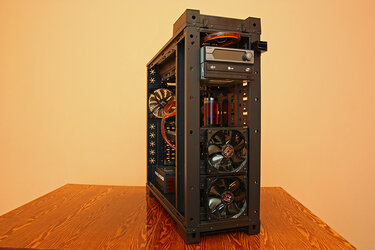
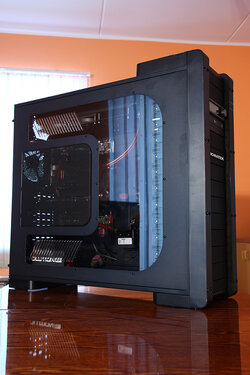
Side shot.
43.JPG

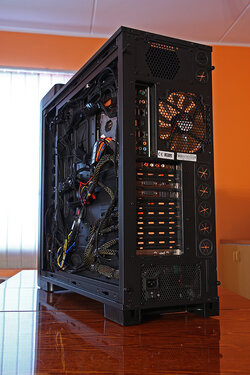
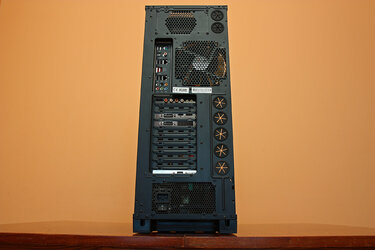
Rear shot.
44.JPG

Bam! Triple fans! 3rd fan arrived!
45.JPG

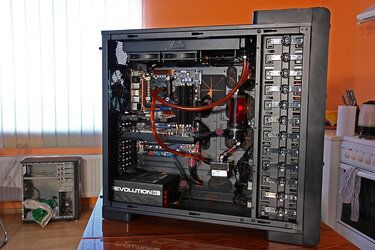
Side shot. Still not loving the Enermax cable ties.
46.JPG

Side shot. Had to add 100 ml of coolant: Aquacomputer Double Protect Ultra - orange
47.JPG

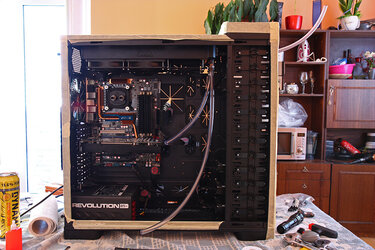
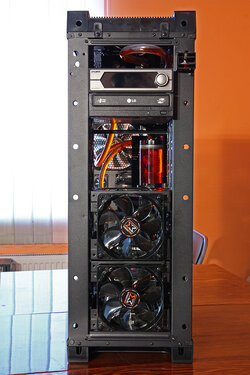
Front shot. Thinking of adding 3rd HDD rack.
48.JPG

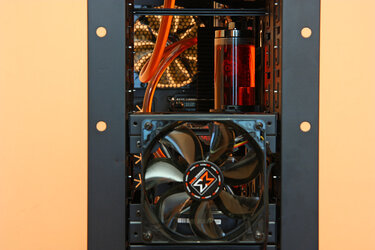
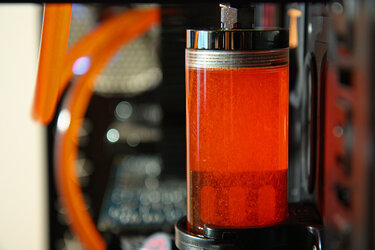
Res. Originally planned to use 250, but went for 150. I think it was a good idea.
49.JPG

Front shot.
50.JPG
 
Side shot. You may ask why the tubing is so unnecessarily long. I think it looks more "natural", more relaxed that way.
51.JPG

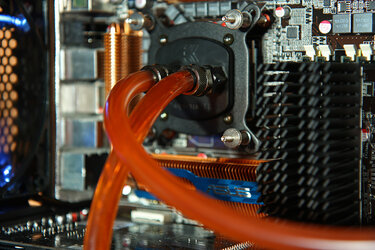
Didn't use angled fittings there, looked kinda cramped.
52.JPG

Laing powa! Fat friend will make a simple voltage adjusting tool for the pump. 12V is clearly too much for such a simple loop. Water flows like crazy!
53.JPG

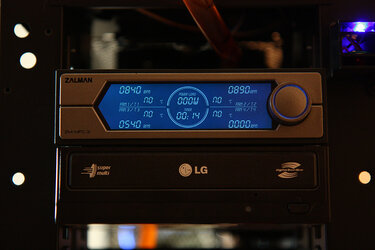
Zalman fan controller. Fans are dead silent when needed.
54.JPG

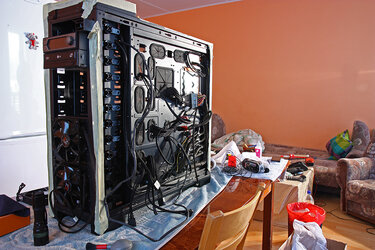
Don't try this at home! WTF, is that case heavy!!! Back injury guaranteed! Notice the filling tube.
55.JPG

Front face attached. What a beautiful face!
56.JPG

Front shot.
57.JPG

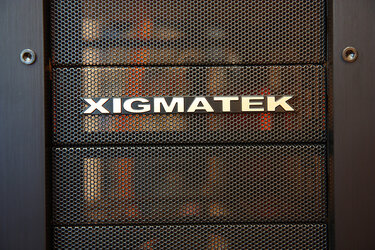
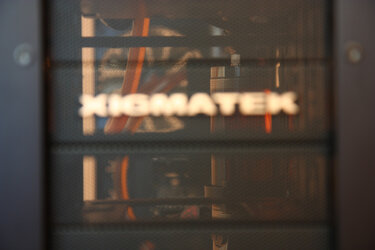
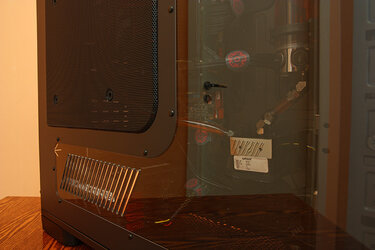
Xigmatek. Now, let's see what's behind that sign...
58.JPG

Water!!!
59.JPG

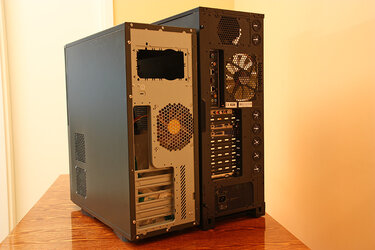
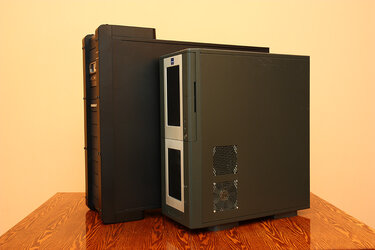
Old vs new.
60.JPG
 
Old vs new. I bet you noticed the difference!
61.JPG

Mirror.
62.JPG

Rear shot.
63.JPG

Front shot. Definitely worth 185 euros! Well done, Xigmatek!
64.JPG

Some pump magic.
65.JPG

Thanks for watching!
 
Excellent job! I like the cleanliness of the case & build. Not all that "bling bling" killing the asthetics. Fun read too! :thup:
 
Very nice and congrats on the build. Great cable management imho and anything but mine is best. lol...... What are those clips for the cable management called or if I can get a link from a site. I need a bunch of heavy duty ones as my side panel on my 800D is ready to blast open. I did the best I could but didn't have much to work with.
 
Sorry to follow you around the forums OP, but I really need an answer on this, as I am contemplating doing a setup similar to yours with a smaller radiator. What is the correct flow path for a loop?

I know you said the correct way is Rad -> Res -> Pump -> CPU

but

according to the beginner watercooling thread the loop should be

Rad-->CPU-->Res-->Pump.

Which way is right??

I'm relatively certain that the beginner watercooling thread stresses that loop order doesn't matter outside of the res being before the pump...I might have to go read that again though. Here's some data for you http://www.xtremesystems.org/forums/showthread.php?t=225485
 
Sorry to follow you around the forums OP, but I really need an answer on this, as I am contemplating doing a setup similar to yours with a smaller radiator. What is the correct flow path for a loop?

I know you said the correct way is Rad -> Res -> Pump -> CPU

but

according to the beginner watercooling thread the loop should be

Rad-->CPU-->Res-->Pump.

Which way is right??

Since it's a loop, there is no difference that matters in either statement.

Rad -> Res -> Pump -> CPU or
Rad-->CPU-->Res-->Pump

All you need to understand is the res is always before the pump so you don't dry-run the pump.

There is a whopping up to 18 watts of heat from the pump, but that doen't matter at all in the big picture. So trying to remove some of the pump heat before the CPU means nothing due to the properties of the loop. A system under full load has less that 2C difference in water temp, ANYwhere in the loop.
 
All you need to understand is the res is always before the pump so you don't dry-run the pump.
It would be a total nightmare to fill the loop if pump wasn't after res. Especially if you have a monster case like Elysium. Seriously, I needed 3 people to fill my loop - one guy filling and cleaning fluid drops, 2 guys tilting and shaking the case. And a 4th guy to videotape it all :bday:
 
fair to say.

you are the tidiest person I have ever met.
 
Back