- Joined
- Jun 18, 2009
- Location
- BC, Canada
*Disclaimer* - I am an amateur modder and this is my first (documented) attempt at modding. Just want to make that clear before I step into the company of some really skilled individuals. 
------------------------------------------------
Well, like I said, this is my official debut in the case modding realm. I have tinkered around with cases before and stuck blowholes here and there but I've never tackled anything bigger than that. I've been mulling over a new build for the last few months and a couple weeks ago made the decision to go through with it. Then I decided to take it to that next level.
Here's a basic rundown of the components as it stands. It's still subject to minor changes (A lot of "overkill" parts, yes, but that's part of the fun! Also don't worry, this isn't just for gaming).
Case: Corsair Obsidian 650D
CPU: Intel Core-i7 3770k
Motherboard: Asus Sabertooth Z77
CPU Cooler: Corsair H100
RAM: 32GB 1866MHz Corsair Dominator Platinum
SSD: 1x 60GB Intel 520 SSD, 1x 240GB Intel 520 SSD
GPU: 2x EVGA GTX 680 4GB Classified in SLI
PSU: Corsair AX1200i
As you can no doubt tell I am a big fan of Corsair products.
I haven't bought any of the internal components yet - I'm delaying that until I actually nail out all the modding first. I have the H100, the case and almost all the supplies I need (should get the rest over the next couple weeks) so this post is really the bare, bare, bare starting point for the project. Wanted to get the thread going so I could just post updates as I go along.
Time for pics so far!
Note: I accidentally had my camera set to low resolution so upcoming posts will have full-res images. Sorry about that!
--------------------------------------------
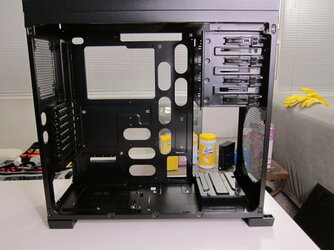
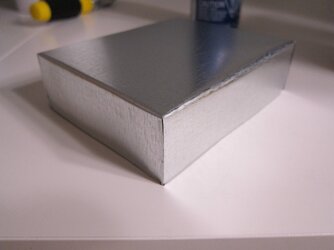
Corsair 650D gutted and ready for action

--------------------------------------------
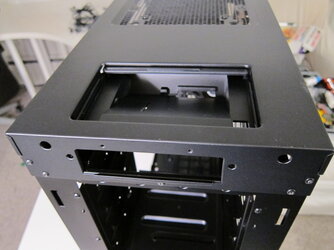
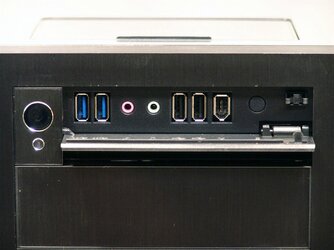
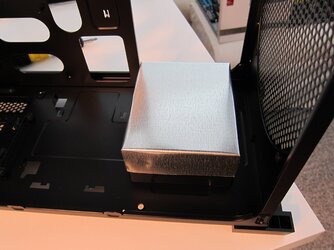
Front panel taken out, but the hot-swappable drive bay remains.

--------------------------------------------
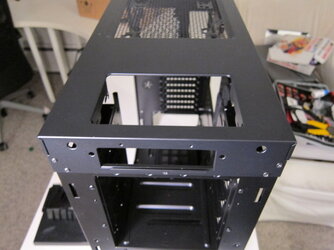
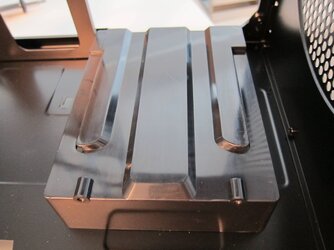
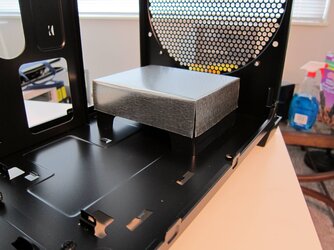
Both front panel and hot-swappable drive bay have been removed.

--------------------------------------------
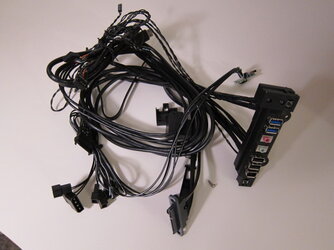
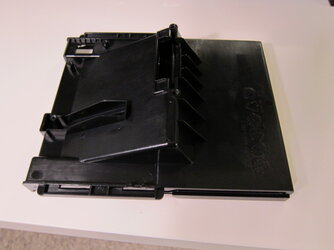
Gutted front panel & Hot-swappable drive bay


--------------------------------------------
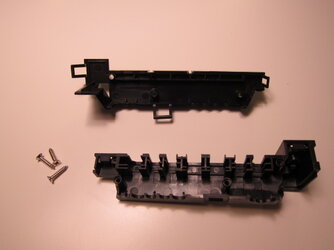
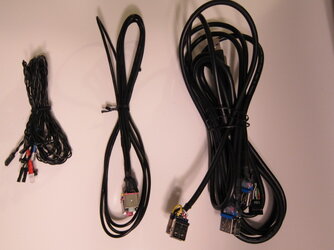
Add a little more surgery to the front panel and all the cables are now free.


--------------------------------------------
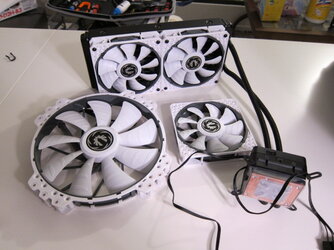
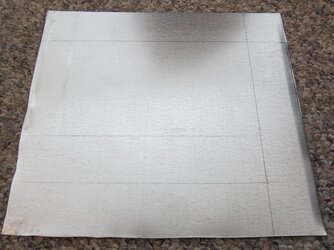
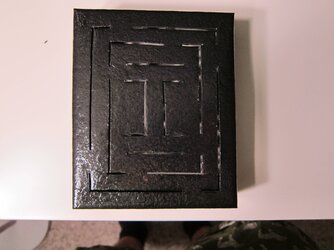
And then here's a little teaser for the color scheme... I'm a huge fan of a simple black and white scheme so that's what its going to be!

--------------------------------------------
That's all the images I can share for now, I'm working on some mockups / schematics of the mods I currently have in mind and I'll upload those either tomorrow or the day after.
To give you a general sense of what I'm starting with though:
1) Remove the front panel push-door and power/reset button housing from the case faceplate.
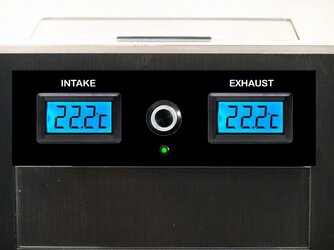
2) Create a new custom front panel with 2x LCD temperature sensors, a Bulgin vandal switch style power button and maybe an few LEDs too.
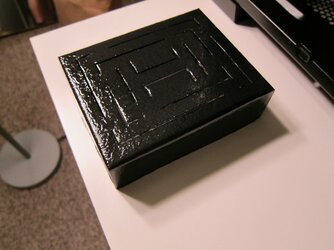
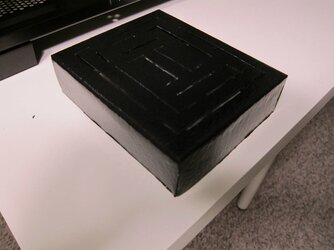
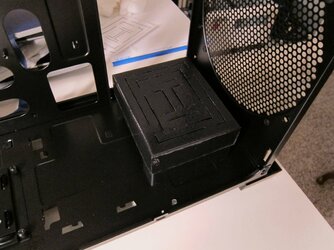
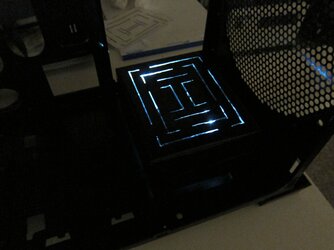
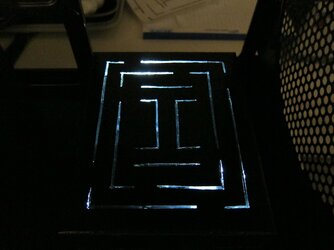
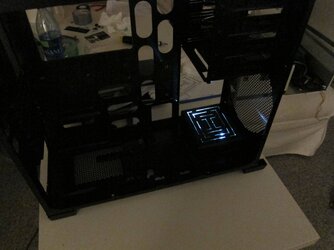
3) Figure out what I'm going to do with the opening at the top of the case made by removing the hot swappable drive bay cover. Contemplating stenciling out the project name into a metal plate and backlighting it (is it a cliche yet?).
4) Design custom stickers/labels for fans and internal components. Inspired by a number of builds, including one on these forums.
5) Infinity and beyond! This is still a project very much in the works so who knows what else I'll come up with.
-------------------------------------------------------
Apologies if you came here looking to see a 40-80% complete build instead of a 0-10% complete build but it'll be coming soon to a forum near you!

------------------------------------------------
Well, like I said, this is my official debut in the case modding realm. I have tinkered around with cases before and stuck blowholes here and there but I've never tackled anything bigger than that. I've been mulling over a new build for the last few months and a couple weeks ago made the decision to go through with it. Then I decided to take it to that next level.
Here's a basic rundown of the components as it stands. It's still subject to minor changes (A lot of "overkill" parts, yes, but that's part of the fun! Also don't worry, this isn't just for gaming).
Case: Corsair Obsidian 650D
CPU: Intel Core-i7 3770k
Motherboard: Asus Sabertooth Z77
CPU Cooler: Corsair H100
RAM: 32GB 1866MHz Corsair Dominator Platinum
SSD: 1x 60GB Intel 520 SSD, 1x 240GB Intel 520 SSD
GPU: 2x EVGA GTX 680 4GB Classified in SLI
PSU: Corsair AX1200i
As you can no doubt tell I am a big fan of Corsair products.
I haven't bought any of the internal components yet - I'm delaying that until I actually nail out all the modding first. I have the H100, the case and almost all the supplies I need (should get the rest over the next couple weeks) so this post is really the bare, bare, bare starting point for the project. Wanted to get the thread going so I could just post updates as I go along.
Time for pics so far!
Note: I accidentally had my camera set to low resolution so upcoming posts will have full-res images. Sorry about that!
--------------------------------------------
Corsair 650D gutted and ready for action
--------------------------------------------
Front panel taken out, but the hot-swappable drive bay remains.
--------------------------------------------
Both front panel and hot-swappable drive bay have been removed.
--------------------------------------------
Gutted front panel & Hot-swappable drive bay
--------------------------------------------
Add a little more surgery to the front panel and all the cables are now free.
--------------------------------------------
And then here's a little teaser for the color scheme... I'm a huge fan of a simple black and white scheme so that's what its going to be!
--------------------------------------------
That's all the images I can share for now, I'm working on some mockups / schematics of the mods I currently have in mind and I'll upload those either tomorrow or the day after.
To give you a general sense of what I'm starting with though:
1) Remove the front panel push-door and power/reset button housing from the case faceplate.
2) Create a new custom front panel with 2x LCD temperature sensors, a Bulgin vandal switch style power button and maybe an few LEDs too.
3) Figure out what I'm going to do with the opening at the top of the case made by removing the hot swappable drive bay cover. Contemplating stenciling out the project name into a metal plate and backlighting it (is it a cliche yet?).
4) Design custom stickers/labels for fans and internal components. Inspired by a number of builds, including one on these forums.
5) Infinity and beyond! This is still a project very much in the works so who knows what else I'll come up with.
-------------------------------------------------------
Apologies if you came here looking to see a 40-80% complete build instead of a 0-10% complete build but it'll be coming soon to a forum near you!
Last edited:


 Project Insomnia... has been officially retired.