• Welcome to Overclockers Forums! Join us to reply in threads, receive reduced ads, and to customize your site experience!

[Project] Untitled TJ07 Build

Overclockers is supported by our readers. When you click a link to make a purchase, we may earn a commission. Learn More.

MattNo5ss

5up3r m0d3r4t0r
Joined
Aug 11, 2008
This will be a thread for a slow going build log since I don't have much free time :rolleyes:

My plan is to have a nice water cooled 24/7 system that's actually in a case. I honestly can't remember the last time I used a case even for a 24/7 system. I really like the TJ07, and it has to be one of the best cases for modding and water cooling, even being quite a few years old. The build will be almost entirely black/gray toned, and any lights I may or may not add will be white for true color representation.

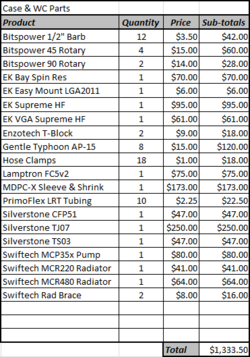
Here's my case and cooling parts list...

Capture - Copy.PNG

I haven't done a whole lot yet, but here's a few pics of what I have going so far.

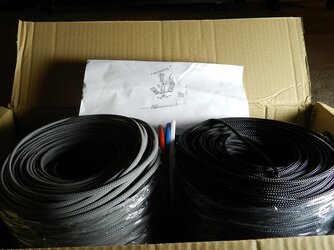
Black and gray sleeve from MDPC with black heatshrink. The small red, white and blue strip were thrown in by Nils since the package was bound for the USA.

mdpc_sleeve_1.JPG

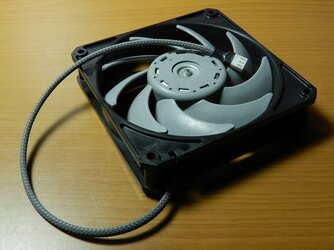
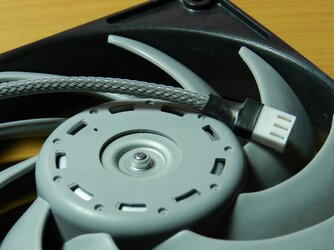
I'll end up sleeving my Gentle Typhoons with the gray sleeve, I think it goes well with the gray fan blades.

AP15_Sleeved_1.JPG

AP15_Sleeved_2.JPG

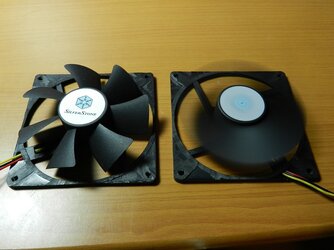
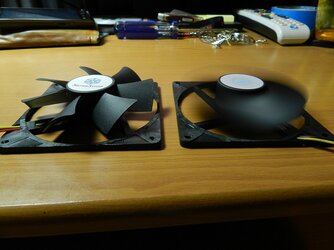
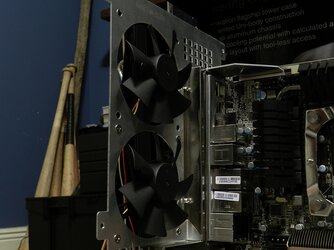
I've modded the rear 92mm fans of the TJ07 to be semi frame-less and give the look of hovering fans. Also, no stickers on those blades :D

92mm_Mod_1.JPG

92mm_Mod_2.JPG

92mm_Mod_3.JPG

More to come :thup:
 
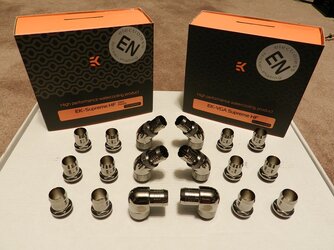
Block boxes and Bitspower fittings!

blocks_fittings.JPG

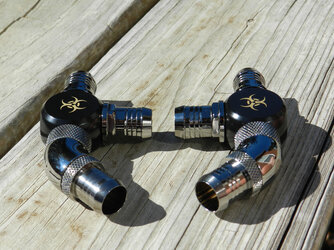
A couple of crooked "T" fittings made from Bitspower fittings and Enzotech T-blocks.

custom_t.jpg

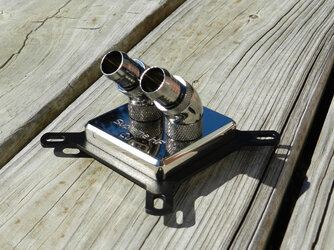
Brand new replacement EK Supreme HF after I had the plating flaking issue...

cpu_block.jpg

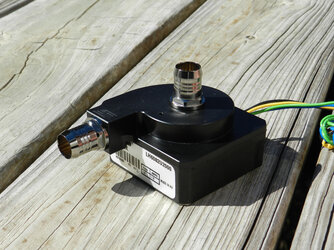
New pump after my 355 + XSPC res top caught fire :mad:

mcp35x.jpg

Universal GPU block. Full coverage blocks just aren't a good investment, in my opinion. So, this block will do great!

vga_block.jpg

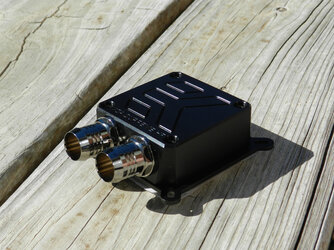
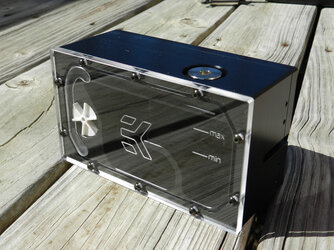
The EK 2x 5.25" bay res. I definitely wasn't going to remove the stock top from the pump this time.

ek_res.jpg

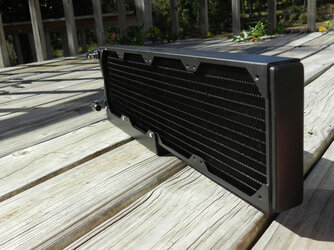
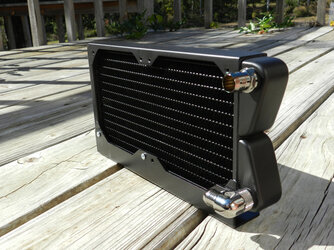
Now for the radiators, a MCR480 and MCR240. This should be PLENTY of rad :D

mcr480.jpg

mcr240.jpg

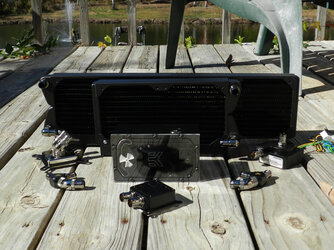
Lastly, a pretty group shot of the parts.

parts_1.jpg
 
Thanks diaz! There's plenty of more epic builds around I think, but this one shouldn't be a slouch.

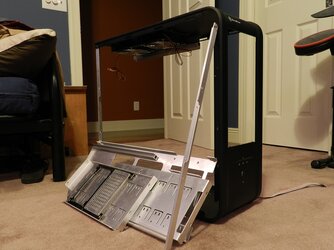
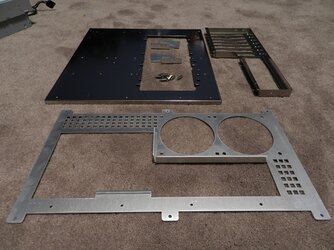
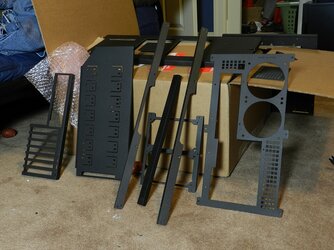
Here's my TJ07 completely disassembled... not all the parts are in the pic.

TJ07_disassembled.JPG

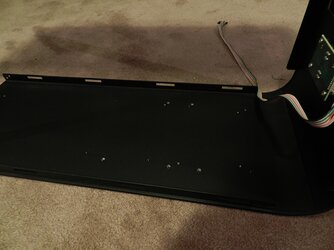
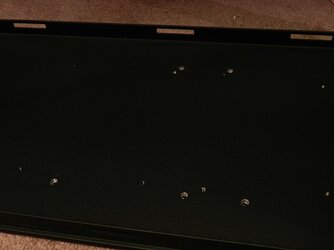
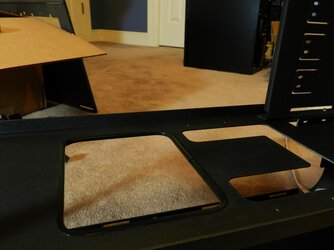
First up with the case is to drill some holes in the bottom for mounting the MCR220 and MCR480.
holes.JPG

holes_closeup.JPG

The next few pics are showing the current status of my loop. First, is the shot of the loop used with my PVC-Framed Station.

loop_bench.JPG

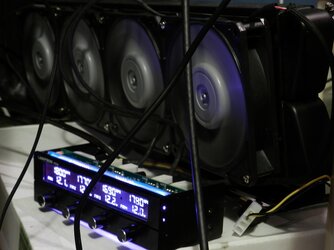
Here's the FC5v2 fan controller and MCR480 decked out with Gentle Typhoon AP-15 fans.

rad_fc.JPG

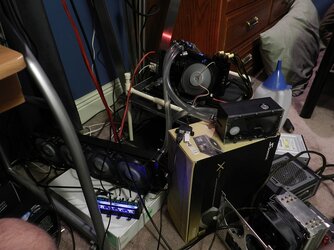
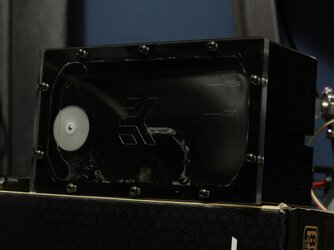
Next is a pic of my res at work sitting on top of a SeaSonic X750 box :rolleyes:

ek_res.JPG

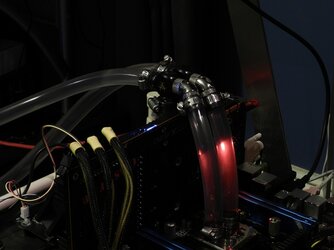
This pic shows what I was up to when making the crooked T fittings; setting the GPU and CPU in parallel.

parallel_custom.JPG
 
Will having the cpu/gpu in parrallel kill the cooling.. I mean the water is going to go in whichever direction gives it the least resistance and with a T connector its really just saying.. go whichever way you want which could be more often point A over point B when you want point A and B both getting close to equal flow?
 
Subbed ^^. I love the TJ07.. I used it for a friends build back in 2008.. or was it 2007.. I forget. So good to work with.. Was top of the line hardware in it back then.. Gigabyte UD5 X58 board, i7 920, 6GB triple, HD 4890 1GB. Haha. Not sure what he's done with it now.. I haven't spoken to him for a while XD.
 
Will having the cpu/gpu in parrallel kill the cooling.. I mean the water is going to go in whichever direction gives it the least resistance and with a T connector its really just saying.. go whichever way you want which could be more often point A over point B when you want point A and B both getting close to equal flow?

It shouldn't kill the cooling, and it's working fine now.

Here's my thoughts about it, which could be wrong since I'm no WC guru by any means :D

The flow rate does get cut in half when the line is split, flow/2 per line. Each block has its max flow rate (adjustable with plates even), and the pump has its max flow rate. So, I was thinking as long as the max flow rates of the blocks together is less than or equal to the pump's max flow, then both blocks will get their max flow.
Pump = ~4.75 GPM max flow
CPU = ~1.75 GPM max flow
GPU = ~1.50 GPM max flow

Blocks = CPU + GPU = ~3.25 GPM max flow through both blocks

Pump - Blocks = ~1.5 GPM "leftover" which helps pressure
That was my thinking anyways...

Subbed ^^. I love the TJ07.. I used it for a friends build back in 2008.. or was it 2007.. I forget. So good to work with.. Was top of the line hardware in it back then.. Gigabyte UD5 X58 board, i7 920, 6GB triple, HD 4890 1GB. Haha. Not sure what he's done with it now.. I haven't spoken to him for a while XD.

On the TJ07 box is has "MaximumPC - Dream Machine 2005" on it :p

I think it still has to be up there as one of the best cases for both modding and water cooling, since it can be completely disassembled and has tons of room for WC parts in the bottom. It's an oldie, but goodie :thup:
 
I love those hovering fans, saw them in another mod recently and they look great
 
Small update. I've been pretty busy with reviews lately, so there hasn't been much time for this, unfortunately.
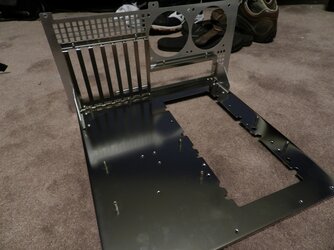
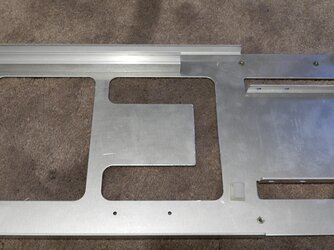
I cut out a section of the mid-plate towards the front that connects the two holes. this will be used to feed tubing into the bottom section of the case. At first I had planned on using the two holes that were already there, but the two radiators will get in the way of those holes.
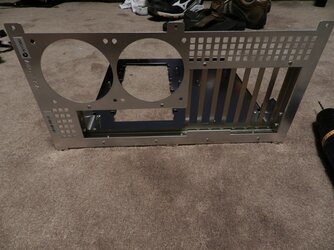
DSCN2869.JPG

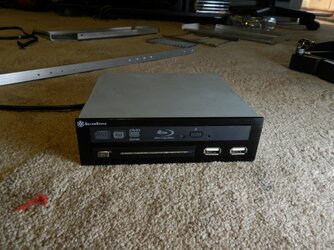
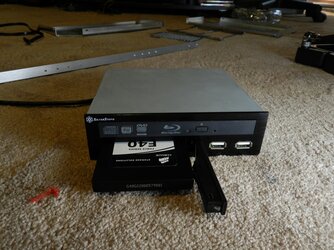
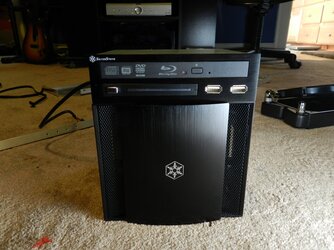
Next, I got a SST-TS03B to hold my slim Blu-Ray burner, hold a SSD, and to add USB ports at the top of the case.

DSCN2888.JPG
DSCN2889.JPG

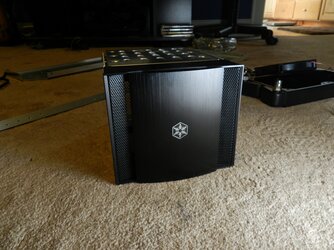
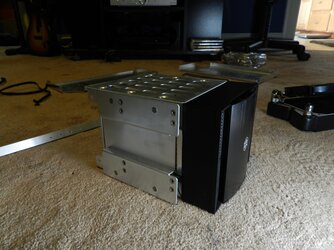
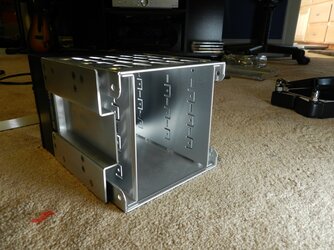
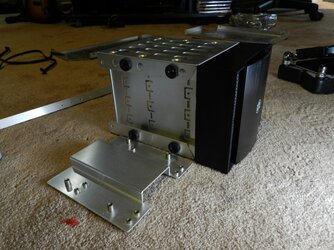
Since I'll be removing the stock HDD cages from the bottom of the case to make room for radiators, I got a SST-CFP51B to turn 3 of the 5.25" bays into a HDD cage.

DSCN2890.JPG
DSCN2893.JPG
DSCN2895.JPG
DSCN2897.JPG

Last pick of the two items :D

DSCN2899.JPG

Tomorrow I'll be getting some steel wool, primer, and black paint for all of the bare aluminum in the case. I plan on removing all the rivets to make sure I do a thorough paint job, but I haven't messed with rivet before so hopefully I won't screw that up too badly :D I'll be doing the aluminum on the TS03B and CFP51B as well.
 
Alright, I was able to get some "painting" done today :clap:

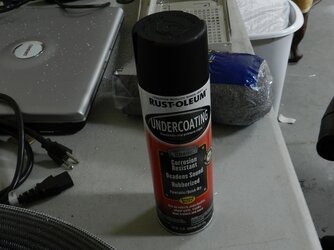
First up are the what I used for this part of the project. I wanted a matte black finish on my bare aluminum parts, but I also wanted the finish to be durable. So after looking through the stock at Lowe's I decided on trying some undercoating (for vehicles) as my "paint" of choice.

DSCN2918.JPG

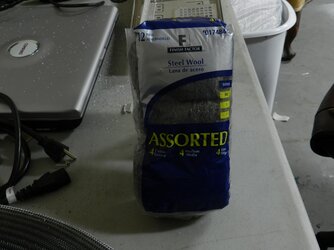
I also grabbed an assorted pack of steel wool for preparing the metal before spraying the undercoating.

DSCN2919.JPG

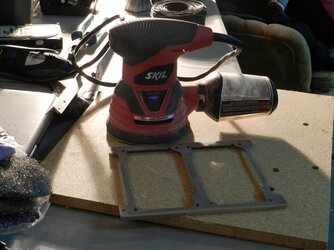
I ended up using my hand sander on the PSU mounting piece because it had a shiny, chrome finish layer over the aluminum, and it was kinda tough to scratch off with the steel wool. The motherboard tray has the shiny, chrome finish on one side of it as well, so I'm sure I'll use the sander on it too.

DSCN2926.JPG

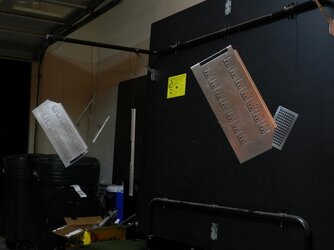
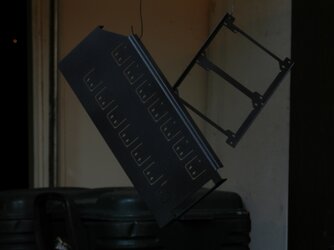
I used the legs of my folded up ping pong (table tennis) table as something to hang the pieces from while painting. I had some steel wire around that I used to actually hang the pieces.

DSCN2929.JPG

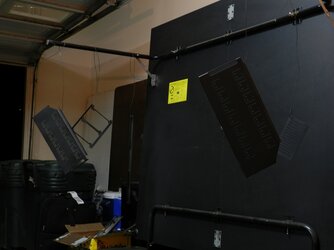
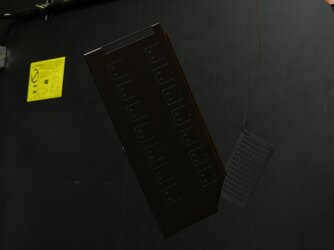
The first coat went on well, but the bad thing it that it took the whole can of undercoating just to do these pieces. I probably have enough left for touch up sprays, but that's it. So, I'll need to pick up another can for the motherboard tray, back of the case, and the other thin support bar.

DSCN2931.JPG

DSCN2935.JPG

DSCN2937.JPG

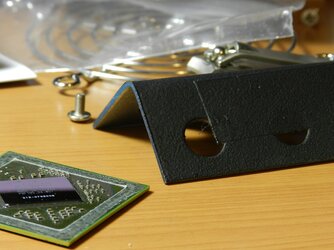
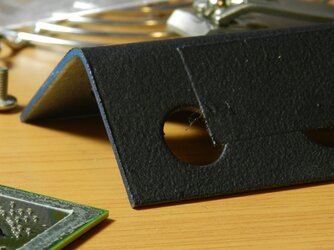
Here's a test piece I did yesterday to see how the undercoating would turn out before use. It looks great to me, and it's pretty durable as well. It takes some serious pressure to scratch it off of the bar, there's no way normal wear would scratch it enough to show aluminum.

DSCN2943.JPG

DSCN2943 - Copy.JPG
 
Alright, rivet drilling time :D

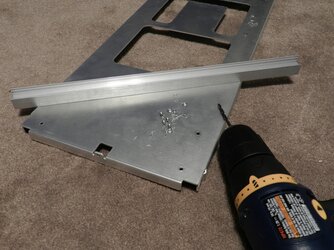
First, I removed the rail for the motherboard tray from the mid-plate. The rivets on the TJ07 are 1/8" (3mm) rivets, so that's the size drill bit I used.

DSCN2953.JPG

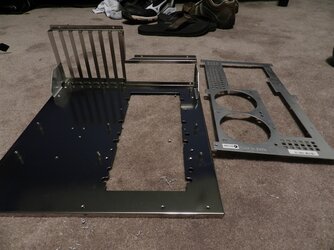
Next is the motherboard tray itself. The tray consists of three main pieces and two corner supports that are all riveted together. So, a ton (19 I think) of rivets to destroy...

DSCN2955.JPG

DSCN2959.JPG

DSCN2961.JPG

DSCN2962.JPG

Last, there was something I noticed when I was using the tray as a benching station for a little while: It was REALLY hard to get a PCIe card like a GPU to set properly and align with the screws on the back panel. Since I've taken this all apart now, I can see what was causing the problem. The holes for the end of the PCIe bracket to slide into are not big enough for the bracket to fit, even if forced. So, I'm going to just use my Dremel to cut those out and remove the holes completely.

DSCN2970.JPG

DSCN2975.JPG

DSCN2976.JPG
 
This will be a thread for a slow going build log since I don't have much free time :rolleyes:

Over the past month, I've only been able to work on the painting one day per weekend, and not even a whole day... Good news though: The painting of the case parts is done :clap:

It took quite a lot of coats to get everything covered well because the undercoating goes on like powder. I was even able to sweep up the paint that was on the garage floor...lol. I went through 4 cans of undercoating before getting full coverage, so there was a lot of waste on the floor too.

DSCN3437.JPG
 
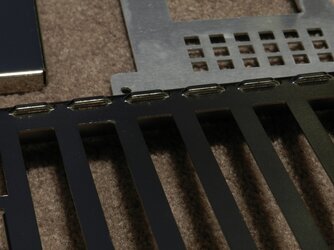
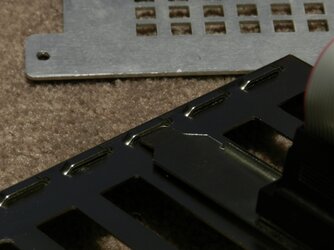
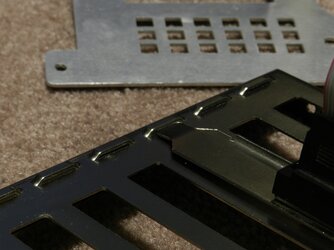
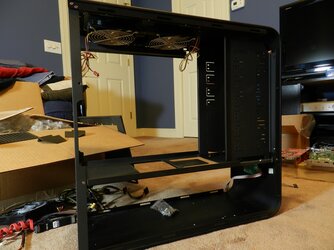
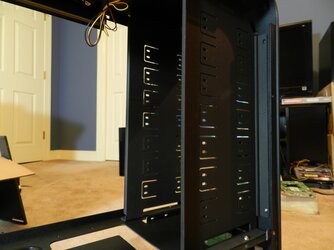
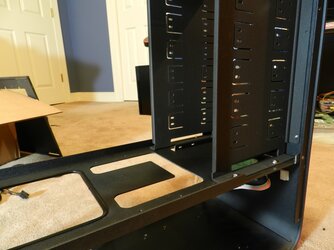
I decided to partially put the case back together to see how the finish looks. I also put some u-channel molding around one of the holes in the mid plate.

The finish looks pretty good to me :D

DSCN3444.JPG

DSCN3448.JPG

DSCN3451.JPG

DSCN3445.JPG
 
Thanks for the close-up pics of the paint and of the can (and the coverage report). I am looking at paint now, and the info helps make decisions.
 
I was planning on putting the LGA2011 system in it for the black/gray theme, but we'll see since the IB stuff should be released soon.

I'll put the rads in place tonight and start taking measurements for the tube routing.

You are making me want to spend all the $$$ I have :shock:
Cant wait to see later pics :popcorn:
Do it! I want to see an awesome project log :D

I can't wait for the later pics either since that will mean I'm done or close to done...

Thanks for the close-up pics of the paint and of the can (and the coverage report). I am looking at paint now, and the info helps make decisions.

No problem. If you want some other pics or have questions about the undercoating, just say so :thup:
 
Back