A few ideas and the marking info...
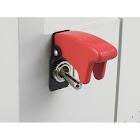
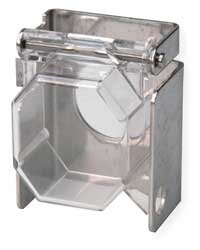
If you are knowledgeable in wiring and soldering, you could re-route your PSU power switch into one of the covered toggle switches like the military uses sometimes. They even have some that have lighted tips when on.
Another idea could be to use a covered momentary on push-button for the actual power button, but put some black and yellow or red and yellow hash markings around it. Think "BIG RED BUTTON" in a movie-style nuclear launch facility.
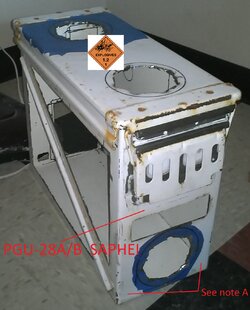
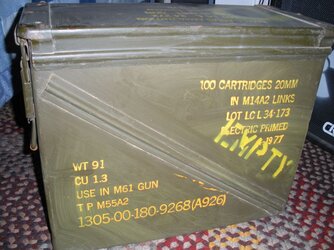
In the picture below (I'll have a second post with another couple pics to separate info for clarity) you could put a
1.2 sticker (this is the explosive class for the 20MM ammo they use) inbetween the two top fans. That link sells a variety of sizes from 1" to 24" I think. Also, in yellow, if you wanted to keep a somewhat accurate marking for 20MM ammo, you could stencil "PGU-28A/B SAPHEI" (two spaces in there) right above your 5.25" bay opening.
In the picture I have "See note A". What I was thinking is maybe, depending on your budget, you could procure some of the smaller 1.2 Explosives stickers they sell for those spots....or paint em on?
As I think of more ideas I'll post. Ok, on to the next couple pics!
") .
.


 And if you want any kind of extra authenticity, it's all in the details....I could find out exactly how that should be marked for any type of explosive or ammunition and let you know so you can stencil it on there.
 Um... lol