- Joined
- Jun 24, 2014
- Location
- TX/CO
Hey ladies and gentleman, and welcome to my first build log!
Please enjoy as I build a water-cooled, pure-gaming rig in a full-tower Phantom 630 body.
As this is my second build, and my first custom water-cooled build, I welcome any & all constructive reminders/tips, especially concerning the water-cooled aspects of the build.
For a quick peek at what will be in the build, please skip down to my signature, or continue scrolling down for some initial pictures!
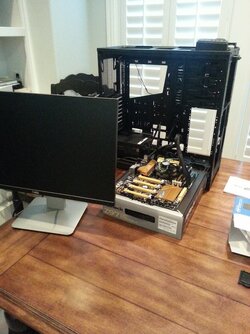
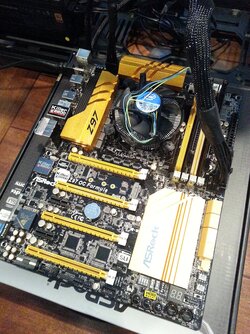
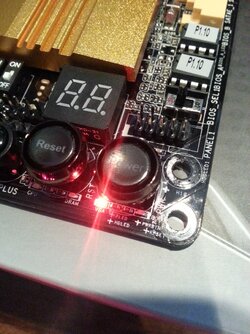
Everything has now arrived, and I'm ready to put the PSU, MB, CPU and RAM together outside the case to quickly test for lemons, and then move on to the actual build!
- Below is a gallery of initial parts pictures as they came -
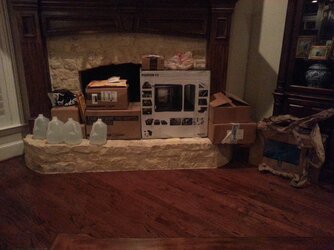
All the parts as they arrived:

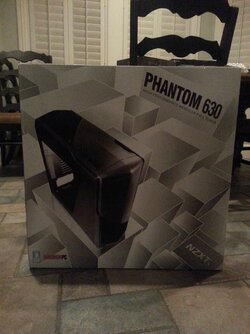
Case Box - Phantom 630:

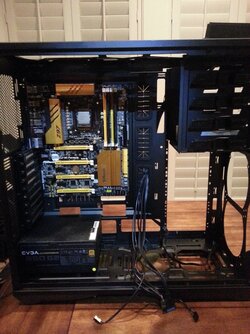
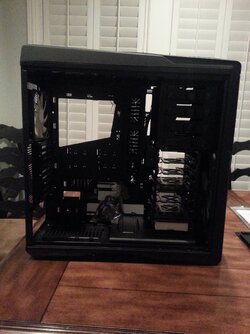
Open Case, HDD bays and bottom insert will be taken out. SSD will be mounted behind the MB.

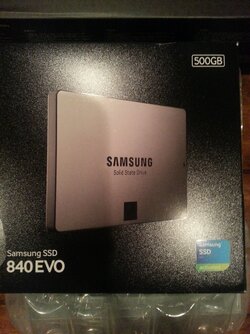
SSD - Samsung 840 EVO 500GB

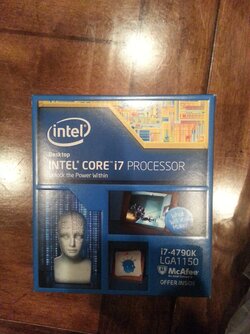
CPU - 4790K hyper-threaded quad-core

DVD Drive - For Windows install & old CD games (Freelancer here I come)

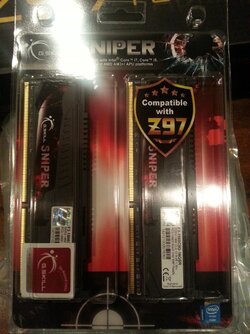
RAM - G.Skill Sniper 16GB 1866Mhz

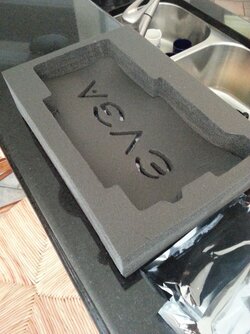
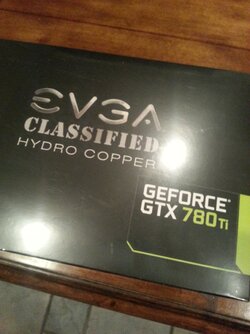
GPU - GTX780 Ti Classified Hydro Copper (Super excited to OC this)

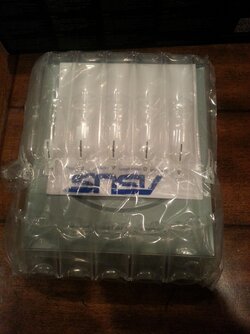
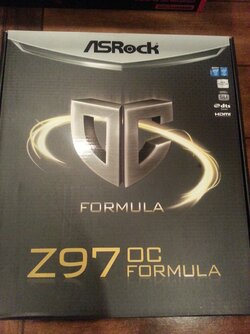
MB - ASRock Z97 OC Formula (Overkill & I love it - beautiful board)

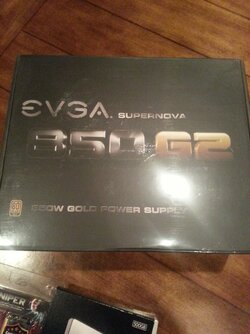
PSU - EVGA Supernova G2 850W Gold (Solid Superflower unit - Plenty of room to OC everything)

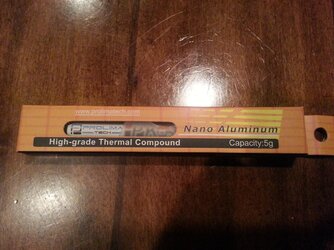
TIM - Prolimatech PK-3

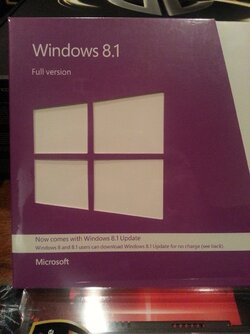
OS - Windows 8.1 64-bit (Call me crazy, but I prefer 8.1 for a gaming rig)

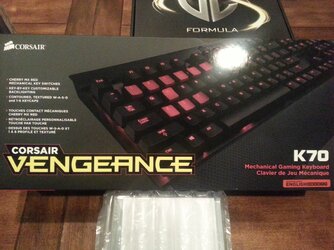
Keyboard - Corsair K70 Cherry MX Red switches

Noctua Fans
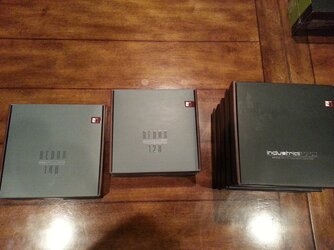
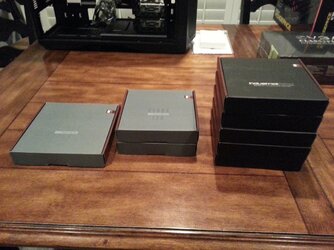
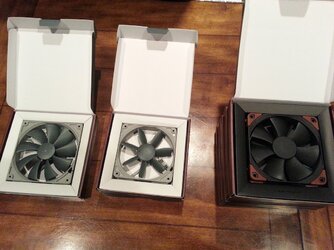
Left to right: 140mm 1500rpm Redux, 120mm 1200rpm Redux, 120mm 2000rpm Industrial
Rear exhaust, front intake, top/bottom radiator fans, respectively


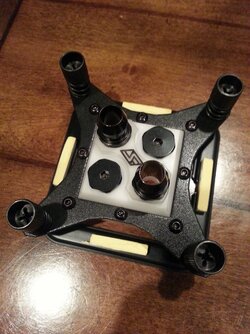
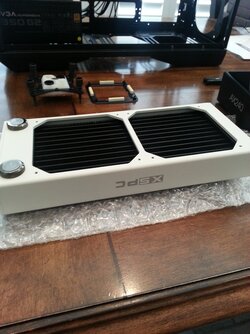
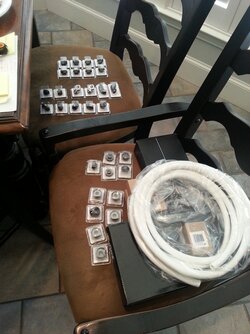
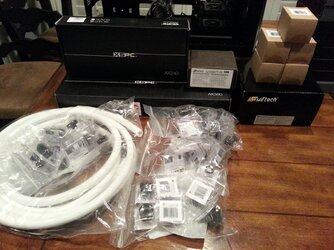
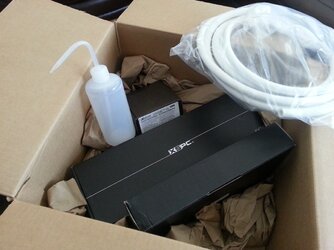
Water Cooling Parts - AX360 & AX240 Rads, Apogee HD CPU block, MCP50X pump/res combo, PrimoFlex Adv. LRT Tubing, Swiftech QDC's & many various fittings


Planned Loop Order:
Pump/res -> CPU -> top 360 rad -> GPU -> bottom 240 rad -> pump/res combo
____________________________________________________
More to follow tomorrow as I begin the build!!
Please enjoy as I build a water-cooled, pure-gaming rig in a full-tower Phantom 630 body.
As this is my second build, and my first custom water-cooled build, I welcome any & all constructive reminders/tips, especially concerning the water-cooled aspects of the build.
For a quick peek at what will be in the build, please skip down to my signature, or continue scrolling down for some initial pictures!
Everything has now arrived, and I'm ready to put the PSU, MB, CPU and RAM together outside the case to quickly test for lemons, and then move on to the actual build!
- Below is a gallery of initial parts pictures as they came -
All the parts as they arrived:
Case Box - Phantom 630:
Open Case, HDD bays and bottom insert will be taken out. SSD will be mounted behind the MB.
SSD - Samsung 840 EVO 500GB
CPU - 4790K hyper-threaded quad-core
DVD Drive - For Windows install & old CD games (Freelancer here I come)
RAM - G.Skill Sniper 16GB 1866Mhz
GPU - GTX780 Ti Classified Hydro Copper (Super excited to OC this)
MB - ASRock Z97 OC Formula (Overkill & I love it - beautiful board)
PSU - EVGA Supernova G2 850W Gold (Solid Superflower unit - Plenty of room to OC everything)
TIM - Prolimatech PK-3
OS - Windows 8.1 64-bit (Call me crazy, but I prefer 8.1 for a gaming rig)
Keyboard - Corsair K70 Cherry MX Red switches
Noctua Fans
Left to right: 140mm 1500rpm Redux, 120mm 1200rpm Redux, 120mm 2000rpm Industrial
Rear exhaust, front intake, top/bottom radiator fans, respectively
Water Cooling Parts - AX360 & AX240 Rads, Apogee HD CPU block, MCP50X pump/res combo, PrimoFlex Adv. LRT Tubing, Swiftech QDC's & many various fittings
Planned Loop Order:
Pump/res -> CPU -> top 360 rad -> GPU -> bottom 240 rad -> pump/res combo
____________________________________________________
More to follow tomorrow as I begin the build!!


