- Joined
- Apr 16, 2001
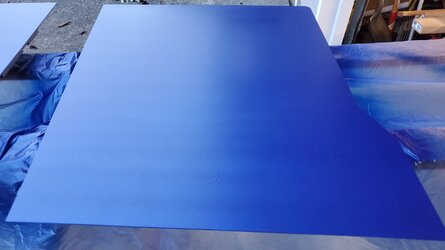
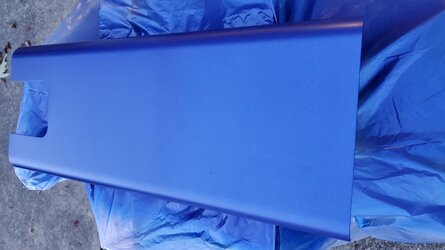
EDIT 12/23/2020: Had to disassemble rig due to not being able to handle the temps of my 5700XT or 3080.
Now I get to spray the inside flat black. When I upgrade my 1700 to a 5xxxX CPU I will repurpose the 1700/MB/RAM and a 570 I have and create a nice system for my 6 year old son's bedroom.
/EDIT
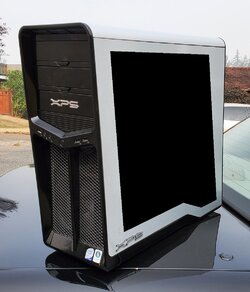
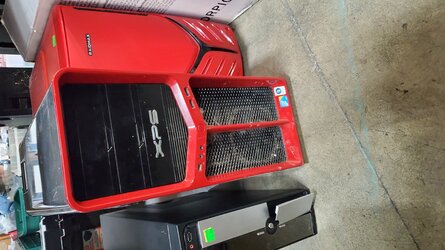
Went to my local PC recycler looking for a power supply for another build. Well, I found a 750w power supply attached to a Dell XPS 630i case. Actually, there were two. Another XPS 630i in red. But, it was nasty. As in scratched up way more and a pound of dust mixed in with a container of bread crumbs. Oh, it was also $10 more. It wasn't even worth buying for the power supply as it was full of dust.
Back to the Black XPS case:


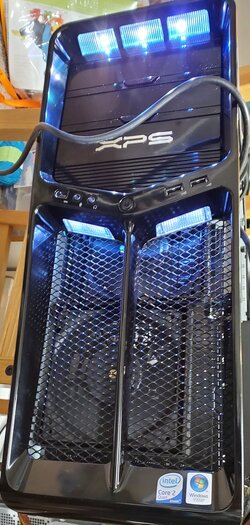
So, I've decided I'm going to clean this black one up. Luckily, I don't need to do much clean up on the inside. It's the outside that needs help.
The aluminum clear coat is marred/scratched well and a few spots where I was scratched through to the bare aluminum. The camera and outside light aren't picking up the damage. I wish there was a cheap way to restore the finish. Anyone have any suggestions? I have some Eastwood 2k clear coat. I could reclear the aluminum. How would I get it off without damaging the aluminum underneath? If I sand it I will likely damage the brushed pattern that is under the clear coat. If I use chemicals to remove the clear coat, what can I use that won't harm the aluminum? Any idea how to repair the heavily scratched areas and recreate the brush pattern?
If I cannot repair the aluminum clear coat, I'll spray paint it a dark color and clear over it.
Internal mods and airflow modifications.
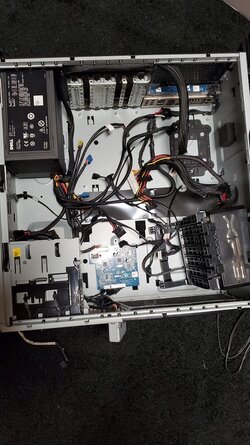
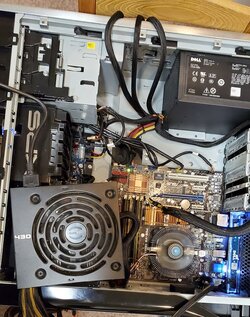
Here is an overview of the inside and what I want to do to it:

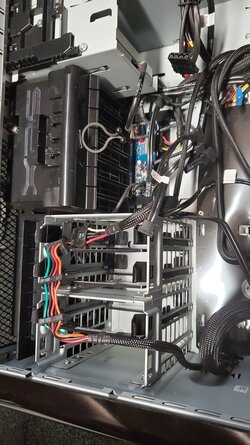
I plan on ditching the hard drive cages and their fans. I am not sure on the cooling solution I will use for CPU/GPU. If I go just CPU I will try to sneak a 240mm rad where the bottom two fans are. If I go CPU & GPU watercooling I will also remove the optical drive and it's cage. There is a little interference in the front with the powerbutton & USB ports up front. I don't mind since I don't plan on overclocking much, if at all.
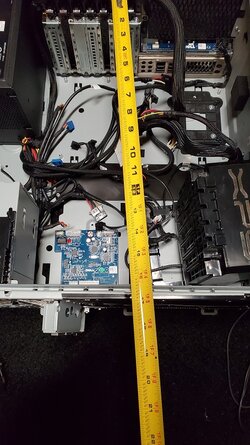
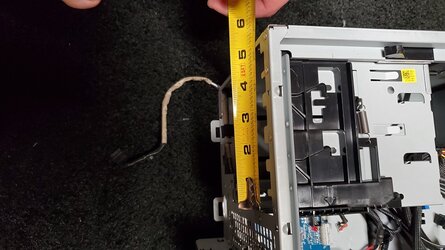
For reference I have measured from rear of the case to rear of the current fan cage. Its about 13". That would barely fit my 5700XT Thicc III right now. Not sure what will happen with a 3070/3080.
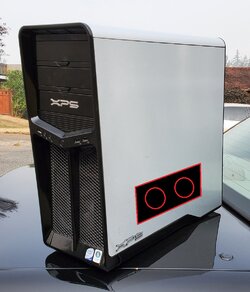
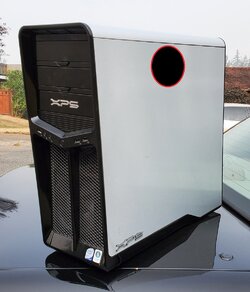
Unfortunately, the side panel comes off by pulling a handle towards back on the top panel of the case (sorry I didn't grab a pic.) There is a mechanism that unlatches the side panel. Since the top panel has moving parts I highly doubt I will be able to cut a hole in the top for a fan. So, in lieu of that I was thinking of putting a hole or two holes towards the top of the side panel. I will be removing the top panel and then seeing what can be cut and what has to stay intact.
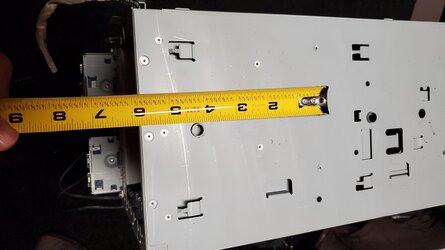
Pic of top from the inside:

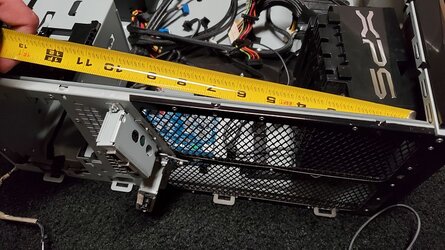
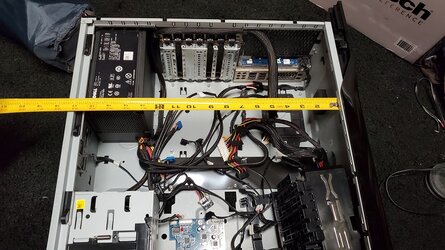
Few more pics for more detail:


And of course, NastyRed:

Please, if you have any input feel free to comment below. I am hoping to turn this into my main PC.
Now I get to spray the inside flat black. When I upgrade my 1700 to a 5xxxX CPU I will repurpose the 1700/MB/RAM and a 570 I have and create a nice system for my 6 year old son's bedroom.
/EDIT
Went to my local PC recycler looking for a power supply for another build. Well, I found a 750w power supply attached to a Dell XPS 630i case. Actually, there were two. Another XPS 630i in red. But, it was nasty. As in scratched up way more and a pound of dust mixed in with a container of bread crumbs. Oh, it was also $10 more. It wasn't even worth buying for the power supply as it was full of dust.
Back to the Black XPS case:
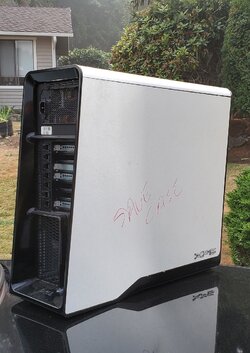
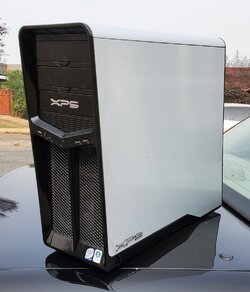
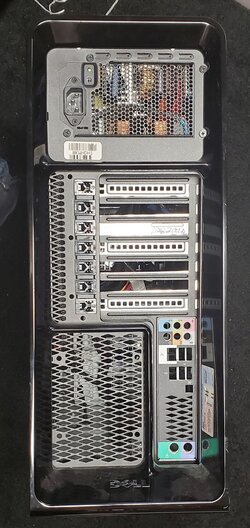
So, I've decided I'm going to clean this black one up. Luckily, I don't need to do much clean up on the inside. It's the outside that needs help.
The aluminum clear coat is marred/scratched well and a few spots where I was scratched through to the bare aluminum. The camera and outside light aren't picking up the damage. I wish there was a cheap way to restore the finish. Anyone have any suggestions? I have some Eastwood 2k clear coat. I could reclear the aluminum. How would I get it off without damaging the aluminum underneath? If I sand it I will likely damage the brushed pattern that is under the clear coat. If I use chemicals to remove the clear coat, what can I use that won't harm the aluminum? Any idea how to repair the heavily scratched areas and recreate the brush pattern?
If I cannot repair the aluminum clear coat, I'll spray paint it a dark color and clear over it.
Internal mods and airflow modifications.
Here is an overview of the inside and what I want to do to it:
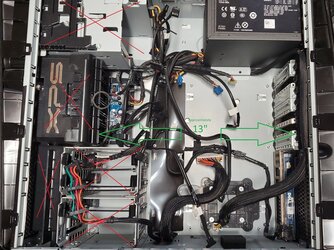
I plan on ditching the hard drive cages and their fans. I am not sure on the cooling solution I will use for CPU/GPU. If I go just CPU I will try to sneak a 240mm rad where the bottom two fans are. If I go CPU & GPU watercooling I will also remove the optical drive and it's cage. There is a little interference in the front with the powerbutton & USB ports up front. I don't mind since I don't plan on overclocking much, if at all.
For reference I have measured from rear of the case to rear of the current fan cage. Its about 13". That would barely fit my 5700XT Thicc III right now. Not sure what will happen with a 3070/3080.
Unfortunately, the side panel comes off by pulling a handle towards back on the top panel of the case (sorry I didn't grab a pic.) There is a mechanism that unlatches the side panel. Since the top panel has moving parts I highly doubt I will be able to cut a hole in the top for a fan. So, in lieu of that I was thinking of putting a hole or two holes towards the top of the side panel. I will be removing the top panel and then seeing what can be cut and what has to stay intact.
Pic of top from the inside:
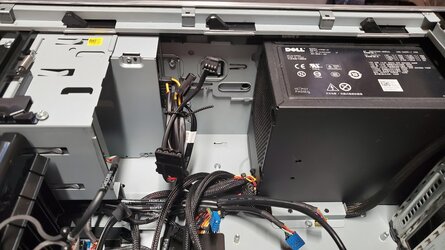
Few more pics for more detail:
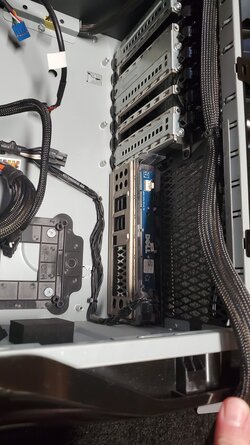
And of course, NastyRed:
Please, if you have any input feel free to comment below. I am hoping to turn this into my main PC.
Last edited:
