- Joined
- Apr 1, 2004
- Location
- Vancouver Canada
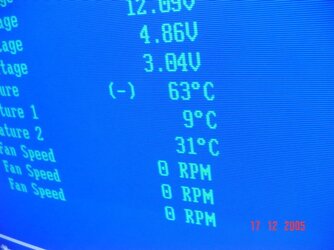
im holding load at -48c core temps
Huh? typo? different cooler? cpu reporting crazy temps? or does your cascade drop from below -100 to -50 when loaded?
What refrigerant do you have in the second stage?
Welcome to Overclockers Forums! Join us to reply in threads, receive reduced ads, and to customize your site experience!
im holding load at -48c core temps
matttheniceguy said:Huh? typo? different cooler? cpu reporting crazy temps? or does your cascade drop from below -100 to -50 when loaded?
What refrigerant do you have in the second stage?


")
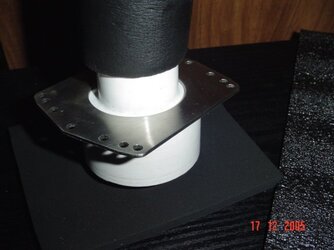
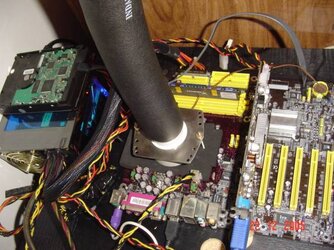
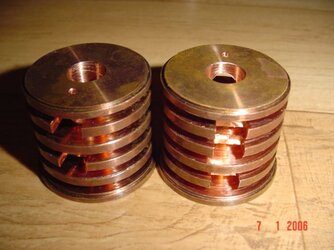
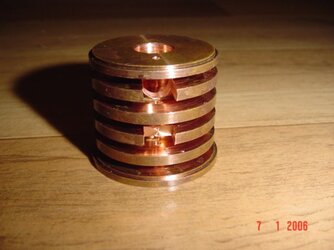
labrat does this give you some ideas for you ln2 tube i see ya building
http://www.xtremesystems.org/forums...ead.php?t=83096


Aussie_guy00000 said:Geez Kayl, you're everywhere. Top work as always
Oh yeah and I found some where else in australia that sells those condensors I showed you, their retail price is a little cheaper too. I've contacted them, will let you know the result.