• Welcome to Overclockers Forums! Join us to reply in threads, receive reduced ads, and to customize your site experience!

SOLVED Looking to tighten the timings on my G.SKILL F3-17000CL9Q-16GBZH.

Overclockers is supported by our readers. When you click a link to make a purchase, we may earn a commission. Learn More.

Ajay57

Member
Joined
Aug 19, 2012
Because this is really new to me i feel some what lost and overwhelmed by it all.

I did spend a few hours the other day trying really hard to tighten these timings @ 2400, but what ever i did the PC just crashed on every test.

I finally gave up set it back to auto and hey it works perfect again, yes i know these are rated @ 2133, but i was hoping to get a bit more. But it seems to me to make things worse the more you try to change things.

So thousand Dollar question do you leave well alone while it works perfectly @ 2400 on Auto?? Or do you try again, as for AIDA the readings is not that
of a big increase.

EDIT: I will post the details later as i have to go out now!!

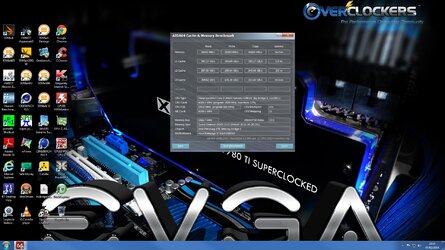
Snap 2014-02-07 at 22.21.37.jpg

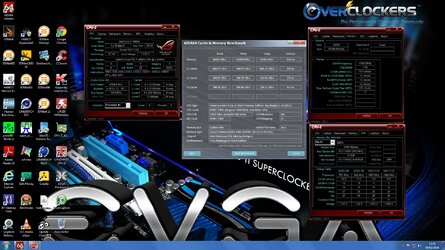
Snap 2014-02-08 at 13.38.57.jpg

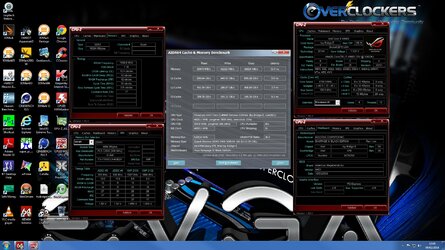
Snap 2014-02-09 at 17.09.20.jpg

Respectfully,

AJ.
 
Last edited:
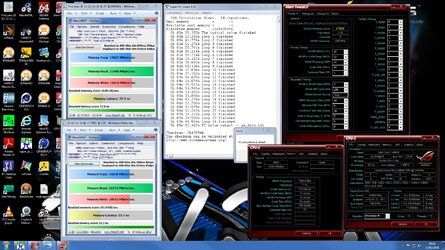
Download Mem Tweak It or similar soft which is showing full timing table ( or at least more timings than cpu-z ). Can be also AIDA64 SPD window : tools -> DRAM timings.

Try something like:
CL: 10
tRCD: 12
tRP: 12
tRAS: 28 or 30
tRFC: 172 , if it won't boot then add +20 and check again till you make it boot
CR: 2 ( when you make everything else stable then at the end change it to 1 and check stability again )
tRRD: 7, 8 or 9 , start from 7 and if it won't be stable then add +1
tWR: 16
tWTR: 9 ( if it won't run then 10 )
tRTP: 9 ( if it won't run then 10 )
tFAW: 30
tWCL: 7 or 8
tCKE: 5 or 6

( can be marked with "t" or without so tRCD in AIDA is RCD but it's the same )

vdimm: 1.65V but can try higher too

That's just an example and I'm not sure if it's going to work on your memory.
All other timings set to auto and when you make it stable then we can try some more.
 
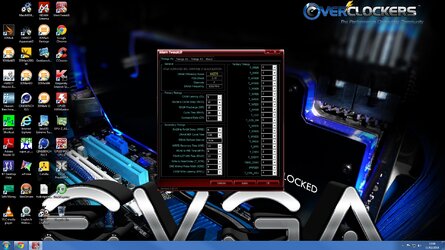
OK i had a quick look at this today, and i am not quite sure which way to go and which score is better!! Just trying to learn a simple way to OC the Ram here, so i will post the screen shots of the Ram Bios pages + these shots as well.

Please kindly come back to me and i will try again as well!! The screen shots are of my Bios when everything is set @ 48 this is my Benching setting the one i use for the scores to the HWbot.

View attachment 140209163737.BMP

View attachment 140209163810.BMP

View attachment 140209164132.BMP

This one is 9-11-10-28-320 1T!

2133 @ 9-11-10-28..jpg

This one is 9-10-10-28-320 1T!

2133 @ 9-10-10-28-320 1T..jpg

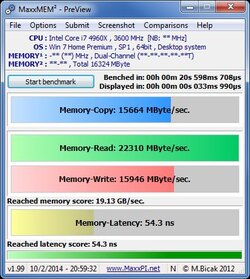
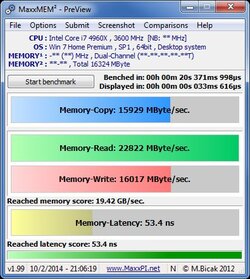
Just trying to understand which of the MAXXMEM TESTS is the best and which way to go with that Woomack?? The 2 screen shots are only Test examples to help me understand how this really works in a simple form.

Respectfully,

AJ.
 
for 2400 clock try:
1st screenshot:

10
12
12
30
1
7
172 ( and if it won't boot then add +20, try till it boots and then check stability before you move to the next timing )
16

2nd screenshot:

9
30
9
7 ( can try 6 later )
9 ( can try 8 later )

all other things can be auto while it's stable

Regarding maxxmem. It's about the same. Sub timings will give you more than main in this case. Other thing is that maxxmem preview is single thread only so better compare results in AIDA64. Most important is read bandwidth, then copy. Writes are not important for most benchmarks.
 
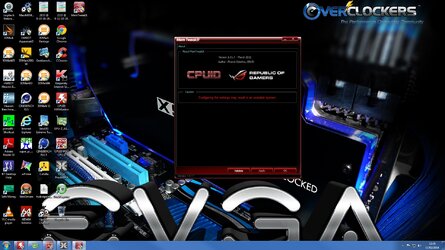
I have tried to find a Download for MEM TWEAKIT that works with this motherboard, maybe i am doing something wrong. I do not know it very much seems hard to get any where with this project at this time. To the point where its getting harder to justify all the effort put into it. This is what i have right now, but for what ever reason i will not work, even when you try all the buttons!!

Snap 2014-02-11 at 12.29.36.jpg


Yours Kindly,


AJ.
 
you need it only to read timings, version 2.xxx should work but you probably won't change timings in windows ( at least it's not working for me ) ... for sure it's easier to compare this timing list in windows than in BIOS but as I said you can also use AIDA64 timing window where is shorter list but about everything that you need right now
 
I found it my friend downloaded from my motherboard web site, it was listed in the Apps list and it works now. Also it asks for your OS and does make sure everything is compatible. Will try this when i have more time to myself, having to go in and out too much to give this my 100% attention right now.

My other friend with the same Mobo did this and it took him all day to tweak his ram. but once its done. You can save it with your OC Profile and never touch it again.

Here is a Screen shot @ 42 my everyday Web browsing and chatting setting etc!!

And thanks very much for staying with me on this one Woomack its hard work for a Old Guy like me trying to learn a whole new Technique in Overclocking!

Snap 2014-02-11 at 13.06.20.jpg


Thanks,

AJ.
 
I gave you list of timings so just try it when you find some more time and maybe try some more as it's not really as complicated as it looks like :)
 
What i have done is take my 42 overclock and use that as a base line, and optimize that first with the settings in the XMP PROFILE.

So this is what it stands at!

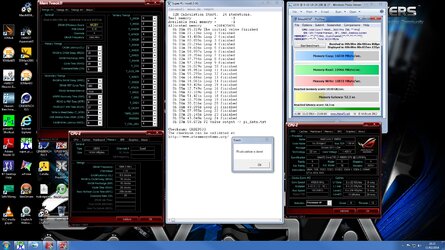
9-10-10-28 1T @ 280 Refresh rate. I have tested with PI 32 M and passed also checked the readings from the test i ran which shows its much better than before.

So as a test run and me learning what to do, i think it was a small step in the right direction. Would you recommend testing this now with P95 BLEND which uses lots of ram or MEMTEST86+?? I think after reading and looking around i understand the Basics of it all.

Snap 2014-02-11 at 21.22.32.jpg

Regards,

AJ.
 
Nah it's ok, move to the next setting as you want something at higher clock. Check 2400 10-12-12 and if you make it work stable then move to 2666 11-13-13.
In post #4 you have settings for 2400 ... test if it's working at 1.65V.
 
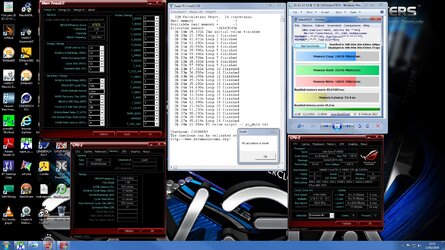
OK after some hours work i managed to overclock my ram @ 4.2Mhz up to 2400Mhz which has increased in all the score and passed PI 32M everytime i tested it.

So here is my results so far and i will try to apply these to my 4.8Mhz overclock in the next few days. Still need to run some further tests, but things are really looking good so far.

What you are looking at is a before and after results in Overclocking the ram!!

Snap 2014-02-12 at 00.46.33.jpg


Respectfully,

AJ.
 
It looks good. Try to lower tRAS to 30 ( there is 34 ) and tRFC 196 ( there is 230 ).

Save profile in BIOS and if you want you can check if 2666 is going to work.
For 2666 simply set 11-13-13-35 command rate 1 and memory voltage 1.65V ... everything else on auto. Check if it's passing HyperPi 32M at these settings.
 
Hi Woomack my friend, yes already tried that it will not Boot or crashes!!

tRAS =30

tRFC=196

34 and 230 is the lowest point it passes PI 32M and boots and seems stable at.

I tried for 2666 but it will not boot into it at all even @ 4.2 Mhz which is very stable stetting here. So 2400Mhz is not bad at all, i did notice there is not a lot between the G.SKILL settings and the ones that i ended up with if you check things out a bit more!!!

All i need to do next is lower the Voltage slowly one notch at a time, back towards 1.65v on the Ram sticks. Then if it crashes raise it back up again till it woks and is fully stable.

I started out @ 1.70v on the Ram, and now @ 1.695v and still stable will try to lower it a bit more. So the next thing is to get this to work @ 4.8Mhz!!! Maybe i could use the same settings as for 4.2Mhz and see what happens?

Respectfully,

AJ.
 
tRAS can be lower, tRFC maybe not. For Hynix RAM it's usually like tRAS = ( CL+tRCD+tRP ) -2 or -3 , that's why most 2400 CL10-12-12 kits have tRAS 31 on stock.

2400 10-12-12 has about the same performance as 2666 11-13-13 so better focus on something else.

Now when you have stable memory and other things then try to raise CPU clock without voltage changes. You have already 1.4V at 4.2GHz what should let you pass 4.5-4.6GHz , maybe more. Simply raise CPU ratio, nothing else.
For standard tests and daily work try to keep CPU voltage below 1.4V. For that you don't need 4.8GHz+.

When you see blue screen then remember last 3 digits. If it's 124 then raise CPU voltage ( 1-2 steps in BIOS , not 0.1V ;) ).
 
OK this with further tweaks with fully tested OK as well.

tRAS=32 now from 34.

tFAW=28 down from 30.

Most of the settings for 2400Mhz are nearly the same as the G.SKILL ones for 2133Mhz.

This is the best that is possible with this Ram and about as far as it will go, i think here!

Snap 2014-02-12 at 12.52.36.jpg


Thanks,

AJ.
 
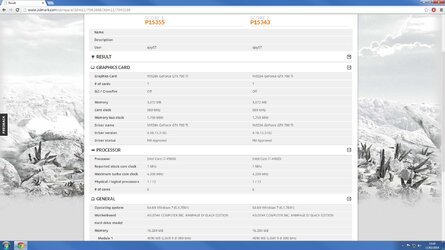
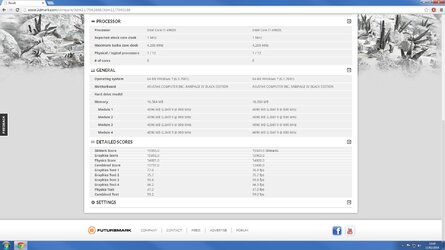
I ran this test @ stock for both times the only difference is, the one on the Left hand side is the OC Ram @ 2400Mhz! On the right side is the Ram set @ 2133Mhz normal XMP Profile as you can see, a slight increase in the overall score! And it runs without any problems, which is very good news.

Snap 2014-02-12 at 13.49.40.jpg

Snap 2014-02-12 at 13.49.58.jpg

Regards,

AJ.
 
As I said before , you almost won't see any difference in 3D so better focus on CPU clock now.
It's still good to hear that you made it stable @2400 and these tighter timings.
 
OK have to do some jobs for the Boss, so will have a play with the Multi later tonight and see how far it will go. Just one question would you use Cinebench 11.5 just to test each step up??? Since you are trying to do this without raising the Vcore on the CPU!!

But anyways i am going to give this a real try out this end, feeling good about what this old guy has managed to do so far here! Learning a new skill, what they say, you can not teach a old DOG new tricks lol!!!

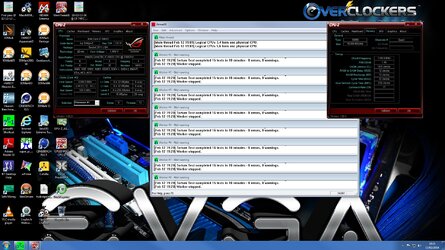
Because i am not sure what quite to do next, so i went ahead and tested my new OC @ 44 with P95 using Blend, which use Ram,CPU, and all other components together and it passed no problems!!

Amazing without touching the Vcore and leaving it @ 1.40v, so the only thing i could possible put this down to is the new RAM and settings making the whole thing much more stable than before!

Snap 2014-02-12 at 19.21.43.jpg

AJ.
 
Last edited:
Back