• Welcome to Overclockers Forums! Join us to reply in threads, receive reduced ads, and to customize your site experience!

Project: Black I

Overclockers is supported by our readers. When you click a link to make a purchase, we may earn a commission. Learn More.
I have also been working on shaving everything on the front door other than the lock.

IMG_8853.jpg

I just need to bondo the opening that I filled with an automotive sealer.
 
Looks nice! Can't wait to see more man.

and the method your using for noise reduction, dosent look all that horribly ghetto. But a clever solution nun-the-less. (sp)
 
Sleepy_Steve said:
Looks nice! Can't wait to see more man.

and the method your using for noise reduction, dosent look all that horribly ghetto. But a clever solution nun-the-less. (sp)
I dont really care how it looks as it will be hidden. LOL

I havent ever seen it done before, so I figured, why not give it a try?!?
 
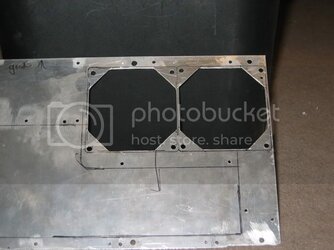
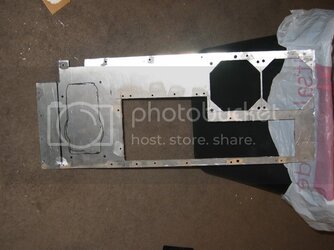
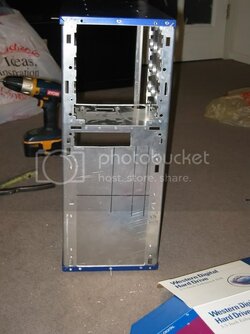
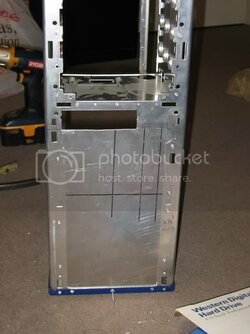
Got some work done on the front panel tonight:

IMG_8875.jpg

IMG_8874.jpg

Now i just need to cut it for the two 120mm fans. Then its ready for powder coat.

I was going to work some more on the back panel tonight, but it got late and my 4" grinder is loud and I dont want to make the neighbors mad. Im just going to wait to finish the back panel until my 92mm fan gets here since I have to cut it for that too. So tomorrow or the next night that will get finished. Then hopefully PC the thing thursday.
 
Im going to have a window. So you will be able to see the nice shiny PC.

The front will be cut out for 2 120mm fans. It was just easier to put a new panel on the have to modify the existing panel. I will also be putting sound dampener on some of the panels. By making a new front panel, there are fewer holes, so less noise escapes the case (Im hoping).
 
Well 2 of 4 packages arrived today. Nothing special, just some parts I need.

IMG_8885.jpg

Fan Controller:
IMG_8882.jpg

2x 92mm x 25mm Panaflo M1's:
IMG_8883.jpg

Where I plan to position the two M1's for exhaust (yes I realize they are upside down in these 2 pics LOL):
IMG_8886.jpg

IMG_8887.jpg

Now Im off to do some cutting!
 
Well, I got the 2 fan holes cut:
IMG_8895.jpg

Then I started cutting out the back panel for the MOBO connections and PCI slots. All of a sudden, POOF, and my Dremel blows up!

So I broke out my trusty 4" angle grinder and cut the rest of it out:
IMG_8896.jpg

This is the second Dremel I have blown up! So Im going to get another one this week and finish the back panel up.

Thats it for tonight.
 
Well at least I got something done last night.

I drilled the 3.5" conver and installed my fan controller:
IMG_8941.jpg

My Performance PC's package should be here today.
 
Got an order a couple days ago:
bunch of misc. molex connectors, sleeving, wire and a Lian-Li USB/audio connector from Performance-PC's

Just ordered: 92-120mm fan adapter, 2 black M3 thumbscrews, Alpahcool top for the DDC+ pump I just bought from damarble.

Its starting to come together! Yay!
 
Time for pics!

I love having a nice soldering setup!
IMG_8973.jpg

The molex connector for the fan controller:
IMG_8971.jpg

My crappy job of cutting out a 5.25" bay cover for the Lian-Li USB/audio connecter:
IMG_8967.jpg

How the USB/audio connecter will look:
IMG_8969.jpg

Fan connectors that will go on the fan controler:
IMG_8972.jpg

Thats all for now.

Thanks!
 
i just read over you list and see the uv blue fans but no where do i see uv blue sata cables :p

glad it is moving along! as soon as i can see the pics i will comment. currently not at home to see pics, they are blocked by the server this machine goes thru.
 
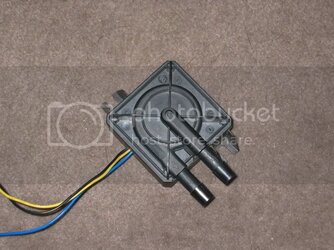
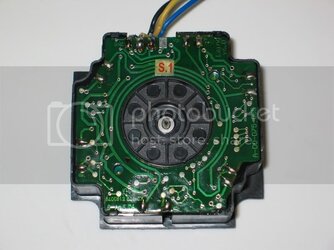
My latest order just came in yesterday:

IMG_8975.jpg
IMG_8978.jpg

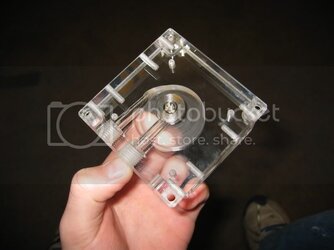
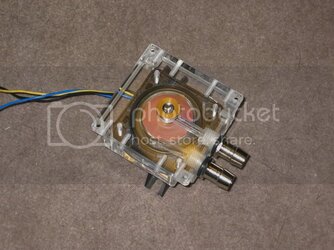
Then I stripped it down and cleaned the impeller and O-ring in preparation for the new top:
IMG_8980.jpg

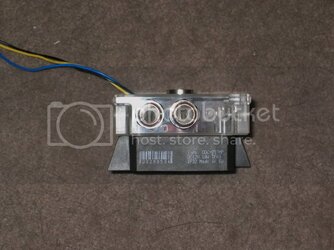
Final product:
IMG_8983.jpg
IMG_8984.jpg

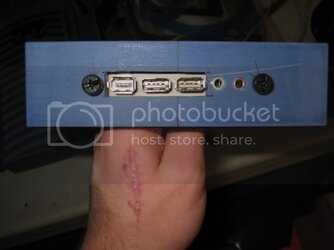
I also got the 2 M3 thread thumbscrews I needed for my 5.25" USB/Audio panel:
IMG_8986.jpg
Like my scar? haha

What do you guys think? I still need another pump to do my CPU loop, and then I will figure out what to do with the GPU and chipset.
 
Back