• Welcome to Overclockers Forums! Join us to reply in threads, receive reduced ads, and to customize your site experience!

Project Tokara The 3rd.

Overclockers is supported by our readers. When you click a link to make a purchase, we may earn a commission. Learn More.
thanks for the compliments guys, it makes me feel like the hours of work is totaly worth it

its a ton of work lol. especialy because im thinking up most of it as i go along. basically non of this is pre planned. only a general idea of it is written down, and most of that changes every day.


well, my camera took a turn for the worse a week ago :bang head o well, its an excuse to get that digital SLR i've always wanted.


well, because i can't take pictures of it. ill explain what i've done.

done:
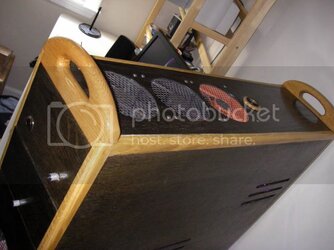
Top/Back/Bottom panels are on and fitted.
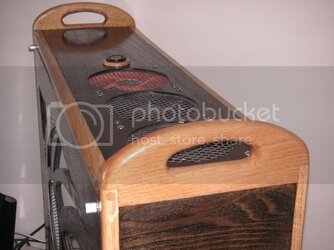
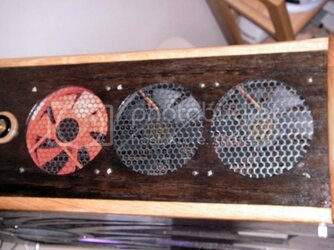
the three holes on the top panel have been cut and sanded
the motherboard tray has been cut and is ready to be glued in
the drive mounting system is nearing completion.

things to come:
hard-drive boxes to house 3 hard-drives. (ill make two)
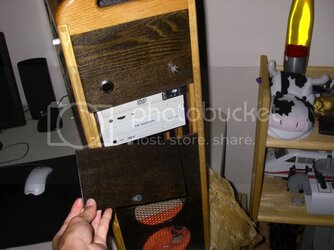
a peice of wood to cover the drive mounting.
the front/side panels.
the window needs to be cut for the side.
cut up the back panel.
varnish/stain the wood.
put it all together
take it to the "computer" fair to get some more publicity.
 
Sounds great, a DSLR would be pretty awesome, I have thought about getting one, but haven't really put the funds off to the side for one. Can't wait to see the panels.
 
thanks again for the comments guys :)


well, i spent like. 3 freaking hours searching stores for stuff to finish the case. the home depot that i went to is MASSIVE. i mean. HUGE. it takes up an entire shopping center almost. theres 2 homedepot store and everything. but guess what? to find the right screw took forever. ahh. well, heres what i got.

bought:
12 - 1 1/2 inch screws for rad mount.
4 - 1/2 inch screws for psu mount.
6 - wood screws for mobo mount.
10 ft - cheapo 1/2 inch tubing so i don't have to waste my good masterkleer.
5 gal. - distilled water.
2 - high quality brushes for stain/varnish
1 - bottle of some dark stain for the plywood.
some anti-freeze
some providone iodine.

need to buy.
40 - hard-drive/cd-drive screws.
2x2 foot sheet of lexan. (or that cleer stuff thats better then acryilic.)
4 - rubber feet.
4 - blue led's to put into the rubber mounts (hopefully it'll look cool)
12 or so - worm drive clamps.

finished:
drive mounts.
1 hard-drive box that can mount 3 hard-drives.
finished mobo mount.
clean rad.

in progress:
mark out the back side for vid.card mount.
mark out mobo mount for precise drilling.
 
Well, today i worked on putting a test w/c loop together. and thankfully even with zip ties and not propper worm clamps. theres not leaks what so ever. and im using 1/2 inch instead of 7/16 (i bought some cheap home depot stuff, and let me tell you, its not that great at all, masterkleer is totaly worth the money)


only problem is that its taking forever to bleed out all the air bubbles most of the small ones just fly right by the t-line. but it hasn't been running for an hour yet, so i guess it needs more time.


but the weekend in comming up so there will be a ton of work.

things to do for the weekend

- cut the back panel up for i/o,psu, etc.
- cut the front/side panels up
- a coat of varnish on the frame.
- cut up the side of the case to house fan/plexiglass.
- cut up other side of the case for some passive intakes and then passive outtakes for when huge fan is turned on.
 
BAH HUM BUG. im so mad my camera isn't working. you guys are missing out. this thing is beautiful.

Things i've Done
-Stained all plywood black/brownish color
-tested out my first ever w/c loop. worked perfectly
-put 3 coats of varnish on the frame of the case
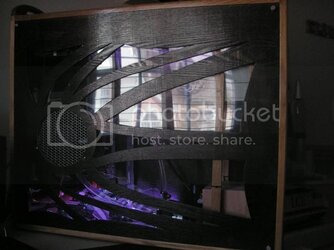
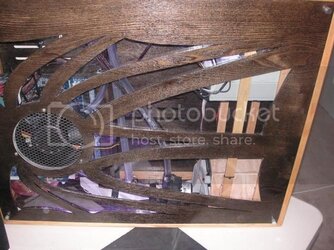
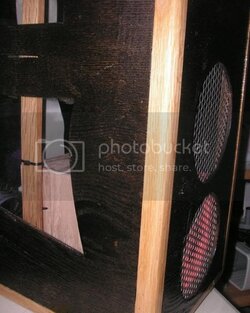
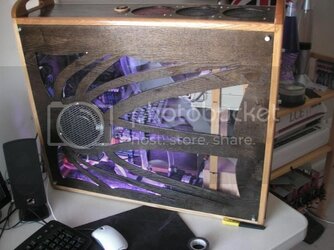
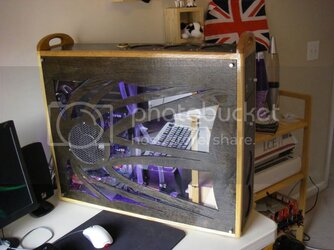
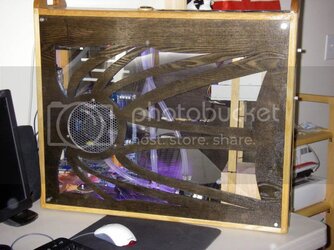
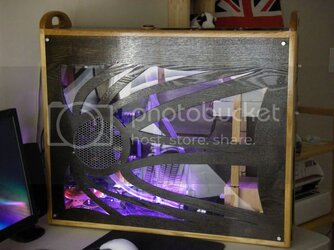
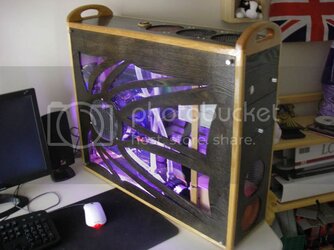
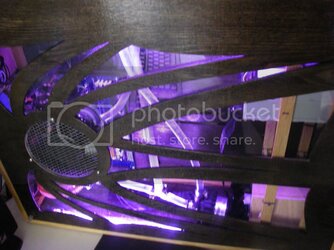
-cut the window to some design i made up as i went along, it worked nicely.
-bought lexan from homedeopt.
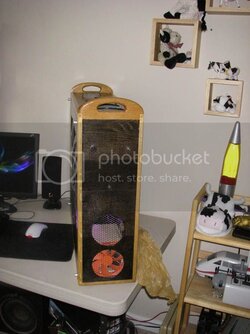
-bought silver mesh from mod-store, cut it up to cover wholes.
-cut screws to mount radiator.
-bought an Apogee GT just because i could... (the first apogee will go on sale soon)

Things Left to do.
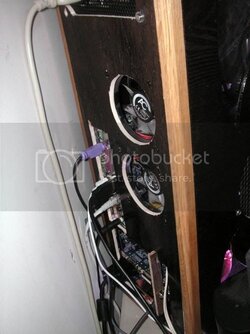
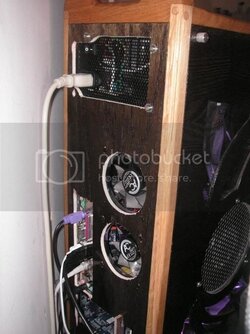
-mount the motherboard. cut the back panel for i/o plate,psu,expansion cards etc.
-put a coat of varnish on plywood for a shiny finish.
-mount the pump/radiator
-install the w/c loop then leak test
-put the computer together.
-cable mangement.
-DONE
 
Get a disposble camera and get the film developed and put on CD ;)

Sounds like your making some serious progress :thup:
 
greenmaji said:
Get a disposble camera and get the film developed and put on CD ;)

Sounds like your making some serious progress :thup:

good idea, ill get over to walmart and take a few or something...


or i could just use my old SLR camera and get them developed onto a cd. i haven't used that old camera in a while lol. infact, i almost forgot i had it still lol. (its a minolta or something, back in the day it was a decent camera, and its looks great when you process the photo properly, unline what walmart does, so thats why i got the digital camera.)

one less thing to do, just put 2 coats of varnish on the plywood, its very shiny now.

Things Left to do.
-mount the motherboard. cut the back panel for i/o plate,psu,expansion cards etc.
-mount the pump/radiator
-install the w/c loop then leak test
-put the computer together.
-cable mangement.
-DONE
 
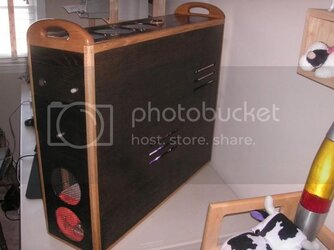
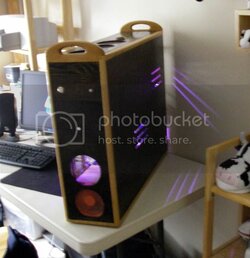
well, today i put the entire case together, for the first time, even my parents were like "whoa" that made me happy.


but what didn't make me happy was that my metal saw went completely blunt and i didn't notice really, i sawed through 3 screws thinking "dear god, stainless steel has gotten really tough over the years" then i sneezed and in the process the blade slipped and ran across my wrist... and then i freaked out thinking "OMG I DONT HAVE A HAND" then i realized i barely had a white mark on my wrist and then the blade was basically trying to rub down a piece of concrete with a tissue paper lol. went to the store and bought a ten pack of some higher quality blade, cut the other 12 in 10 seconds lol.

so the moral of that story is "don't sneeze" because i got lucky.

but what did make me happy was that i returned my brand new jig saw, that i only did 5 cuts with, because a part was a bit loose and annoying me. and then they gave me another new jig saw... man... you gotta love a new high quality jig saw, it just cuts like no other. cut a near perfect circle in lexan. there where no splinters or anything. even the paper didn't rip or something along those lines.


ah well. update to-do list. now with dates.
-mount the motherboard. cut the back panel for i/o plate,psu,expansion cards etc. Thursday
-install the w/c loop then leak test Thursday
-put the computer together. Friday
-cable mangement. Friday
-take some damn pics Friday
-overclock with my new nifty watercooling Satuday
-get a really high paying job to get a new 65nm processor Summer
 
DONE

well, im pretty much done, or nearing completiton. i'd say 90% done.

if you have any questions at all on how i made something, or mounted something etc.. please feel free to PM me or E-mail me at darkcow@gmail.


my friends from Washington D.C. drove down and i stole their camera, its a nice camera.

Things to be done
-More Cable Mangement
-Volt mod the CPU
-Sleeve all the cables
-tidy up the back (ex:stain all the white spots black)
-Upgrade to Vista with quad core etc..

00001.jpg
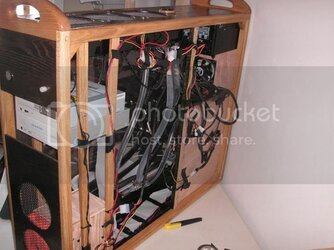
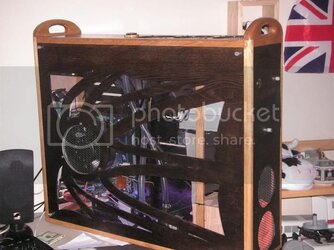
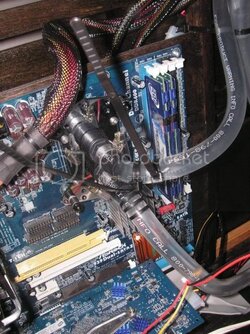
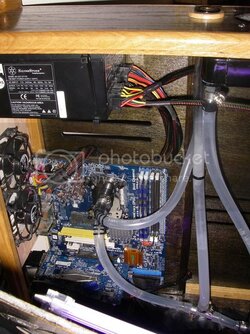
Cable mangement.. not done, but you get the idea.
00002.jpg
00003.jpg
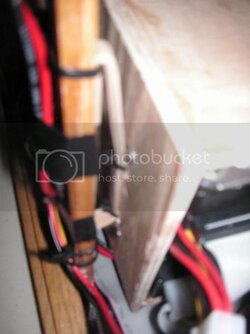
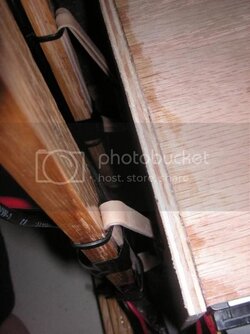
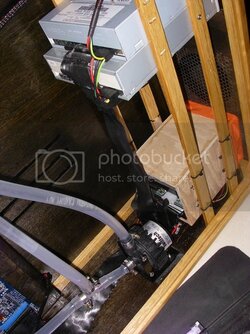
how i mounted the hard-drives, all with rubber bands etc.. no vibrations, and due to the air being forced past the hard-drives, they are at a nice 24 degrees Celsius.
00004.jpg
00005.jpg
00006.jpg

00007.jpg
00008.jpg
00009.jpg
00010.jpg
 
Last edited:
00011.jpg
00012.jpg
00013.jpg
00014.jpg
00015.jpg
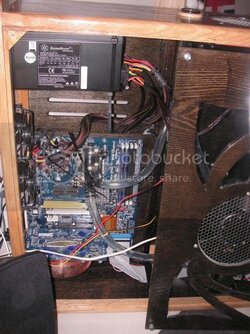
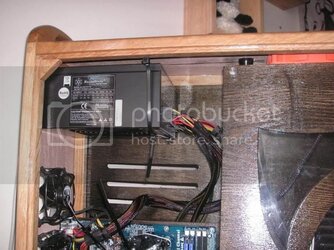
how i supported the PSU mount, again, need to tidy it up.
00016.jpg
00017.jpg
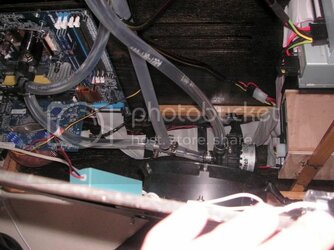
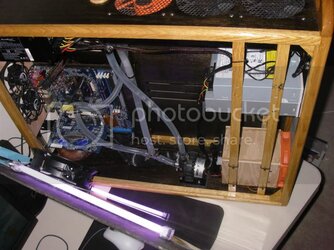
due to the large fan i had to zip tie the tubing to stop it from kinking. i still need to perfect it, i didn't cut them yet so i can adjust them.
00019.jpg
00018.jpg
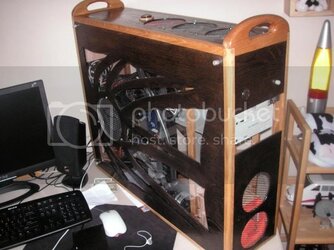
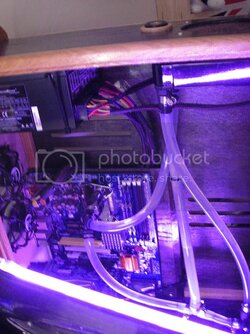
thats how it looks pretty much, purple lights really lit up the case well. and the case will only look better once i tidy up the insides a bit.
 
thanks for the comments guys, i just did some major cable mangement on the case.

-cleaned up the cold cathode lights by routing behind mobo
-undervolted the zalmen fan to 7v and routed the power behind mobo
-painted IDE cables black
-spliced all the yate's together and then undervolt them to 7v
-undervolted HD fan to 5v.
-elongated the HD power connector so it goes across the top of the case than down, so its not diagonally.
-improved the zip tie effect on the tight curves and PSU.

3-4-07001.jpg
3-4-07002.jpg
3-4-07003.jpg
3-4-07004.jpg

3-4-07005.jpg

3-4-07006.jpg
3-4-07007.jpg
3-4-07008.jpg
3-4-07009.jpg
3-4-07011.jpg
 
3-4-07013.jpg
3-4-07014.jpg
3-4-07015.jpg
3-4-07016.jpg
3-4-07017.jpg
(the purple lights really arn't that bright, its just that my new camera isn't too great at light stuff. im going to borrow my friends brand spankin new nikon D80 and snap some pictures with that.)


Back