• Welcome to Overclockers Forums! Join us to reply in threads, receive reduced ads, and to customize your site experience!

PROJECT LOG The Powerful Pretty Pink Processor (aka, "The PPPP")

Overclockers is supported by our readers. When you click a link to make a purchase, we may earn a commission. Learn More.
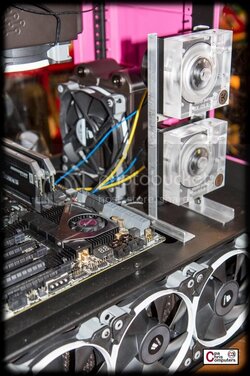
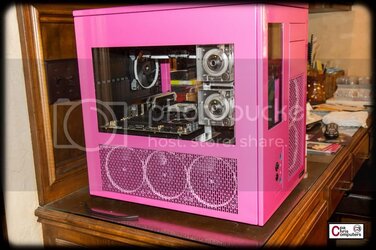
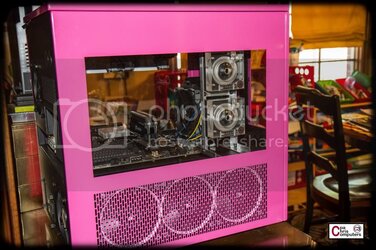
Was a gorgeous day today here in Oklahoma. Decided to spend a little time in the garage working up a prototype for a pump stand. Because I am in love with the look of the large EK pump tops, my current plan is to put them right in front of a window so they can be seen easily. I think I want the reservoir in the front window....so the only logical place left that doesn't block the view of anything critical is right behind the reservoir on the left side of the case. And I need to stack them vertically. Not just because I don't have enough floor space over there ( I don't ), but because I want them to both be stacked against the window. So....

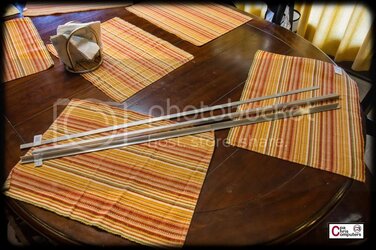
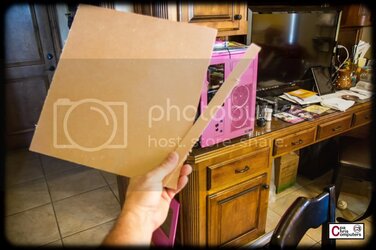
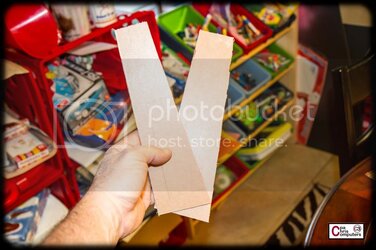
First I went to Lowe's and grabbed about $6 bucks worth of aluminum strips. I'm doing the prototype in aluminum because it is so darn easy to work with and so cheap. Once I have a design that I think works, I may investigate doing it in other materials. My first attempt here is using 1/16 inch thick strips. These are pretty soft, so I'll have to see if they can support the weight of the pumps.

0001-_MG_0532.jpg


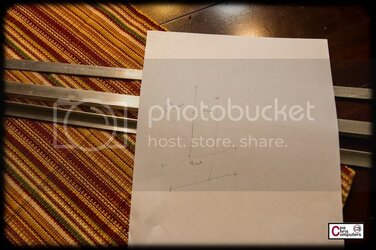
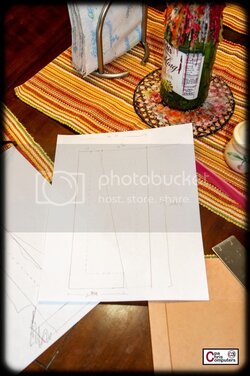
Sketched out rough dimensions. Nothing to precise here. This is just a prototype.

0002-_MG_0533.jpg


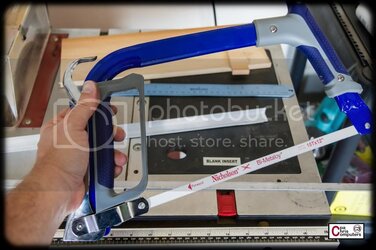
Got my hacksaw out and went to cutting.....

0003-_MG_0535.jpg

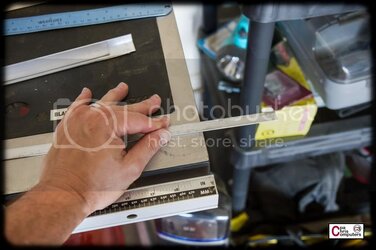
0004-_MG_0534.jpg


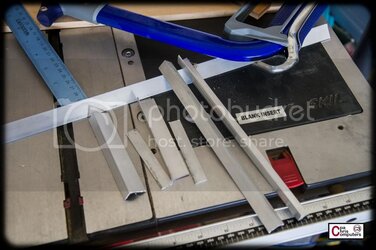
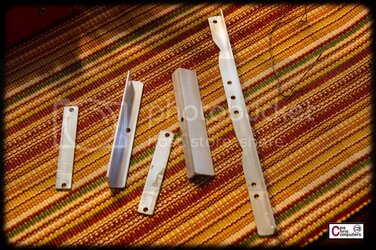
This stuff is fairly thin....so it didn't take long. Maybe 10 minutes. Now I have these 6 strips....

0005-_MG_0536.jpg


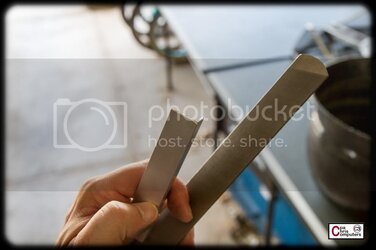
Did some real quick touchups on the ends with a file. Just a few minutes. Not trying to make them look good....just trying to keep from cutting myself. :)

0006-_MG_0537.jpg


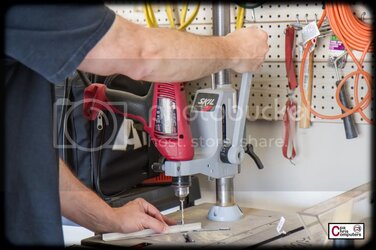
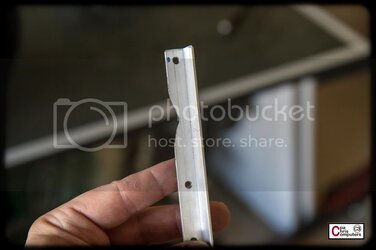
Drilled some quick holes.....

0007-_MG_0538.jpg


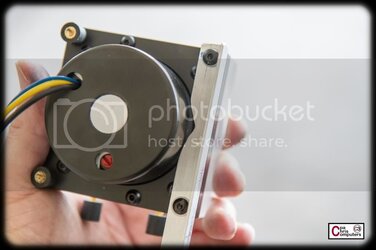
When I did a test fit to see if the holes lined up on the pump....I found out that the pump cover was just large enough where it kept the strip from coming in far enough to line up with the holes. Fail. So....I just filed out a little "v" shape right where the cover was touching the strip.

0008-_MG_0542.jpg


Didn't take much....now it fits.

0009-_MG_0540.jpg


Got my pieces all cut, filed and drilled. Let's put it together.

[ 0010-_MG_0543.jpg


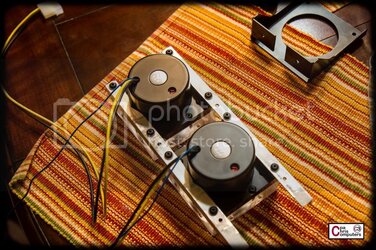
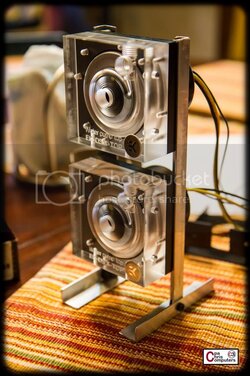
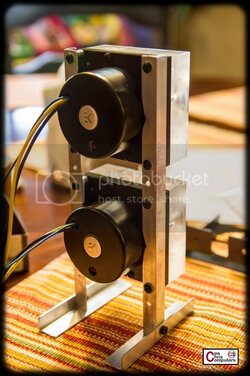
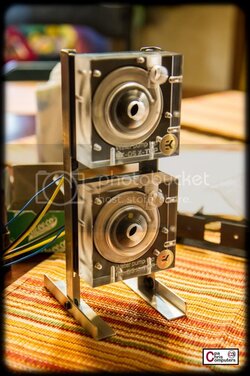
First I put the long vertical strips on the back of the pumps. I used the EK vibration dampeners that come with the D5 mounting kits. I attached the dampeners to the pumps, and then attached the aluminum strips to the dampeners. Was able to use screws and washers from the EK D5 mounting kit also.,

0011-_MG_0544.jpg

0012-_MG_0545.jpg


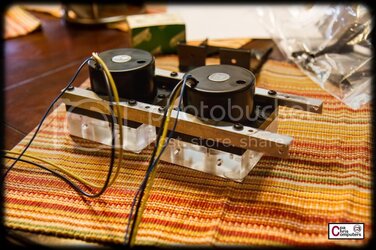
Then I attached the vertical strips to the base strips with 8mm M4 bolts and nuts.

0013-_MG_0546.jpg

0014-_MG_0548.jpg


It actually feels very solid even without the support strips I cut....but I went ahead and put one on the back anyway.

0015-_MG_0549.jpg


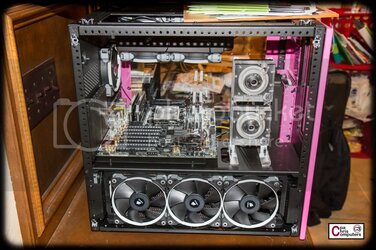
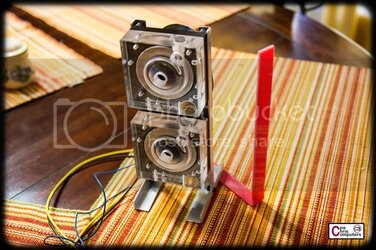
The idea would be to mount this directly to the midplate in right about this location. I'd have to do something to decouple it from the floor....but you get the idea. There is just enough room in front of it to reservoir. I might even be able to extend a little mounting arm off the side of this and attach the reservoir to it.

0016-_MG_0550.jpg


If I stick with aluminum, these would be powder coated with the same black powder that CaseLabs uses on the interior....so they would blend right in.

0017-_MG_0551.jpg


The pumps are about 1 inch higher than I think I want them. So....when I redo this, I'll bring them down a little so they are more centered in the window.

0018-_MG_0552.jpg

0019-_MG_0553.jpg


Would love some feedback on improvements for the pump stand...or other ideas for how to mount these big bright beautiful babies. Oh wait....this is the PPPP....not the BBBB. Ok...how about....ideas on how to mount these particularly pretty plexi pumps. Word.
 
Look into getting some black delrin to make the pump stand, it would help with the vibration and wouldn't need to be powder coated :thup:
 
I dont know what the top of the case looks like but could you invert it and put the mounting bracket on the top? The aluminum angle pieces that hold the pump tops would have to be longer by my bad judgement but idk just my 2 cents :D

Crazy work as always :thup:


edit: oops i just looked at a bigger picture and answered my own question, its just open space up top as far as i can see :bang head look closely before you post dummy :bang head
 
I say keep the mounting from the bottom, longer mountings mean more vibration to deal with.
 
Look into getting some black delrin to make the pump stand, it would help with the vibration and wouldn't need to be powder coated :thup:

Difficult to cut?


I dont know what the top of the case looks like but could you invert it and put the mounting bracket on the top? The aluminum angle pieces that hold the pump tops would have to be longer by my bad judgement but idk just my 2 cents :D

Crazy work as always :thup:

edit: oops i just looked at a bigger picture and answered my own question, its just open space up top as far as i can see :bang head look closely before you post dummy :bang head
Good catch. I played around with some ideas for mounting from the top....but there is a window there. I don't want any bars running across the views from the window. Think it needs to stay on the bottom.


I say keep the mounting from the bottom, longer mountings mean more vibration to deal with.


Yep. Needs to be the bottom.
 
Hey Chris, here's a link to some delrin if you didn't find it already.
Less than $4 for a 1/4"x1"x1' piece :)

Also, if you have access to a mill, this material is easily machined.
You can get really creative that way, if you want to.

Black Delrin @ McMaster
 
Hey Chris, here's a link to some delrin if you didn't find it already.
Less than $4 for a 1/4"x1"x1' piece :)

Also, if you have access to a mill, this material is easily machined.
You can get really creative that way, if you want to.

Black Delrin @ McMaster

Thanks for the link! I have a router....but no access to a CNC. I have "the google" so I looked into Delrin a little bit. Sound like it's easier to cut than acrylic....but maybe harder to glue or bend? I have some acrylic scrap squares here at the house. I may play today with some acrylic cuts and bends.
 
Well, typically you don't bend or glue Delrin since you can machine it so easily.

If you're good with that router you could use it and a vice with good results.
 
Glad you are looking into options for the pump mount. With the quality of the rest of the build, no amount of powder coating would make that aluminum frame fit in with the rest of the theme.
 
Gave bending acrylic a try today. Still thinking about different ways to make the pump stand.

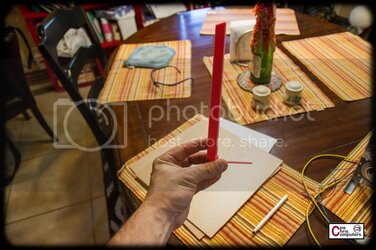
As a test....first I just cut a little 1 inch strip off one of my squares with my table saw.

0001-_MG_0554.jpg


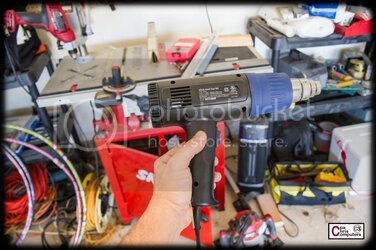
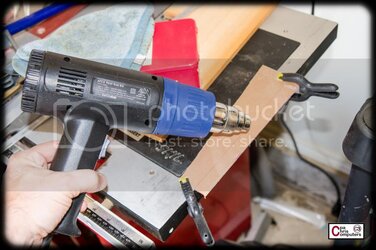
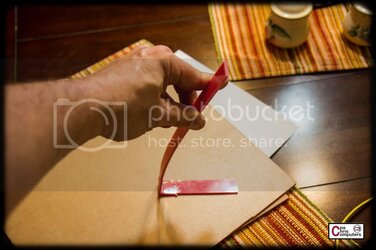
Then I grabbed my heat gun and used my workbench edge as an angle to bend the acrylic over....

0002-_MG_0556.jpg


It didn't take long until it was getting soft on it's own accord. With some pressure, I could mash it down into a 90 degree angle. It would tend to spring back out of shape if I let it go to soon. Really had to hold it in place for about 2 minutes while it cooled in order for it to stick....

0003-_MG_0557.jpg


It's not pretty....but it worked.

0004-_MG_0558.jpg


Way too much flex in the bend though. This is pretty thin acrylic....I think it was 1/8 inch. But there is enough flex where something this simple just won't work.

0005-_MG_0559.jpg


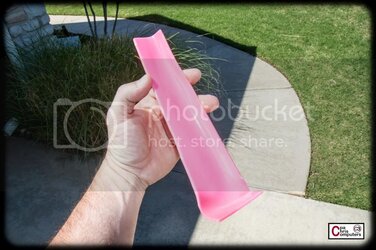
So I decided to try my hand at a longer double bend. Something that would let me make the sides of the pump stand solid ( for no flex ) while bending out the angles that attach to the pumps and the floor.

0006-_MG_0560.jpg


Cut my basic shape....

0007-_MG_0561.jpg


Clamped it to the side of my bench, and applied the heat gun liberally. :)

0008-_MG_0562.jpg


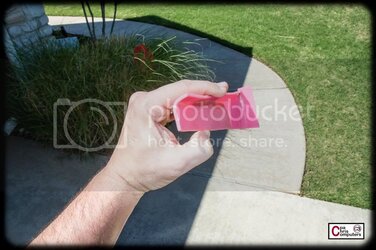
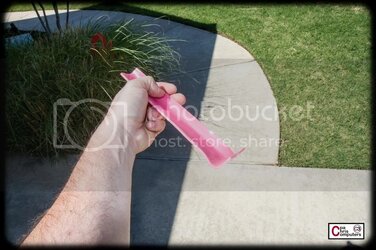
Massive fail. Making a long bend like this is much much harder to get to 90 degrees. I was able to bend both sides that I wanted....but they didn't come out real straight. Not usable, and I don't think I could get it a whole lot better outside of having some better tools to layout the plastic and clamp it.

0009-_MG_0563.jpg

0010-_MG_0564.jpg

0011-_MG_0565.jpg


Have decided that bending acrylic will not be the route I take. :eek: :eek: Going to modify the dimensions of my aluminum strip version, and paint it black to see how it looks. I'm also still contemplating some other options with plastics that don't require me trying to bend it....as well as a sheet metal option that was suggested. More soon....
 
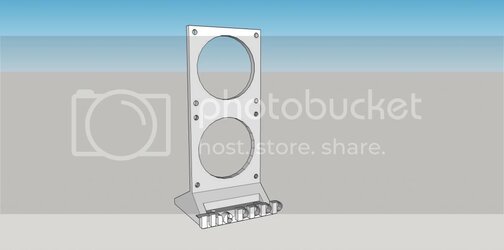
Has anyone ever used any of the online 3d printing services? I played around in Sketchup and modeled a neat little pump mounting system....but I have no idea of how rigid the ABS material comes out.

pumpbrackettest.jpg
 
Modeling for 3D Printing is a whole different animal.
You wouldn't want to make that all solid, but modeled correctly it should hold the two pumps just fine.
 
I would put a flange on the sides of the vertical portion, either like the angle stock of your prototype or the flanges of an I beam, to give it some more rigidity and make it less likely to break. ABS is more brittle than flexible. 3D printing has the advantage of more seamless intricacy without too much added cost.
 
Modeling for 3D Printing is a whole different animal.
You wouldn't want to make that all solid, but modeled correctly it should hold the two pumps just fine.

I think I'll have one printed out just to see if I'm in the right ball park here. To be honest, I find the "solid" tools more confusing than most of the others. I don't think this is a solid right now. But I'm not entirely sure.


I would put a flange on the sides of the vertical portion, either like the angle stock of your prototype or the flanges of an I beam, to give it some more rigidity and make it less likely to break. ABS is more brittle than flexible. 3D printing has the advantage of more seamless intricacy without too much added cost.

I may need to. Right now, that whole vertical plate is 1/4 inch thick, so I wanted to see if that would be enough. I don't want flex...so I guess brittle is better than flexible. A prototype print will tell me if I need some flanges or other design tweaks to get it stable. Thanks for the input.
 
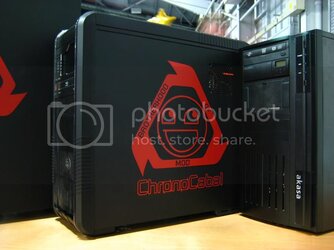
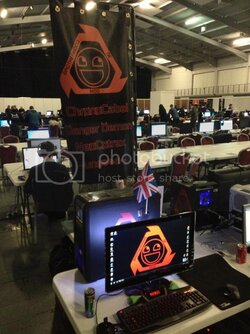
Is there a story behind the name "ChronoCabal"?

There is a bit actually..the terms are from a game called Command and Conquer. Command & Conquer was the first game to get me into PC Gaming back when I was still in school.. the series that got me into my first LAN party at a school friends house(back when having a PC at home was a big deal).. and the newer versions years later being the reason I met and got to know the guys who now form my gaming clan.

I made the name during those first LAN parties and it's stuck with me ever since and upon reflection; with good reason!

IMG_2958_zps7327a706.jpg

IMG_0176.jpg

IMG_0083_zps2d906ee3.jpg

Thanks for asking! :)

/ThreadHijack
 
Last edited:
There is a bit actually..the terms are from a game called Command and Conquer. Command & Conquer was the first game to get me into PC Gaming back when I was still in school.. the series that got me into my first LAN party at a school friends house(back when having a PC at home was a big deal).. and the newer versions years later being the reason I met and got to know the guys who now form my gaming clan.

I made the name during those first LAN parties and it's stuck with me ever since and upon reflection; with good reason!

Thanks for asking! :)

/ThreadHijack

Ah....memories. I remember Doom 3 being the first game I played on the PC. Thanks for sharing!

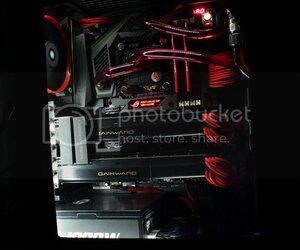
Why no water love for those sweet video cards? The system looks awesome by the way.
 
There is also a "qualitative" exposure intangible. They want their products displayed in unique and creative ways. Nice photography. ?

"nice photography" is incredibly understated for you. Theres a million adjectives for it, and "nice" is pretty low on the list (and I mean that as the purest of compliments!). I'm more interested in seeing how you're going to take the next set of picture of the parts then I am with seeing this build get finished! :attn:
 
"nice photography" is incredibly understated for you. Theres a million adjectives for it, and "nice" is pretty low on the list (and I mean that as the purest of compliments!). I'm more interested in seeing how you're going to take the next set of picture of the parts then I am with seeing this build get finished! :attn:

Thanks for the kind words Bob! Photography is a hobby of mine. I enjoy it.
 
Back