- Joined
- Oct 11, 2005
- Location
- Tau'ri
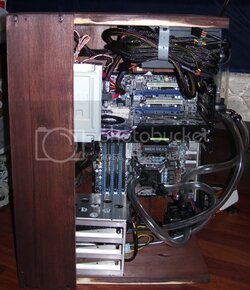
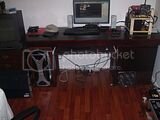
Well recently moved and decided that I needed to build a desk. This one could not look as ghetto though so I had to spend a little more time on it
Originally I planned to build a desk that held 2 pcs internally, with one of them as a benchstation, only the motherboard exposed on top of the desk.
Due to my Aunt's reluctance to allow massive quantities of frozen carbon dioxide and acetone or rubbing alcohol to be burned up i nthe house, I opted for a separate portable bench station. The desk however retains viability.
The other demands still must be met though.
1) Must be modular, as I do not intend to stay here long. And moving a full desk without being able to break it down, is hard on the back, walls, need a larger vehicle to move it, and damaging to the desk itself.
2) Most be strong. This desk will need to support a 100 pound monitor. Would love to have a 2560 resolution LCD, but they cost way too much.
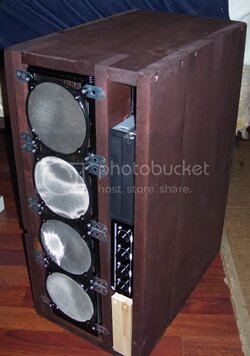
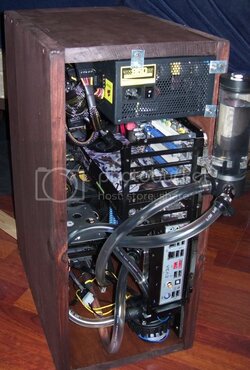
3) Must be able to incorporate at least 2 systems if not more. I opted for a 19" wide server standard for the large pedestal. This supports both server chassis and AV equipment.
4) Inexpensive. So far I have spent almost $100 dollars on this setup. More will be spent later, I need some steel strap to complete the motherboard tray as well as redesign the primary system "door" with fans.
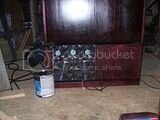
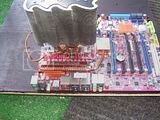
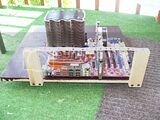
First of all I decided I had to have a separate portable bench station. No project log for this. These things are stupid easy to build, took me longer to get my bench rig out of the case it was in clean it up and mount it on the station than it did to build the darn thing. IT is not finished though. Going to get strap steel for the PCI support bracket, was going to make something fancy. But single brace for support and a nut and bolt to hold it in place will be more than enough. Two back legs of the bench are cut to height.


LAst shot is in action. Upgrade to a panaflo and put a 120 on the raptor drive. The hdd fan is not fastened yet, and has not fallen out despite being moved three times already will just use some pipe strap to hold it in place.
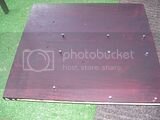
With that said I intended to build the top out of countertop. IT is strong durable and does not look too bad. After stopping at lowes and finding hte cheapest piece running $60 I nixed that idea and built a frameup out of 2x4s and used 3/4 inch white board for the top.


The frame up has since added one more cross member to stiffen the 3/4" whiteboard top. Also not that the "outside" cross members are not flush with the ends. This is designed on purpose, and part of the modular nature of the desk.
I originally intended to use shims to keep the pedestal from touching the desktop, and mounting it with screws, instead I opted for cross members on the pedestals that run perpindicular to the ones on hte desk leaving about 1/16" gap between the two. Should enough weight be put on the top that it sags DESPITE the strength of it. It will get extra support from the pedestals, but the idea is for it not to happen.


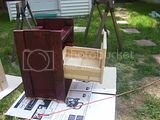
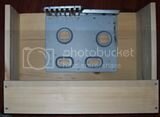
This is the first pedestal 19" internal width 22" external width.
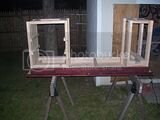
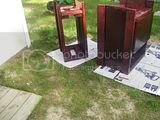
The second pedestal has an internal 10" width (13" external" 23" internal height big enough to hold a full size tower case, should I opt to run another system.
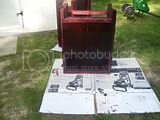
The second thumbnail shows both pedestals "dropped into place" no screws hold them in place, the weight of the desktop keeps everything from moving. However once the sides are on, I can fasten them with screws if I choose, I have tried it out and can pick up the desk and the pedestals do not budge Actually I screwed up and forgot I screwed it in, spent a minute with a maul trying to bang it out of the desktop (top was hanging on the saw horses with the pedestal hanging down) it never budged and I felt like a tool when I removed the screws and the piece just slide out real easy (I had assumed that the high humidity had caused the wood to swell. Duh)
Originally I planned to build a desk that held 2 pcs internally, with one of them as a benchstation, only the motherboard exposed on top of the desk.
Due to my Aunt's reluctance to allow massive quantities of frozen carbon dioxide and acetone or rubbing alcohol to be burned up i nthe house, I opted for a separate portable bench station. The desk however retains viability.
The other demands still must be met though.
1) Must be modular, as I do not intend to stay here long. And moving a full desk without being able to break it down, is hard on the back, walls, need a larger vehicle to move it, and damaging to the desk itself.
2) Most be strong. This desk will need to support a 100 pound monitor. Would love to have a 2560 resolution LCD, but they cost way too much.
3) Must be able to incorporate at least 2 systems if not more. I opted for a 19" wide server standard for the large pedestal. This supports both server chassis and AV equipment.
4) Inexpensive. So far I have spent almost $100 dollars on this setup. More will be spent later, I need some steel strap to complete the motherboard tray as well as redesign the primary system "door" with fans.
First of all I decided I had to have a separate portable bench station. No project log for this. These things are stupid easy to build, took me longer to get my bench rig out of the case it was in clean it up and mount it on the station than it did to build the darn thing. IT is not finished though. Going to get strap steel for the PCI support bracket, was going to make something fancy. But single brace for support and a nut and bolt to hold it in place will be more than enough. Two back legs of the bench are cut to height.
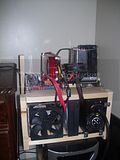
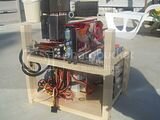
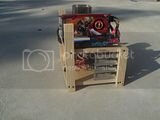
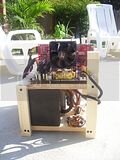
LAst shot is in action. Upgrade to a panaflo and put a 120 on the raptor drive. The hdd fan is not fastened yet, and has not fallen out despite being moved three times already
With that said I intended to build the top out of countertop. IT is strong durable and does not look too bad. After stopping at lowes and finding hte cheapest piece running $60 I nixed that idea and built a frameup out of 2x4s and used 3/4 inch white board for the top.
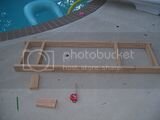
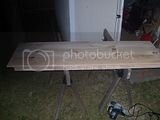
The frame up has since added one more cross member to stiffen the 3/4" whiteboard top. Also not that the "outside" cross members are not flush with the ends. This is designed on purpose, and part of the modular nature of the desk.
I originally intended to use shims to keep the pedestal from touching the desktop, and mounting it with screws, instead I opted for cross members on the pedestals that run perpindicular to the ones on hte desk leaving about 1/16" gap between the two. Should enough weight be put on the top that it sags DESPITE the strength of it. It will get extra support from the pedestals, but the idea is for it not to happen.
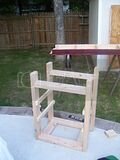
This is the first pedestal 19" internal width 22" external width.
The second pedestal has an internal 10" width (13" external" 23" internal height big enough to hold a full size tower case, should I opt to run another system.
The second thumbnail shows both pedestals "dropped into place" no screws hold them in place, the weight of the desktop keeps everything from moving. However once the sides are on, I can fasten them with screws if I choose, I have tried it out and can pick up the desk and the pedestals do not budge Actually I screwed up and forgot I screwed it in, spent a minute with a maul trying to bang it out of the desktop (top was hanging on the saw horses with the pedestal hanging down) it never budged and I felt like a tool when I removed the screws and the piece just slide out real easy (I had assumed that the high humidity had caused the wood to swell. Duh)

 , will put up some pics later today. Doing yard work right now so sometime this evening should be cleaning out the pump rad and block and getting it all installed in the new case too