• Welcome to Overclockers Forums! Join us to reply in threads, receive reduced ads, and to customize your site experience!

JEB CM690 Mod

Overclockers is supported by our readers. When you click a link to make a purchase, we may earn a commission. Learn More.

jameseboy

Member
Joined
Nov 15, 2010
Location
Livingston, Scotland

I have my my CM690 for 3 years now, and I love the case, however apart from a side panel mod, i have never done anything more to the case, so ive decided now its time to make a few changes to my setup.
Plan Of Attack​


  • [*]Move Hardware to new case
    [*]Strip Down CM690
    [*]Paint Case Internals
    [*]Make Side Blower to help exhaust hot air from psu + GTX460 (not in use with new hardware, no need)
    [*]Cut grills
    [*]Install Corsair H100/other h20 cooling
    [*]Cable Management
    [*]Transform Internal to external DVD drive
    [*]Install Fan controller

1. Moving The Hardware

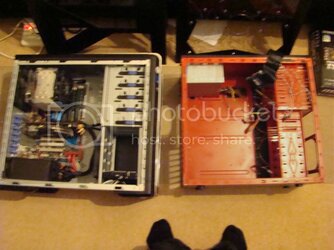
First thing to do, was to move the hardware over to another case temporarily so that the system was still useable and safe.:salute:
Yes, that hardware is going into the red case... :thup:
DSC01294.jpg
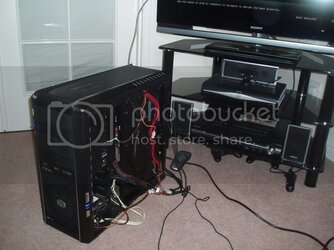
My Temporary Power Switch :thup:
DSC01298.jpg
DSC01301.jpg
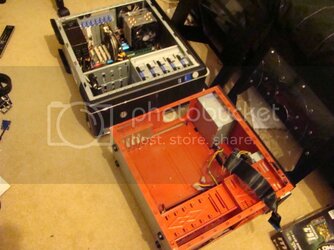
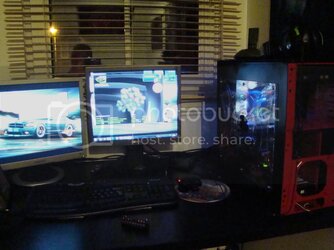
Hardware installed and system up and running, And folding away again.
DSC01302.jpg

Currently only running with 1 120mm cpu fan, will be installing a few more tomorrow once ive cleaned them up. 100% load temps are between 42C and 47C @ 2912 MHZ (416*7)


2. Case Stipping
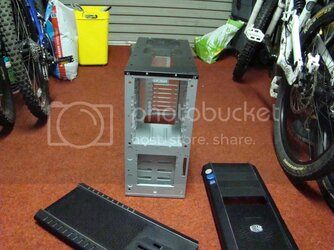
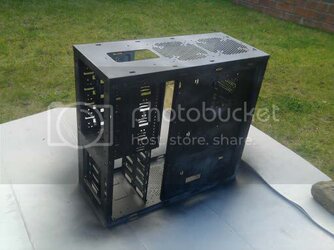
Next move was to strip all the tool-less hardware, IO ports, feet and sound dampening, ect from the cm690 chassis.

DSC01308.jpg
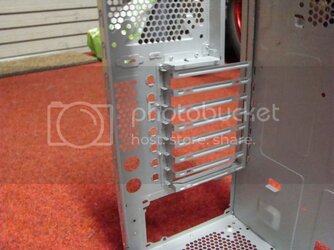
Getting the Thumbclips for the pci slots out wasn't the most fun activity i've had to do.
DSC01307.jpg

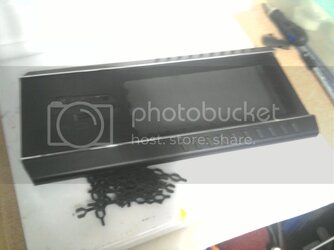
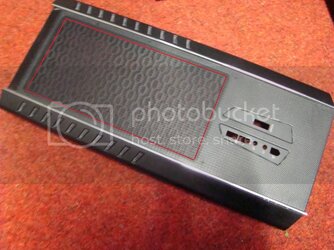
Also whilst i had the case apart, i've decided to cut the plastic out of the top panel seen as its restrictive of airflow and blocks fans. The area marked in red will be cut out.
DSC01305cutoutdisplay.jpg

I am also temped to cut the grills out from the top fan slots however i do not know what benefit this would have, however i have seen ALOT of CM690 mods in which this has been done so if anyone could inform me of a reason to do it, it would be much appreciated.
 
Last edited:
Update 1: 14/08/2011

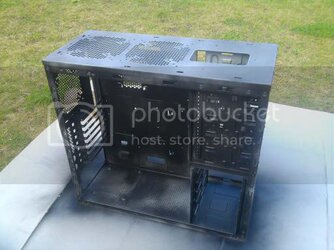
Today i Have managed to sand down the case, and prep it for priming. Just waiting for it to dry out after rubbing it down with some sugar cleaning solution. Should have it primed tonight.

Also, picked up a tin of grey primmer, some Matt black, and clear Lacquer for the case.

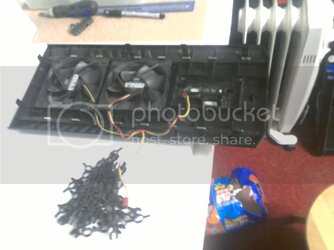
Pics to follow tonight. Also started on the side blower, and new holder for the fan from the hard drive cage.
 
Update 2: 15/08/2011

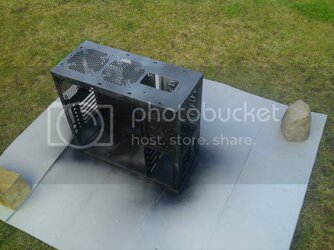
Today i managed to get the first 2 coats of Matt black paint onto the case.

Grey Primer + 1st coat of black
1313429170905.jpg

1313429161776.jpg

1313429150315.jpg

Second Coats

1313429571637.jpg

Going to Hopefully start making the New hard drive fan holder tonight if i have time, and enough metal and foam. Also, The top panel is going to be getting cut up tonight so i have the room to put my fans in the top between the chassis and top mesh :thup:

Oh and i almost forgot. I also cut the plastic out of the top panel this evening.
2011-08-15193059.jpg

and ohhhh i do think i spy a 120.2 radiator going in there :p:p
2011-08-15192624.jpg

Sorry about image quality, my camera battery is dead and i think the charger has been packed up into the loft, so it could be a day or two till i can get it back :(:(:(:(:(:(:(
 
Last edited:
Update 4: 17/08/2011

Okay, so today I done the Final coat of paint on the case, and whilst waiting on that drying, I started on my side blowing fan.

I've used 3 pieces of acrylic, which I have sanded down to give an ice effect. At the moment i have 3 of the 4 faces completed. :thup:

2011-08-17212044.jpg

2011-08-17212031.jpg

I Still have one of the sides to complete.

For the front, I am using some modders mesh, which will wrapped in U-Channel and Then held in place with screws, which will go straight through the fan.

Thats all for today folks.:D
 
Just before i show the good pictures, i would like to just show a picture of the case originally.
DSC01050.jpg

Here's a few Good quality pictures now.

P8250037.jpg

P8250036.jpg

P8250035.jpg

P8250034.jpg

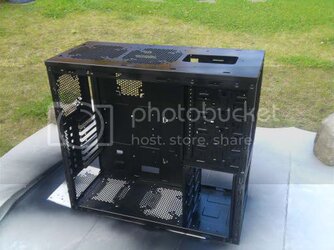
So as I said a few Posts back, that is now the Case Painted, so thats one more thing off of my list that is to be done. =]
 
Nice job on the mod. I removed the top plastic on mine as well. if you think about it you may want to remove the front plastic as well. I remember thinking that I should have after I got finished.
 
Had an accident this evening which has lead to my motherboard dying. Just as well I have been saving up for new parts anyway.
So as of the next few days, i shall have:
i5 2500K
asus p8p68-v PRO
8gb Corsair Vengence with high profile heatsinks.

Pics to follow
 
Been a while since my last update, but hey, got to make money to spend money. :D
So my new hardware arrived last night.
I5 2500K
Asus p8Z68
8GB (2x4GB) cal9 1600mhz corsair vengance

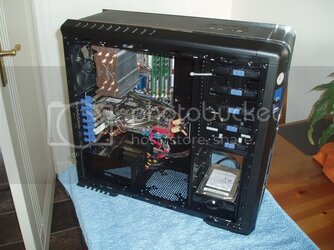
So heres an old pic of the system/
P9150033.jpg

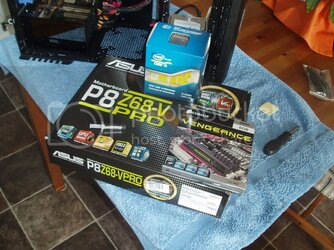
New hardware
P9150034.jpg

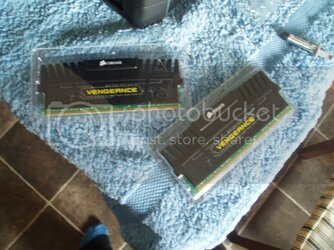
New Ram
P9150042.jpg

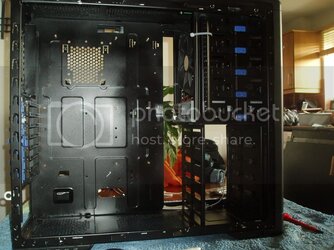
empty case (almost)
P9150041.jpg

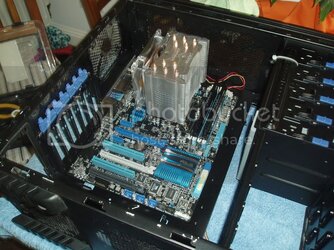
Motherboard in
P9150043.jpg

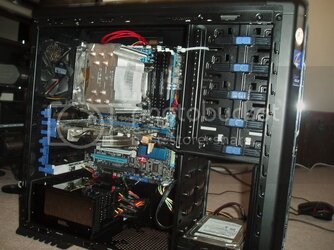
Hit a slight snag with my cpu cooler. Due to my ram having large heatsinks on it, the front fan wouldnt fit on =/ :bang head:bang head:bang head

System built
P9150046.jpg

Quick test to check all is good.
P9150045.jpg

and my faithful companion who stayed with me all evening :L
P9150047.jpg


Going to be looking into an SSD and new graphics card(s) soon. My 460 will do me for now though. Next step.Liquid cooling me thinks.
Also should be getting a new monitor in a week or 2, finnaly moving onto widescreen. :p not behind the tiemes at all.
:thup:
 
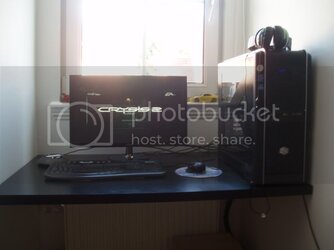
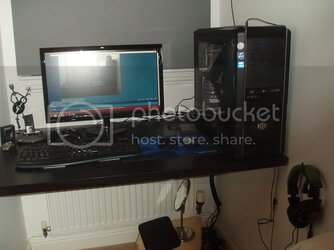
Slight few updates here.None really on my case, more to do with my setup.
PA160042.jpg

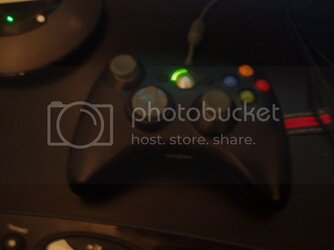
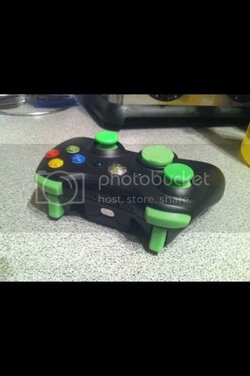
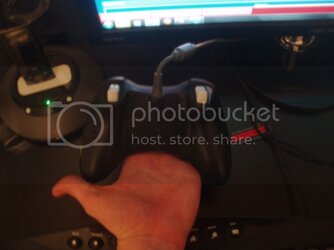
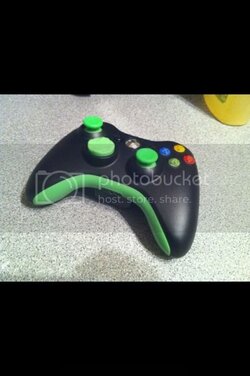
Also, as ive found a recent love for trackmania, i dragged an old xbox360 controller out of the garage. It was a bit erm..... of a mess. so i repainted it with a bmw metalic black. (to match my case.)

PA160047.jpg

and the underside

PA160048.jpg
 
Last edited:
Ah yes - this took some head-scratching of my own. You have to use a screwdriver to prise out the small white arms attached to the sensor - the triggers have little pins that sit in the hollowed out section of the arm. They'll only pop out when the triggers are in the full-squeezed position. Then the rest becomes apparent. :)
 
PS - if you use eBay - you can easily get button kits to change the D pad and thumbsticks to the black ones as seen on the newer Xbox controllers - looks a lot nicer; as well as the chrome Xbox button. Depends how crazy you want to go really - my next controller mod is lit-up ABXY buttons! :D
 
i also liked the idea of different
261585_1780320553347_1399433172_31538726_3346489_n1.jpg
 
Back