• Welcome to Overclockers Forums! Join us to reply in threads, receive reduced ads, and to customize your site experience!

Jolly's CM-690 Case [Main Rig Revamp / Update]

Overclockers is supported by our readers. When you click a link to make a purchase, we may earn a commission. Learn More.
The word godlike is now coming to mind :D

Thanks again tinymouse2,:attn:

I might be painting the Fans blade similar to the Case Bezel grill Copper colours, a good friend over @NMC said that would look cool , so I will try one first!
 
Update #13 Monday 5th April

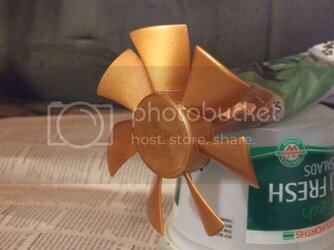
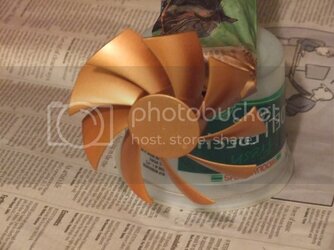
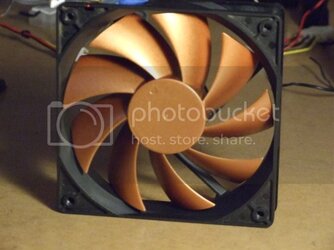
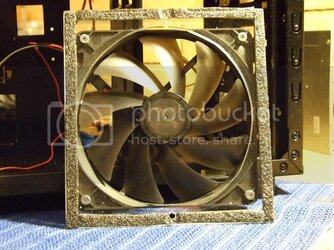
Today I painted the TT 120mm Thermal Fan Blades also the TT Smart Fan-11 Blades Copper colour, first time I have actually painted Fan Blades too!

TT Thermal Fan Blades
TTThermalFanBladePaintedCopper.jpg

TT Smart Fan Blades
Copperpainted120mmFan.jpg

TT Smart-11 Fan
TT120mmFanPaintedCopper.jpg

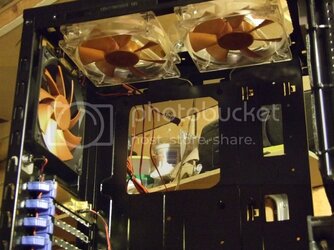
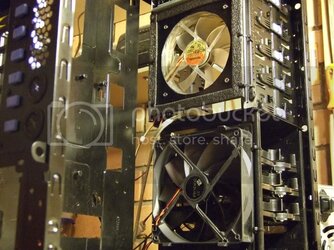
TT Fans Re-installed
TT Fans Closer View
CloseupTTFansCopperPainted.jpg

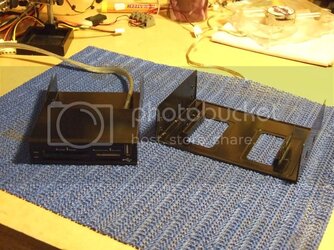
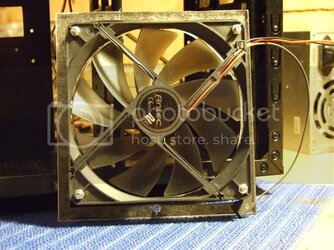
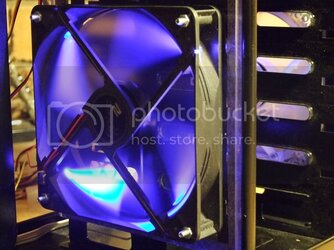
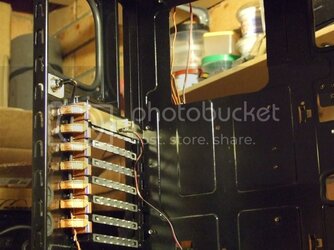
Also Today made Holding plate for the bay mounted Fans, insulated the for vibration!

Drive Bay Fans 120mm TT Smart-11 Fan Blue LED,s
TT120mmandAntec140mmLEDDrivebayFans.jpg

Put back together the Multi-Card reader after was painted Black, and Re-installed back in Bay 5,25-3.5 Adapter

MuktiCardReader-525-35AdapterPainte.jpg

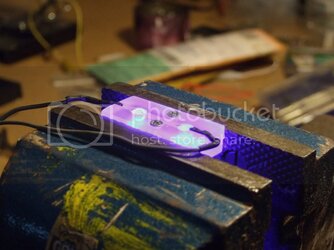
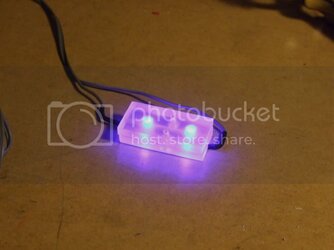
Also today made a 2 x Blue LED light block

Making LED light block
MakingLEDlightblock.jpg

Finished and Testing Light Block
2xBlueLEDLightBlock.jpg


Well thats all I have for Todays Update,
Stay Tuned for more to Come soon!
 
Update #14 Thur 8th April

Today just a few little changes and Modding,
First up didnt like the 140mm Fan holder where it was in front of HDD Bays as found it a little restrictive to Airflow,
so out of piece of spare 6mm Plexi I Custom made my own.

Plexi 140mm Custom Fan Holder
PlexiHolderfor140mmFan.jpg

Fan side view
PlexiHolderfor140mmFanotherside.jpg

Installed and tested
PlexiHolderfor140mmBlueLEDFanInstal.jpg

Second on the agenda was I test fitted the GA-X48T-DQ6 Mobo as wanted to see what was like with the case modding so far,
Well to my surprise as I hadn't seen the mobo before I started Modding Case, (just went from dimensions of my p35 mobo)
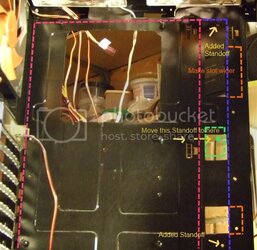
I found that this X48 mobo is slightly wider than the P35 (see pic RED line P35 BLUE line X48 width) so some alterations were in order.

First added two more standoffs top and bottom corners,(shown in Yellow) then the middle outer one had to be moved over
,,, ahh thats where I made a cut out, so have made a mounting plate to go there ( green lined in pic) with stanoff.

Also seeing mobo is now wider and covers the slot where the ATX 24 pin would have been this needs to also be widened slightly to accommodate,
same with the lower slot where the GPU and Sata cables would emerge from (orange outlined in pic)

Motherboard Alterations
MotherboardTrayAlterations.jpg


So thats all for this little Update will post up pic of Alterations when done.

Stay Tuned for more soon!​
 
Update #15 Fri 9th April

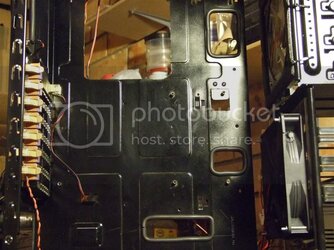
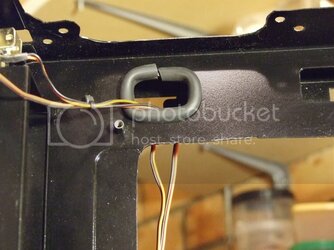
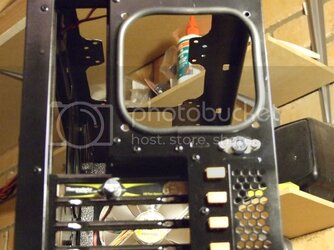
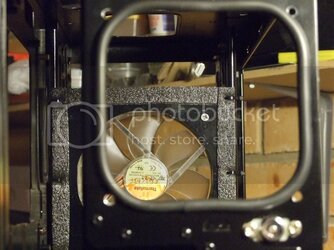
Today made the necessary Motherboard Tray Adjustments and also added Rubber Molding around the cut-outs and Rear 120mm Fan Exhaust Hole,

Have also painted the PCI Slot Latches Copper colour, and slot covers Copper/Black (like the Mesh Grills)

Also did the Window Side Panel with Rubber Molding too (No Pic as Camera Batteries need Re-Charged)

Mobo Tray Adjustments and Molding
CM_690MoboTrayAlterations.jpg

Top Tray Cut-out Molding
CM-690CableSlotRubberChanel.jpg

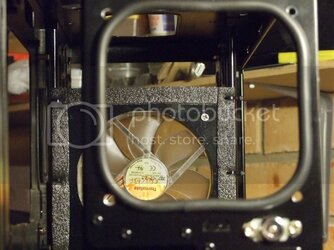
Rear120mm Fan Hole Molding
CM-690Rear120mmFanRubberChanel.jpg

Close-up 120mm Fan Hole Molding
CM-690Rear120mmFanRubberChanelClose.jpg

PCI Slot Latches Painted Copper Colour
CM-690PCII-LatchesPainted-FanGromet.jpg

Also painted another 120mm Fan Blade for Window Fan and Grill Mesh, and will install and take pictures of Window molding then, when Camera Batteries Re-Charged.

Will also need to get some more Molding (8mm Vacuum Hose) later today, hopefully to finish off the CPU inspection Cut-out, ect!


Thats all for this Update, So stay Tuned for more soon!​
 
This is what I call Dedication !! I had to post on this since u have done a great job !! I cant wait to see the final result !! ill keep eye close to this thread !! thanks for sharing.
 
Close-up 120mm Fan Hole Molding
CM-690Rear120mmFanRubberChanelClose.jpg


Hey, very nice job on what you have done so far. Your attention to detail is outstanding. I'm also curious to see what your going to do with the LED block(s) that you created. I have one question, what is that bracket thingy you added at the bottom of the fan hole for?

You can use the quote feature :thup:


Still looking amazing Jolly! Kinda wish I had that much time.
 
I have one question, what is that bracket thingy you added at the bottom of the fan hole for?

I'm pretty sure that's a CMOS rest switch.

Looking very good, love all the little details. I'm still waiting on warm weather without wind to work on mine. Unfortunately I don't have a backup case that can hold my 5870 or I'd like to go into more detail on mine. I also wish I had the money for a black TRUE since once I'm done pretty much everything down to the screws will be black or red.
 
This is what I call Dedication !! I had to post on this since u have done a great job !! I cant wait to see the final result !! ill keep eye close to this thread !! thanks for sharing.

Thank You, z3r0w,

Close-up 120mm Fan Hole Molding
CM-690Rear120mmFanRubberChanelClose.jpg


Hey, very nice job on what you have done so far. Your attention to detail is outstanding. I'm also curious to see what your going to do with the LED block(s) that you created. I have one question, what is that bracket thingy you added at the bottom of the fan hole for?

Thanks Squadfer,
That is an External CMOS Reset Switch, I installed a while back for info on that see My thread here, External CMOS Reset Key Switch
Guess you will have to keep watching to see what I have planned for the LED blocks,,,;)

You can use the quote feature :thup:


Still looking amazing Jolly! Kinda wish I had that much time.

Thanks again tinymouse2 :thup:

I'm pretty sure that's a CMOS rest switch.

Looking very good, love all the little details. I'm still waiting on warm weather without wind to work on mine. Unfortunately I don't have a backup case that can hold my 5870 or I'd like to go into more detail on mine. I also wish I had the money for a black TRUE since once I'm done pretty much everything down to the screws will be black or red.

Thank you jaymz9350
Yes you were right on , its the keyed CMOS Reset Switch :thup:
looking forward to seeing yours, you could always make a temporary Tech Bench for minimal cost just have a look at the one I made for ideas
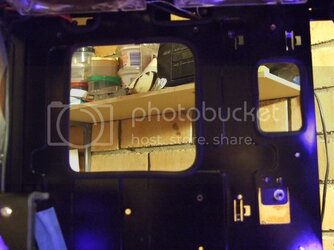
Jolly's Tech Bench 2010

Thanks again everyone will be Updating with more pics shortly :salute:
 
Thank you jaymz9350
Yes you were right on , its the keyed CMOS Reset Switch :thup:
looking forward to seeing yours, you could always make a temporary Tech Bench for minimal cost just have a look at the one I made for ideas

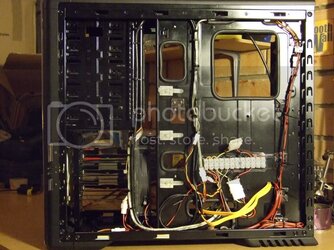
I actually have a ghetto bench (the mobo tray and hdd cage from my stacker) but the wife would have a cow. plus with a 4 year old and a dog it just wouldn't work.
 
Update #16 13th April


Finished doing the Cable and CPU inspection cutouts molding

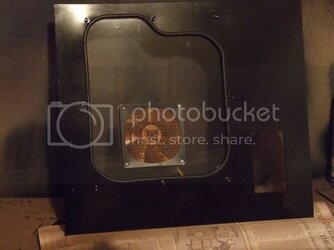
Window molding also added to Window side panel.

Started on the Pre wiring and terminal block for fan wiring, and leds ect
Block has both 12volt and 5 volts connections

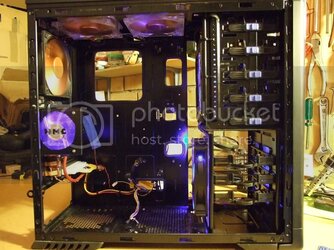
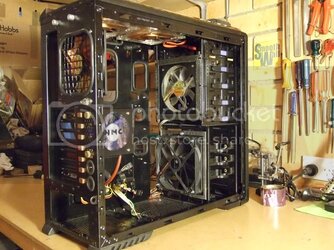
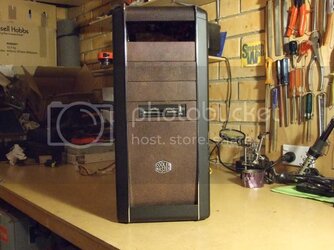
All fans now installed and Fornt and Top Bezels reinstalled

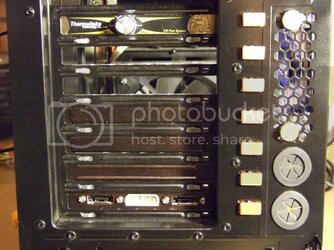
PCI slot Covers Painted Copper/Black effect, and installed E-Sata and Molex power out PCI bracket

CPU Inspection Cutout Molding
MotherboardTrayCPUcutoutMoulding.jpg

Rear Case Pre wiring
RearCasePre-wiring.jpg

All Fans now installed
InstallingwiringFansandPCIslot.jpg

Rear Pci slots
RearCaseFansandPCIslots.jpg

PCI Slots Closeup
PCIslotCoversPaintedCopper-Black.jpg

All pre-wiring done
Fnasandprewireinstall.jpg

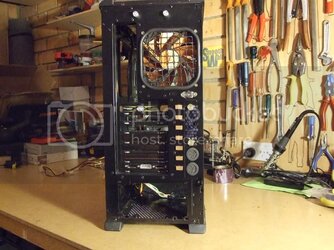
Front & Top bezels installed
FrontBezelinstalled.jpg

Window panel Molding
WindowsidePanelMoldingf120mmfan.jpg


That's all for this Update , more to come soon!

 
I'm hoping there will be some cable sleeving here!
Still looking lovely :thup:

Thanks Again tinymouae2, The PSU that is going in here is already sleeved, and there isn't any other cables that really need it as wont be seen,

Plus I dont have any sleeving available to me, and also trying to keep this Makeover Revamp case mod at a very low budget, ( as little as possible)

The main outlay will be for DDR3 Ram, which I am still trying to source, not may places have any stock at moment and if they do is very over priced,

(was supposed to get some from member here but havent had contact in over a week so guess thats not going ahead,, starts looking elsewhere)
 
Update #17 Sun 18th April


Just a short Video showing the making of the Slot Cooler for the CM-690 case , to expel the exhaust from the GPU


Slot Cooler Video

http://www.youtube.com/watch?v=3lwhNxAXAOw


Thats all for now , working on another Video for the Case Mooding done so far.

Stay Tuned for more soon!​
 
Back