- Joined
- Jun 15, 2011
Build log: Corsair 600T (lots of pics)
After many hours of reading, I am finally going to build my own water cooled computer running strictly internal radiators. My old computer runs with the AquaDuct 360 external system, and I've always wanted that thing off my desk.
Now, I've chosen the Corsair 600T midi-tower. In retrospect, I should possibly have chosen a larger case. I really hope my radiators/fans are up for this job (which is my biggest concern). If cooling fails, I'd have to redesign the loops using a different case.
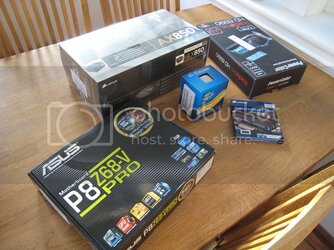
Most of the hardware is still in shipment, but I've started configuring radiators and fans. I plan to build this over the next couple of weeks, and I'll update as I go along. Thanks to everyone who has answered my questions in other posts, a big help.
Cooling/control:
1x Swiftech MCP35X pump
1x Swiftech MCP35X reservoir
1x Swiftech 120.1 radiator
1x Swiftech 120.2 radiator
1x Phobya Xtreme 200.1 radiator
3x Noiseblocker Multiframe M12-S3 fans (max 1850rpm)
1x Phobya Silent G18 fan (max 700rpm)
1x Koolance INS-FM17N flow sensor
2x AquaComputer in-line water temperature sensors
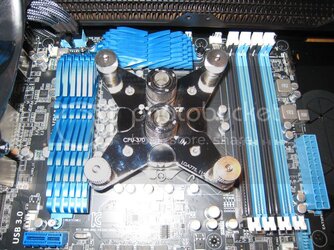
1x Koolance CPU-370 waterblock
1x Koolance VID-NX590 waterblock (edit 09-20-11)
1x AquaComputer Aquaero 5 LT fan-controller
1x Aquaero bay mounting kit
Tubing: Feser UV-reactive White 3/8" ID 1/2"OD
Anti-kink: Primochill black
BitsPower silver compression fittings (incl. 1x 90deg and 1x 45deg rotary)
Thermal Compound: Koolance stock for CPU, Arctic Silver 5 for GPU.
Liquid: Deionized water
Liquid additive: PetraTech Nuke
Hardware:
Case: Corsair 600T White edition
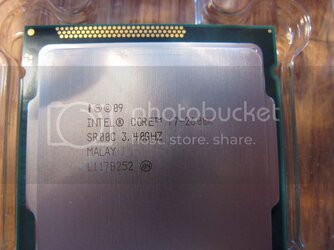
CPU: Intel i7 2600K
GPU: Zotac GTX590 (edit 09-20-11)
RAM: Corsair Dominator 1600MHz 2x4GB
SSD: OCZ Vertex 2 80GB (from my old computer)
HDD: Some 400GB Samsung disk (from my old computer)
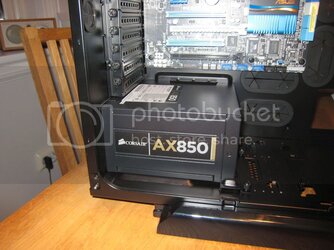
PSU: Corsair AX850
Mobo: ASUS P8Z68-V Pro
DVD: Some old Samsung WriteMaster DVD-RW (from my old computer)
Monitor: Samsung SyncMaster 2443BW 16:10
Etc:
Sleeved extension cord for fans, power etc.
Thread tap for 4M screws
Screws and rubber grommets
Phobya Noise Destructor pad for pump
2x Lamptron Spectral Bar UV lighting
1x AquaComputer RGB-led
1x LED reservoir plug
1x Akasa hard drive bay adapter for SSD
1x Frozen CPU rubber installation adapter for HDD
Allready bought parts which won't be put to use:
-AquaComputer "High-Flow" flow sensor (unbearable clicking sound despite RMAs)
-Flow sensor wire (yes, must be bought seperately)
-XSPC Dual Bay reservoir for MCP35X pump (direct contact between reservoir and case despite rubber decoupling creates too much vibration)
-Gentle Typhoon AP-15 (I know these are the "best", but the noise is too high pitched for my taste, the Noiseblocker fans had more of a low pitched noise. If cooling is more than adequate, I might change to the GTs as they can be adjusted to even lower voltage)
-PSU rubber silencer (the fit is so tight that I won't be able to use it)
-PowerColor HD6990 LCS (Dead on arrival, returned to store)
-Thermal compound: Nanoxia Heat Buster (Bad batch? Not able to spread it out, it just create rubber lumps).
-Tubing: Primochill White 3/8" ID (wife wanted UV lights, had to switch to Feser tubes).
Layout is as follows:
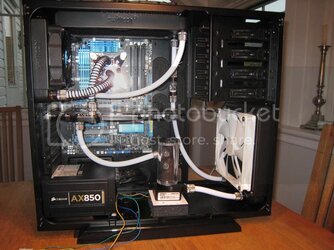
Pump is placed at the bottom of the case, and the water flows like this:
Res -> Pump -> Tempsensor#1 -> 200.1 -> Flowsensor -> 120.2 -> 120.1 -> Tempsensor#2 -> CPU -> GPU ->Res
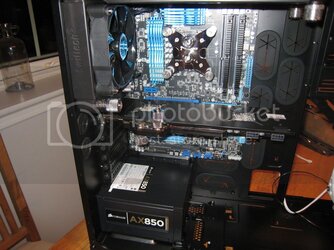
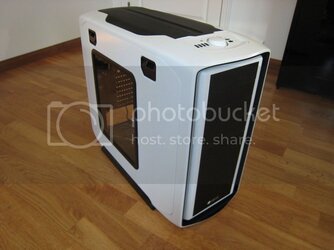
You probably know the case, but here it is:

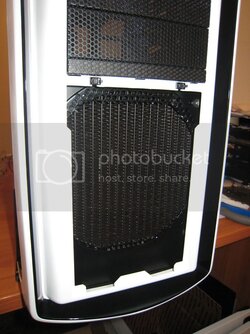
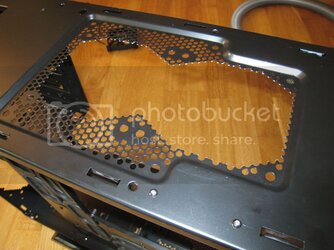
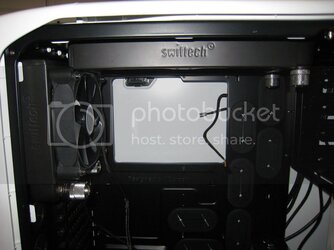
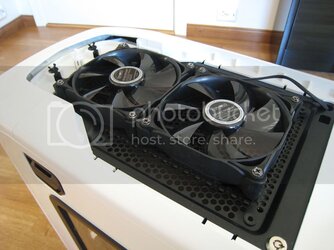
The 120.2 radiator at the top can be mounted as is, the metal grating is sandwiched between the rad underneath and the fans at the top:


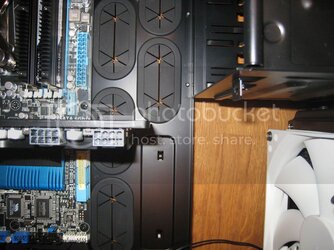
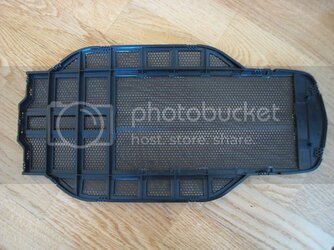
To ensure that the top cover didn't touch any of the fans, I cut out some of the plastic ribs:

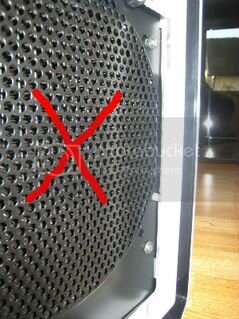
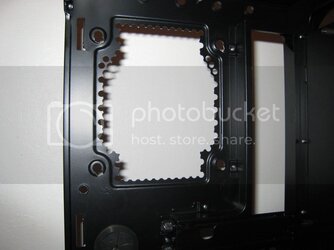
For the 200.1 radiator in front I had to drill four holes in the chassis. I placed the radiator so that it doesn't collide with the white plastic clips that hold the front of the case in place:


The 120.1 radiator in the back was a little tricky. Swiftech uses a 6-32 thread as standard on their radiators, and I had problems finding the correct length in Europe. I increased the thread size to a more convenient M4 size (pre-drilling with 3.3mm for anyone who is interested).
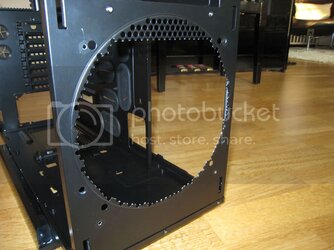
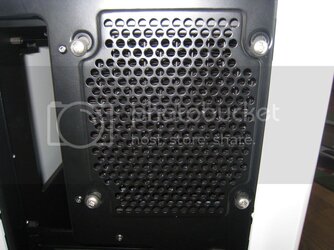
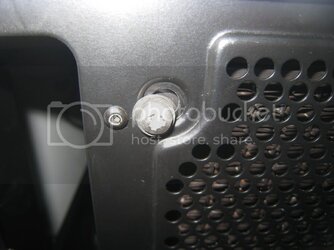
There are holes in the case for mounting a fan, but the rad was a little too wide to fit correctly. I had to drill some slots in the case to displace the radiator down and sideways towards the motherboard. Not very esthetic, but It'll do:


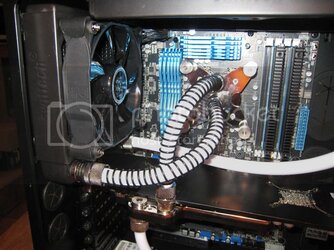
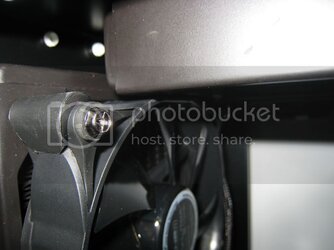
The gap between the fan and the top radiator is not much more than 2mm, but it'll keep the fan decoupled:

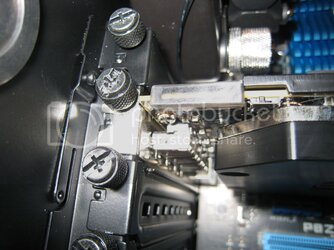
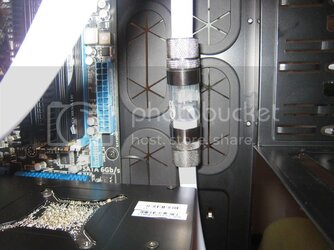
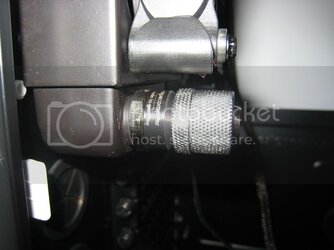
A close-up look at temp-sensor #2 (cold side of radiators):

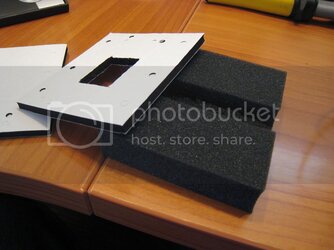
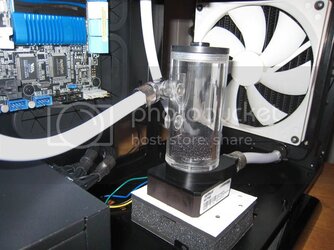
The pump is sitting loosely on top of the Phobya Noise Destructor at the approximate position. I would have placed the 3.5" drive bays here, but as I switched from a bay reservoir to the cylindrical there won't be any more room. I'll end up using all four 5.25" bays (DVD-RW, Aquaero and 2 hard drives):

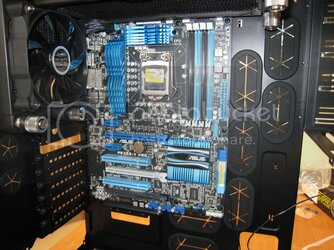
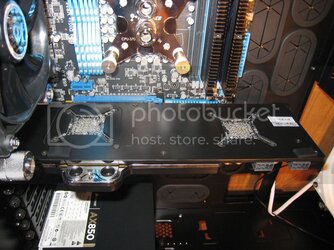
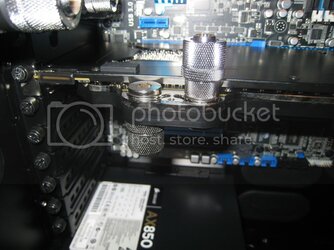
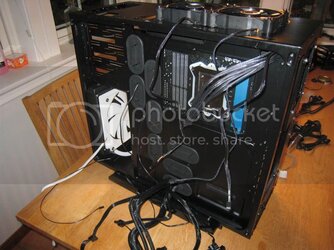
So this is how it all looks at the moment:

I'll update as soon as I get more stuff in, I hope this will be good. Be free to comment on setup, practical solutions etc. Any feedback appreciated.
After many hours of reading, I am finally going to build my own water cooled computer running strictly internal radiators. My old computer runs with the AquaDuct 360 external system, and I've always wanted that thing off my desk.
Now, I've chosen the Corsair 600T midi-tower. In retrospect, I should possibly have chosen a larger case. I really hope my radiators/fans are up for this job (which is my biggest concern). If cooling fails, I'd have to redesign the loops using a different case.
Most of the hardware is still in shipment, but I've started configuring radiators and fans. I plan to build this over the next couple of weeks, and I'll update as I go along. Thanks to everyone who has answered my questions in other posts, a big help.
Cooling/control:
1x Swiftech MCP35X pump
1x Swiftech MCP35X reservoir
1x Swiftech 120.1 radiator
1x Swiftech 120.2 radiator
1x Phobya Xtreme 200.1 radiator
3x Noiseblocker Multiframe M12-S3 fans (max 1850rpm)
1x Phobya Silent G18 fan (max 700rpm)
1x Koolance INS-FM17N flow sensor
2x AquaComputer in-line water temperature sensors
1x Koolance CPU-370 waterblock
1x Koolance VID-NX590 waterblock (edit 09-20-11)
1x AquaComputer Aquaero 5 LT fan-controller
1x Aquaero bay mounting kit
Tubing: Feser UV-reactive White 3/8" ID 1/2"OD
Anti-kink: Primochill black
BitsPower silver compression fittings (incl. 1x 90deg and 1x 45deg rotary)
Thermal Compound: Koolance stock for CPU, Arctic Silver 5 for GPU.
Liquid: Deionized water
Liquid additive: PetraTech Nuke
Hardware:
Case: Corsair 600T White edition
CPU: Intel i7 2600K
GPU: Zotac GTX590 (edit 09-20-11)
RAM: Corsair Dominator 1600MHz 2x4GB
SSD: OCZ Vertex 2 80GB (from my old computer)
HDD: Some 400GB Samsung disk (from my old computer)
PSU: Corsair AX850
Mobo: ASUS P8Z68-V Pro
DVD: Some old Samsung WriteMaster DVD-RW (from my old computer)
Monitor: Samsung SyncMaster 2443BW 16:10
Etc:
Sleeved extension cord for fans, power etc.
Thread tap for 4M screws
Screws and rubber grommets
Phobya Noise Destructor pad for pump
2x Lamptron Spectral Bar UV lighting
1x AquaComputer RGB-led
1x LED reservoir plug
1x Akasa hard drive bay adapter for SSD
1x Frozen CPU rubber installation adapter for HDD
Allready bought parts which won't be put to use:
-AquaComputer "High-Flow" flow sensor (unbearable clicking sound despite RMAs)
-Flow sensor wire (yes, must be bought seperately)
-XSPC Dual Bay reservoir for MCP35X pump (direct contact between reservoir and case despite rubber decoupling creates too much vibration)
-Gentle Typhoon AP-15 (I know these are the "best", but the noise is too high pitched for my taste, the Noiseblocker fans had more of a low pitched noise. If cooling is more than adequate, I might change to the GTs as they can be adjusted to even lower voltage)
-PSU rubber silencer (the fit is so tight that I won't be able to use it)
-PowerColor HD6990 LCS (Dead on arrival, returned to store)
-Thermal compound: Nanoxia Heat Buster (Bad batch? Not able to spread it out, it just create rubber lumps).
-Tubing: Primochill White 3/8" ID (wife wanted UV lights, had to switch to Feser tubes).
Layout is as follows:
Pump is placed at the bottom of the case, and the water flows like this:
Res -> Pump -> Tempsensor#1 -> 200.1 -> Flowsensor -> 120.2 -> 120.1 -> Tempsensor#2 -> CPU -> GPU ->Res
You probably know the case, but here it is:
The 120.2 radiator at the top can be mounted as is, the metal grating is sandwiched between the rad underneath and the fans at the top:
To ensure that the top cover didn't touch any of the fans, I cut out some of the plastic ribs:
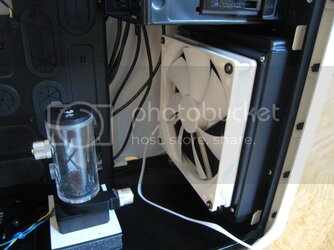
For the 200.1 radiator in front I had to drill four holes in the chassis. I placed the radiator so that it doesn't collide with the white plastic clips that hold the front of the case in place:
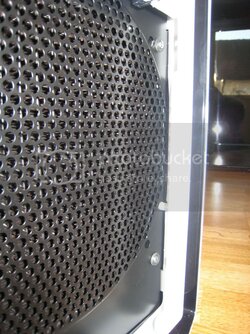
The 120.1 radiator in the back was a little tricky. Swiftech uses a 6-32 thread as standard on their radiators, and I had problems finding the correct length in Europe. I increased the thread size to a more convenient M4 size (pre-drilling with 3.3mm for anyone who is interested).
There are holes in the case for mounting a fan, but the rad was a little too wide to fit correctly. I had to drill some slots in the case to displace the radiator down and sideways towards the motherboard. Not very esthetic, but It'll do:
The gap between the fan and the top radiator is not much more than 2mm, but it'll keep the fan decoupled:
A close-up look at temp-sensor #2 (cold side of radiators):
The pump is sitting loosely on top of the Phobya Noise Destructor at the approximate position. I would have placed the 3.5" drive bays here, but as I switched from a bay reservoir to the cylindrical there won't be any more room. I'll end up using all four 5.25" bays (DVD-RW, Aquaero and 2 hard drives):
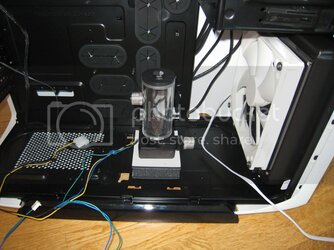
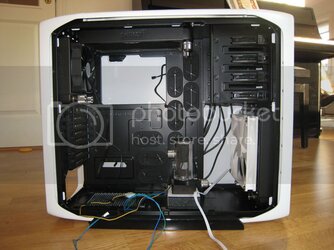
So this is how it all looks at the moment:
I'll update as soon as I get more stuff in, I hope this will be good. Be free to comment on setup, practical solutions etc. Any feedback appreciated.
Last edited:
