- Joined
- Aug 28, 2005
- Location
- 46° 21' N 72° 35' W
Here come mine ...


Welcome to Overclockers Forums! Join us to reply in threads, receive reduced ads, and to customize your site experience!
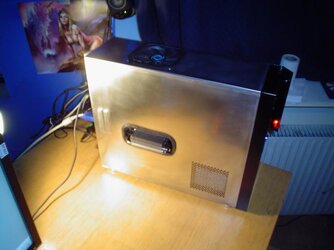
still trying to get my webhosting setup... but heres a teaser pic
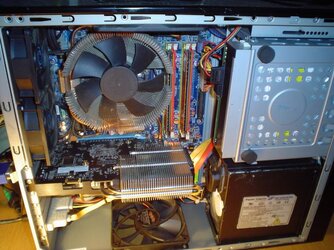
well heres a boatload of pics, its the rig in my specs, tell me whatcha think!
sorry its so cluttered, it was hard routing the tubes with the fittings and stuff in such a small case, but it was really side so i had room for the extra lengh.
post any questions you have and ill try to answer them!
~M


Here's my first attempt at a custom build =)
Here's mine:
ONE OF THE COOLEST SETUPS EVER!!!
Are you a millionare by any chance?
-=apexi=- : That is the one of the other COOLEST SETUPS EVER!!!
BTW: I love blue lights.
Here's mine:
Edite: it only costed me $1150!!!!!!!!!!!!!


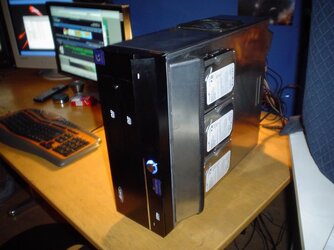
Whats that blue light in the top picture?


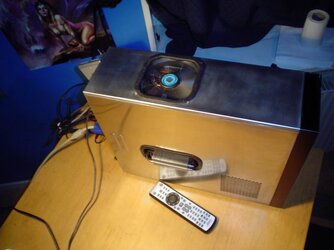
OMFG! That switch panel is just sickening. Please make a guide on how to do itmy measly mod

the other two turn off the controller panel which controlls two fans, and the far right switch is the front intake
lol, funny this is thrown in here with all the obove and beyond mods
not much you can do to a apollo other than WC lol
Whats that blue light in the top picture?


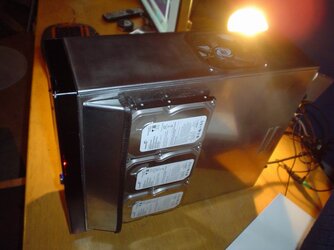
 . Changed my air flow around and i am now getting <30C idle and <38C full load. Will post updated pics.