-
Welcome to Overclockers Forums! Join us to reply in threads, receive reduced ads, and to customize your site experience!
You are using an out of date browser. It may not display this or other websites correctly.
You should upgrade or use an alternative browser.
You should upgrade or use an alternative browser.
PROJECT LOG ROG meets Lian Li casemod
- Thread starter Cown
- Start date
- Thread Starter
- #22
Update 24/3
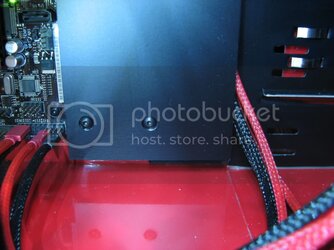
Here's a little teaser for how I plan on the window mod is going to look:
The plexiplate with the ROG logo painted on it:


This somewhat how it's going to end up looking, the paint is fluorescent btw.:


A few more pictures, where I've done my best not to shake the camera:


Hope you guys like it, and as always thanks for looking
Here's a little teaser for how I plan on the window mod is going to look:
The plexiplate with the ROG logo painted on it:


This somewhat how it's going to end up looking, the paint is fluorescent btw.:
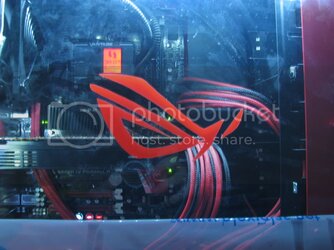

A few more pictures, where I've done my best not to shake the camera:
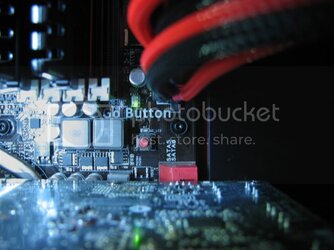
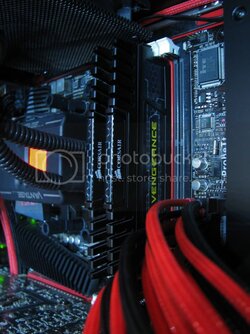
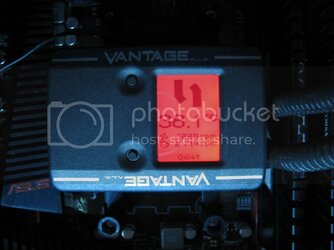
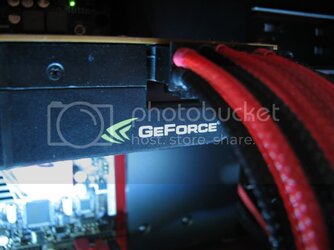
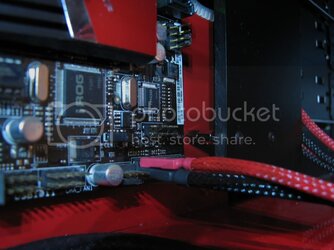
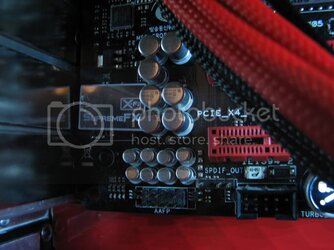

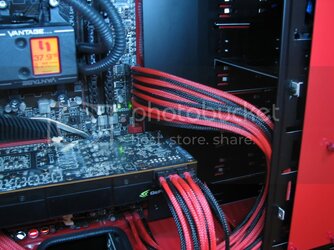

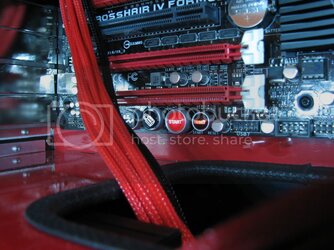
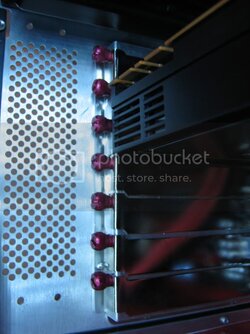
Hope you guys like it, and as always thanks for looking
Last edited:
- Thread Starter
- #23
Update 25/3
Hi guys
I've now come a bit further with my window mod, I've cut the window out in the side plate, as well as mounted the LED lighting in the case. I just need to cut the plexi to fit the sidepanel, which I plan on getting done in a couple of days, as well as hoping that my new fans and some other goodies will arrive from Germany during the next week.
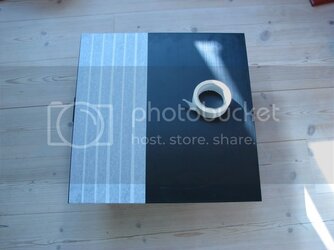
Let's begin with covering the plate with some tape:


Some measuring:

Now it's ready to be cut:


About 10 cutting blades latter:

Rough cut, I've only just filled away some of the worst residue from the cut:

Some more sanding required:


Here's what she looks like:


After some water sanding, the result looks much better:


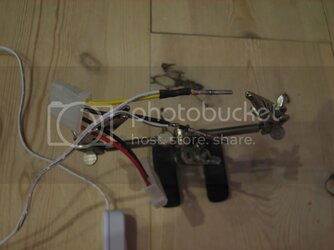
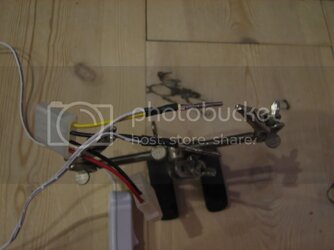
As you can see in my earlier post, the LED light I plan on using is for 220V power connection, so I have to convert it to 12V, and I've done this with a simple molex plug:

Wire coating cut off and ready to be soldered:

Soldered and some shrink tubing added:


Let there be LIGHT!


A couple from above


Thanks it for now, thanks for looking
Hi guys
I've now come a bit further with my window mod, I've cut the window out in the side plate, as well as mounted the LED lighting in the case. I just need to cut the plexi to fit the sidepanel, which I plan on getting done in a couple of days, as well as hoping that my new fans and some other goodies will arrive from Germany during the next week.
Let's begin with covering the plate with some tape:
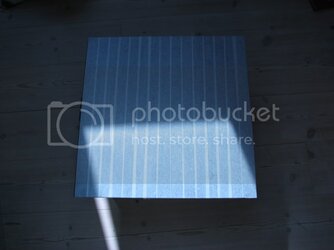
Some measuring:

Now it's ready to be cut:
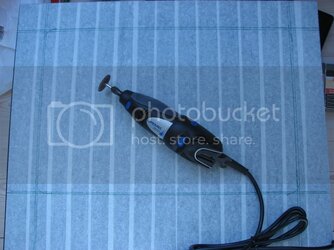
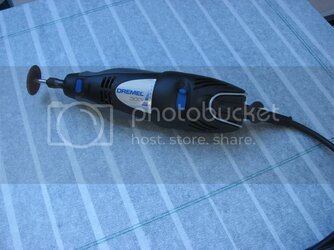
About 10 cutting blades latter:
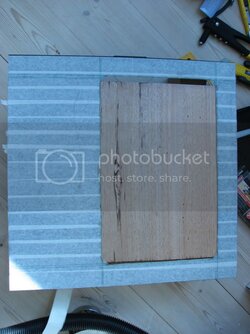
Rough cut, I've only just filled away some of the worst residue from the cut:
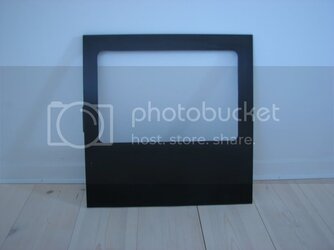
Some more sanding required:


Here's what she looks like:
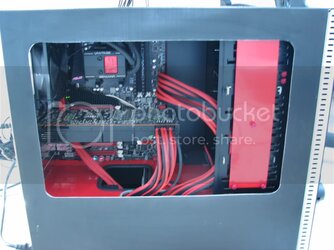
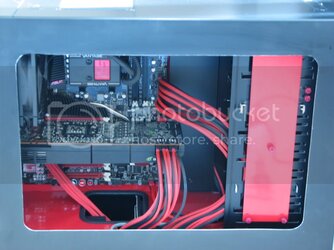
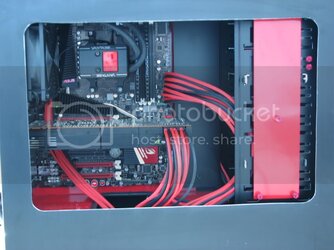
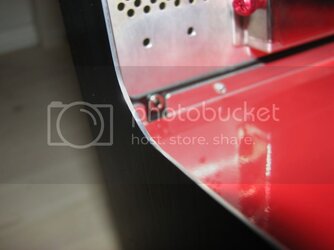
After some water sanding, the result looks much better:

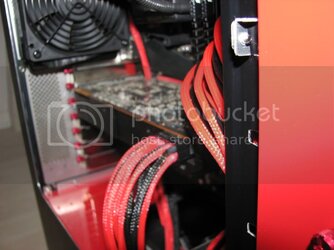
As you can see in my earlier post, the LED light I plan on using is for 220V power connection, so I have to convert it to 12V, and I've done this with a simple molex plug:
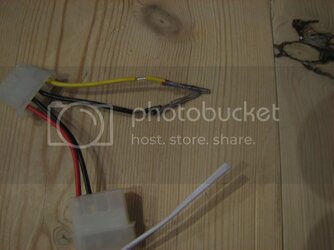
Wire coating cut off and ready to be soldered:
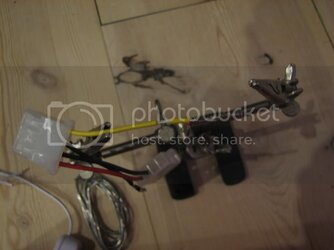
Soldered and some shrink tubing added:
Let there be LIGHT!
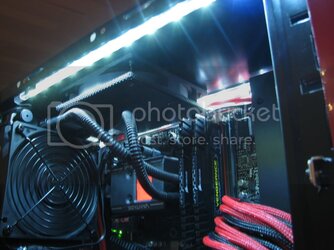

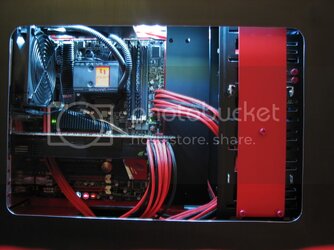
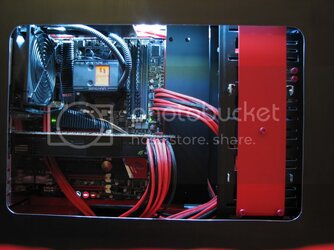
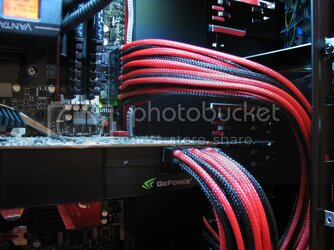
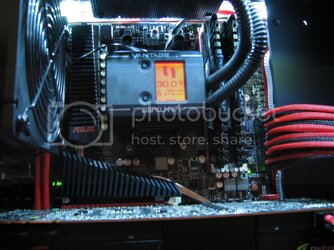

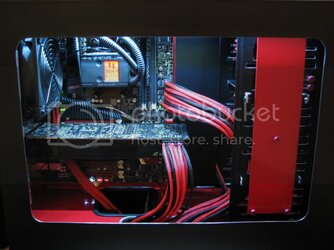
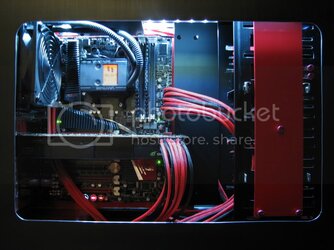
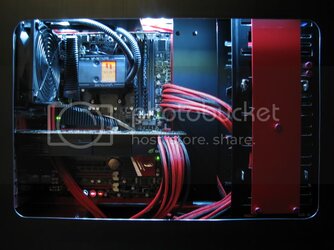
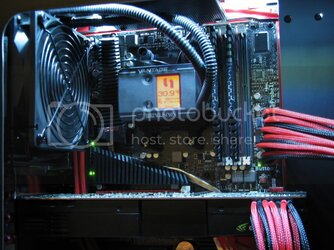
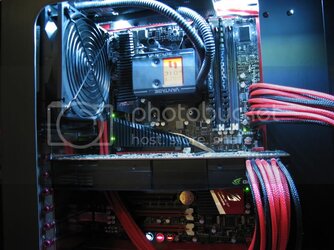
A couple from above
Thanks it for now, thanks for looking
- Thread Starter
- #25
Looks Great! I wish i could cut that straight.
Hehe I had my difficulties, the first side I cut, the Dremel slipped, making a scratch that would have been visible, had I not cut 5mm more off the plate, sanding and filling also helped a lot
- Thread Starter
- #26
A small update on what I plan on doing to the front of the case:
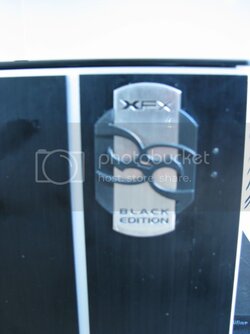
First of all I'll remove this old "sticker" I got when I bought my 5970's:

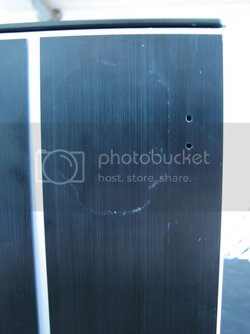
Sticker removed as well as the LED extensions for top power/hdd LED's behind the door panel:

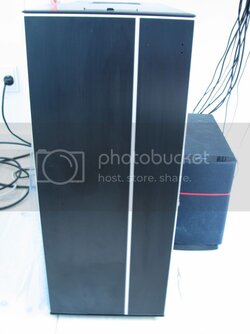
The front after the small alteration:

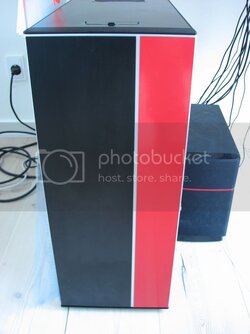
Some color added

The plan is to pain the mesh red to fit the rest of the scheme:


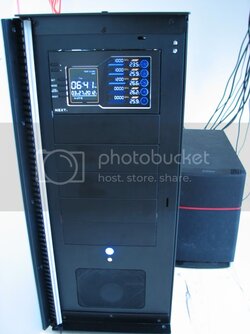
I also plan of changing the power/reset buttons which at the moment look like this:

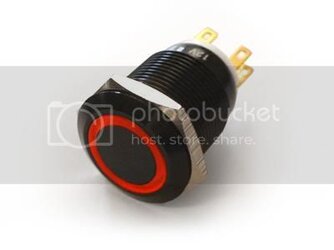
Going to be replaced by 2 of these:

The fan controller should be the only thing remaining with blue color in it, unfortunately I can't change the color of the LCD display:

Thanks for looking
First of all I'll remove this old "sticker" I got when I bought my 5970's:
Sticker removed as well as the LED extensions for top power/hdd LED's behind the door panel:
The front after the small alteration:
Some color added
The plan is to pain the mesh red to fit the rest of the scheme:
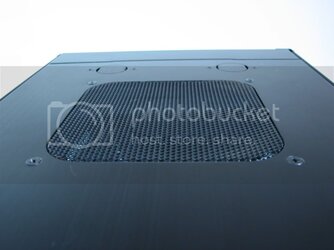
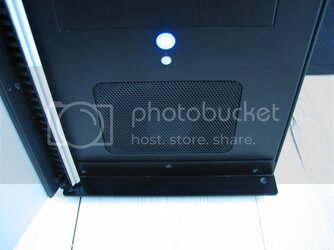
I also plan of changing the power/reset buttons which at the moment look like this:
Going to be replaced by 2 of these:
The fan controller should be the only thing remaining with blue color in it, unfortunately I can't change the color of the LCD display:
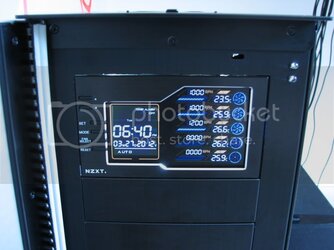
Thanks for looking
- Thread Starter
- #27
Hey guys
A small update on some stuff that arrived today, I plan on continuing the mod tomorrow

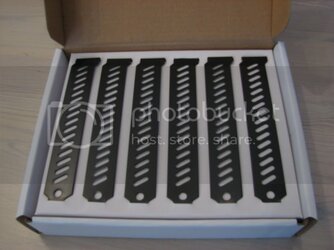
Nice black PCI brackets from Lian Li:

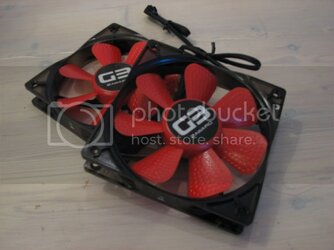
New PWM fans from Zaward:


I'm hoping to get the window mod done this weekend as well, leaving only the front power/reset buttons to be finished but the new switches are currently out of stock
A small update on some stuff that arrived today, I plan on continuing the mod tomorrow
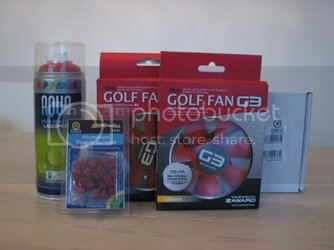
Nice black PCI brackets from Lian Li:
New PWM fans from Zaward:

I'm hoping to get the window mod done this weekend as well, leaving only the front power/reset buttons to be finished
- Joined
- Jan 27, 2012
Any plans on changing the strip that runs top to bottom near the front of the case?¿?¿?¿
http://i1050.photobucket.com/albums/s407/thesinr/IMG_1401.jpg
http://i1050.photobucket.com/albums/s407/thesinr/IMG_1401.jpg
- Thread Starter
- #29
KΓλ©KΣΓ™;7146217 said:Any plans on changing the strip that runs top to bottom near the front of the case?¿?¿?¿
http://i1050.photobucket.com/albums/s407/thesinr/IMG_1401.jpg
I have thought about making it either red or black, but haven't really decided yet, red might be the best fit since everything around it is black, but I don't know
- Joined
- Jan 27, 2012
I've been watching this build since you started posting it. I think it's safe to say you don't need help on design. You've done an amazing job thus far. I'm sure what ever you do will look great. I really like the front of the case with the thin strip dividing the two colours. Very nice.
- Thread Starter
- #31
KΓλ©KΣΓ™;7146223 said:I've been watching this build since you started posting it. I think it's safe to say you don't need help on design. You've done an amazing job thus far. I'm sure what ever you do will look great. I really like the front of the case with the thin strip dividing the two colours. Very nice.
Thanks mate, appreciate it
I'll post pictures of both colors of course
- Thread Starter
- #32
Time for another update 
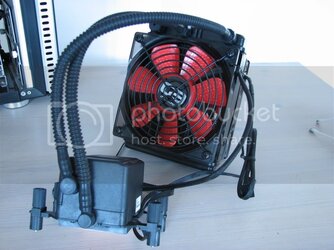
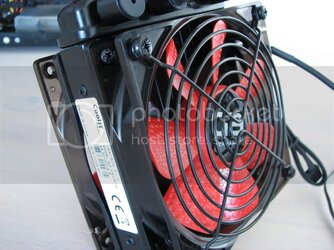
It's time for the A.L.C to get modded a little:


New fans installed, look pretty good if I may say so myself


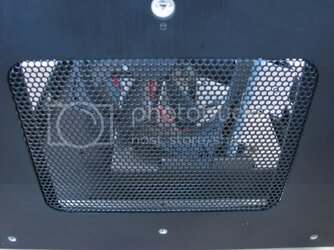
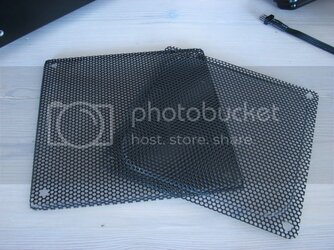
Mesh plates going to get pulled out for a paint job, unfortunately the front mesh was glued to the case, which was a real pain in the ***!


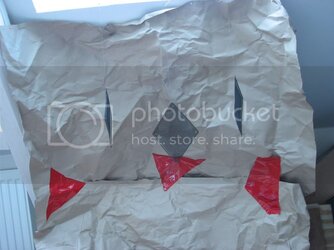
Covered up and ready to get messy

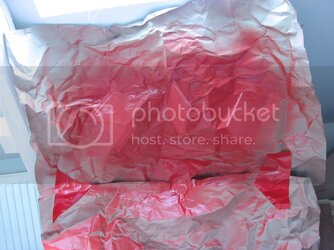
Done:

Front mesh installed:

Some pictures of the inside

New PCI brackets installed:


Top mesh:

Some pictures of the case in different color settings:


Up and running:


Well I went a bit picture crazy back there, hope you can bare with me on that
My daughter came in to help, or rather she wanted a "taste" for herself

I think she approves

Front in the dark:

Now I only need to finish the window. I am going to get the plexi cut down to the right size tomorrow, and hopefully finish the mod
To KΓλ©KΣΓ™, I've decided to leave the "strips" alone, because I think it does a good job of "braking" the colors and adding some more edge to the case, I think the full black to black would look strange and the red would be a bit too much, I like the simple lines
As always, thanks for looking
It's time for the A.L.C to get modded a little:
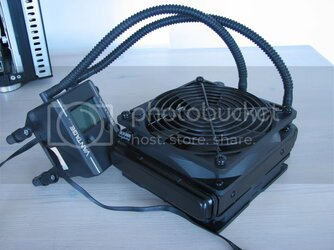
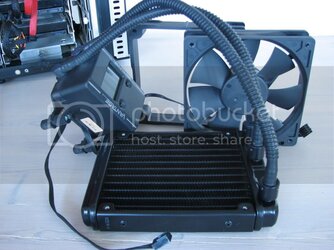
New fans installed, look pretty good if I may say so myself
Mesh plates going to get pulled out for a paint job, unfortunately the front mesh was glued to the case, which was a real pain in the ***!
Covered up and ready to get messy
Done:
Front mesh installed:
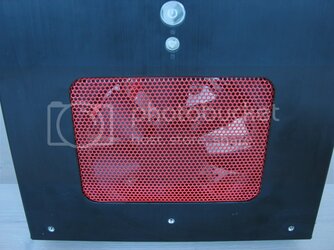
Some pictures of the inside
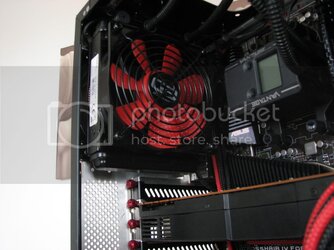
New PCI brackets installed:
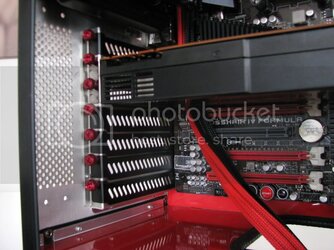
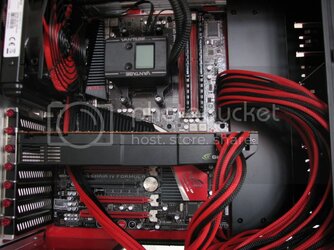
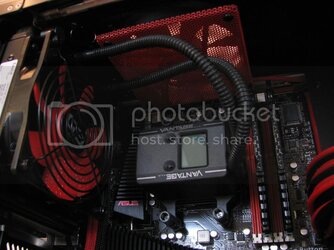
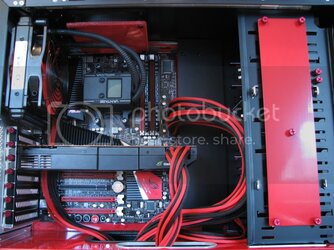
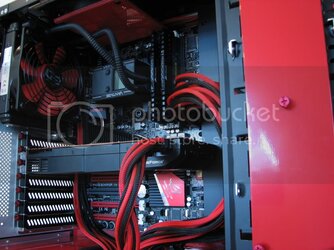
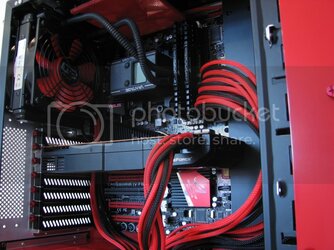
Top mesh:
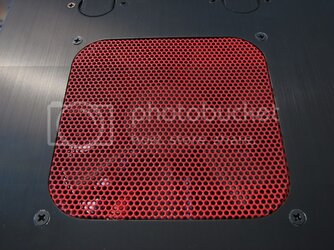
Some pictures of the case in different color settings:
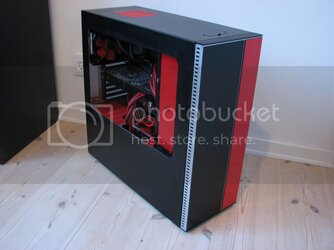
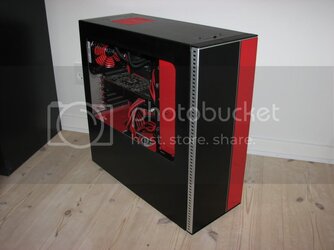
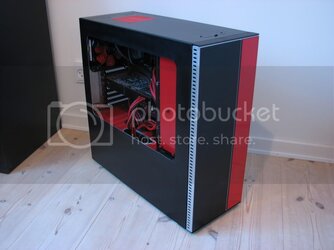
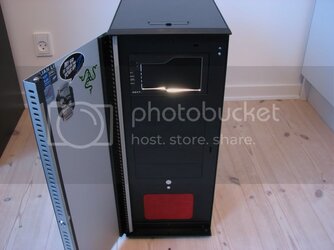
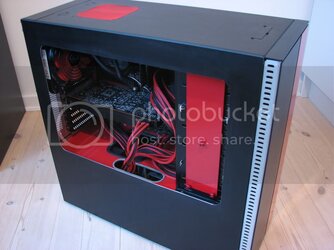
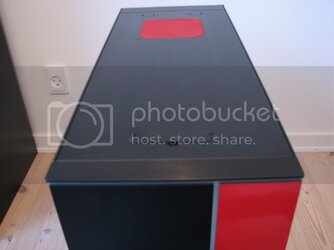
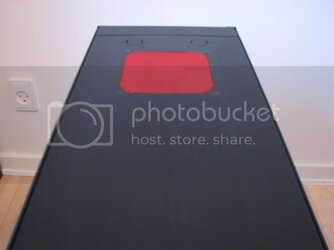
Up and running:
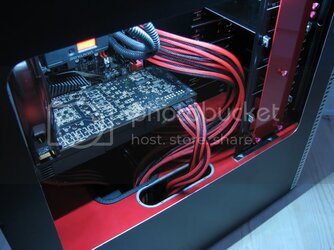
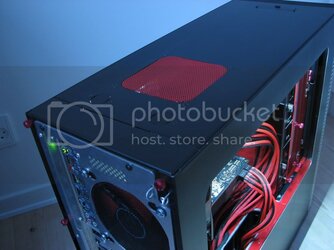
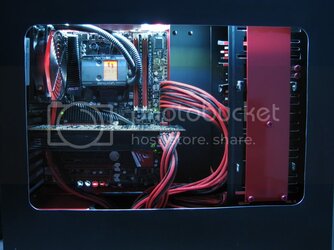
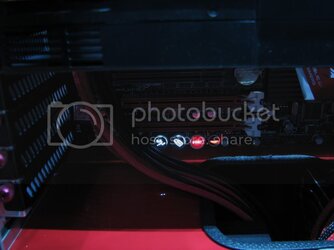
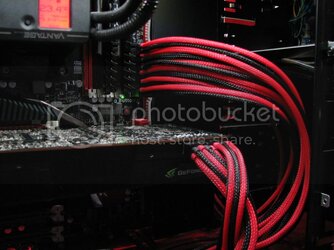
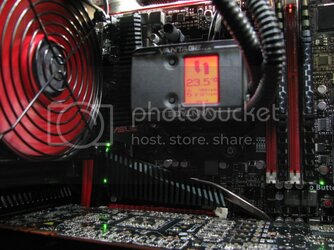
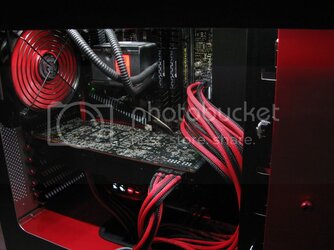
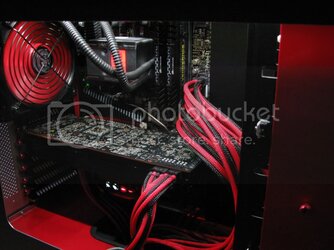
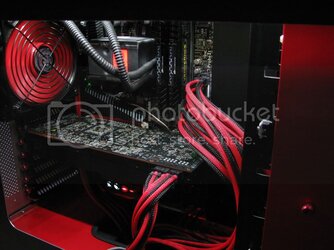
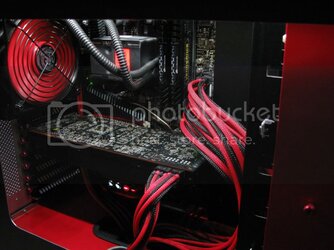
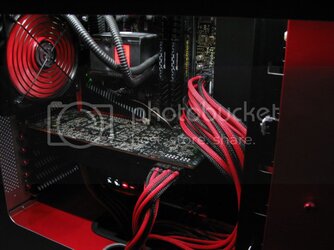
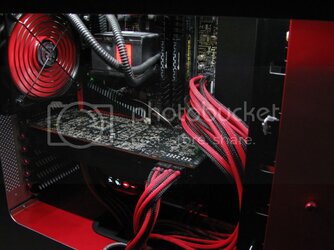
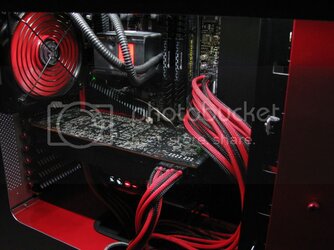
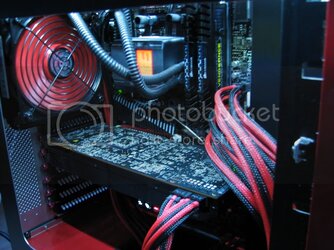
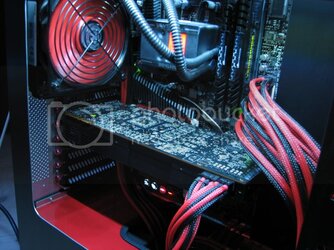
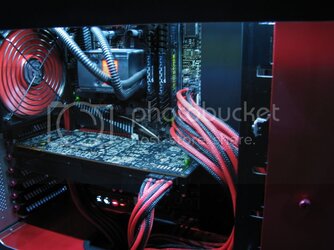
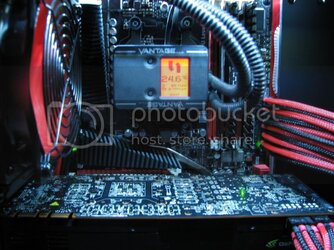
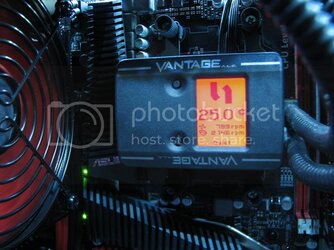
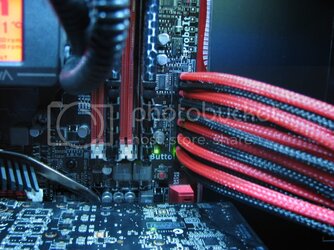
Well I went a bit picture crazy back there, hope you can bare with me on that
My daughter came in to help, or rather she wanted a "taste" for herself

I think she approves


Front in the dark:
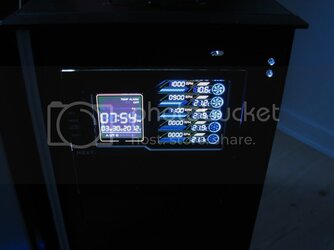
Now I only need to finish the window. I am going to get the plexi cut down to the right size tomorrow, and hopefully finish the mod
To KΓλ©KΣΓ™, I've decided to leave the "strips" alone, because I think it does a good job of "braking" the colors and adding some more edge to the case, I think the full black to black would look strange and the red would be a bit too much, I like the simple lines
As always, thanks for looking
Last edited:
- Joined
- Oct 14, 2007
Man, this build looks incredible. What is the foil you used? It looks just as good as a quality paint job.
- Joined
- Nov 30, 2009
I have been following this build from the beginning, I would have done nothing differently.
Absolutely amazing build, awesome work Cown!
Absolutely amazing build, awesome work Cown!
- Thread Starter
- #37
Man, this build looks incredible. What is the foil you used? It looks just as good as a quality paint job.
Thanks mate, glad you like it, the foil is from:
http://www.d-c-fix-shop.de/
Im interested to hear how those dimpled fans work out. Ive seen that kind of pattern applied to several things in the past an in general it does improve the aerodynamics.
Same here, I haven't had the time to test them out yet, but for now the noise level has been reduced remarkably, I'll give an update when I have the time to check the temp differences.
KΓλ©KΣΓ™;7147408 said:First thing I do when I get home from work is come online and see if there are any updates to this build. VERY cool project. Makes me want to sell my new HAF 912 and get one of these cases now.... lol
I'm very flattered mate, thank you very much
I have been following this build from the beginning, I would have done nothing differently.
Absolutely amazing build, awesome work Cown!
Thanks a lot, it's been a lot of work and nagging from my girlfriend lol, but it's been worth it, I'm very pleased with the result so far
- Thread Starter
- #38
Update 31/3 - Nearing the end 
It's time for one of the final updates. I've completed my window mod and am nearing the finishing point of my casemod
A few "quickies" before we continue:


As you can se, I've moved the ATX connector behind the black plate I made earlier, getting rid of the somewhat messy cable management I had going on, I think it looks a lot better
Oh well, we better get on with it!
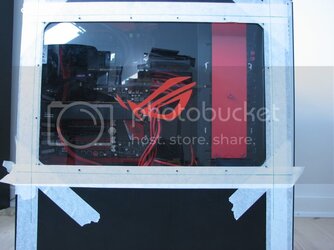
The plexi cut out in the right size:


A small teaser on how it's going to look like:

Measurements done, holes drilled and threads made the for the assembly:


I plan on putting some insulation between the side plate and the plexi to avoid as much unnecessary dust as possible:

On it goes:

M3 screws from MDPC-X, I really love the quality of them, just superb:

Window DONE!!!


That's it for now, it's getting late here in Denmark and I'm getting tired I'll post pictures of the beast up and running tomorrow as well as some in the dark pictures
As always, thanks for looking!!!
It's time for one of the final updates. I've completed my window mod and am nearing the finishing point of my casemod
A few "quickies" before we continue:
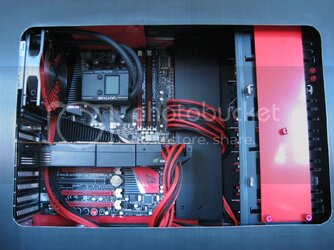
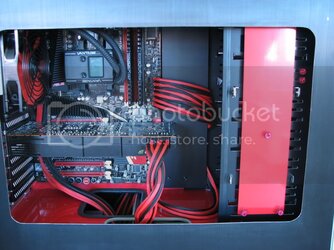
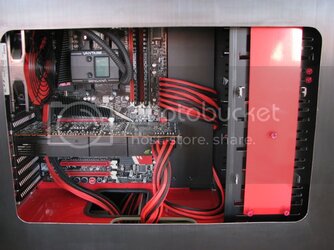
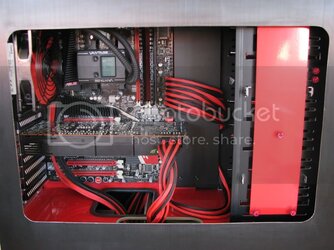
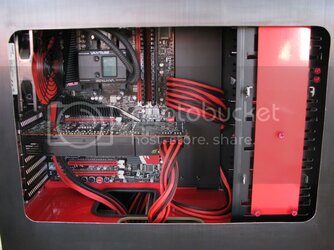
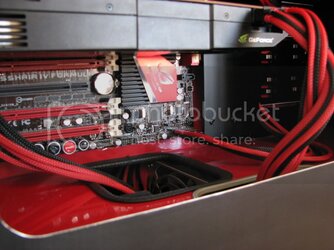
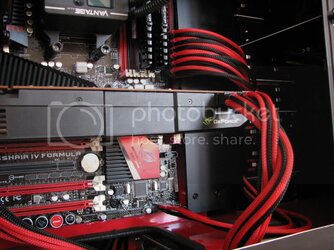
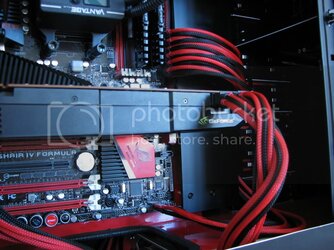
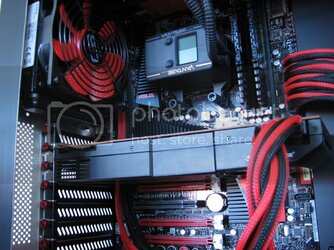
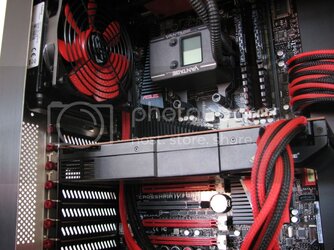


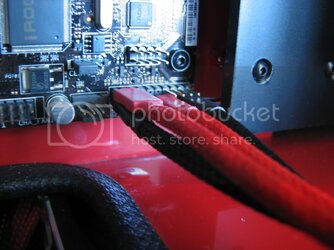
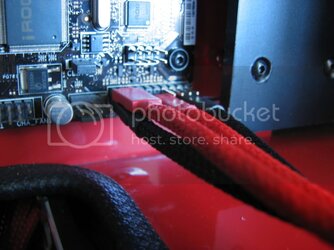
As you can se, I've moved the ATX connector behind the black plate I made earlier, getting rid of the somewhat messy cable management I had going on, I think it looks a lot better
Oh well, we better get on with it!
The plexi cut out in the right size:
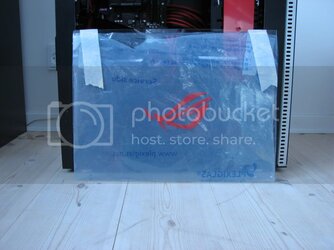
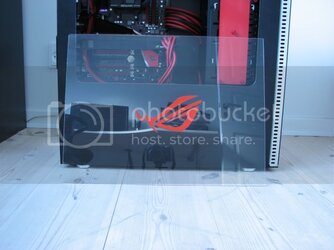
A small teaser on how it's going to look like:
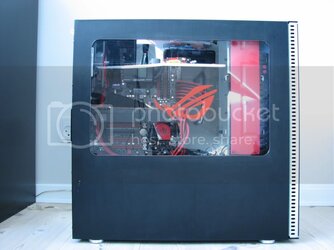
Measurements done, holes drilled and threads made the for the assembly:
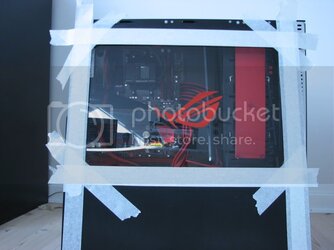
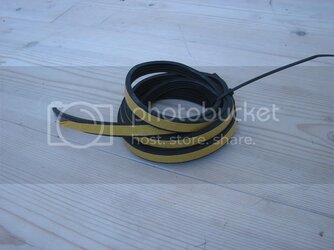
I plan on putting some insulation between the side plate and the plexi to avoid as much unnecessary dust as possible:
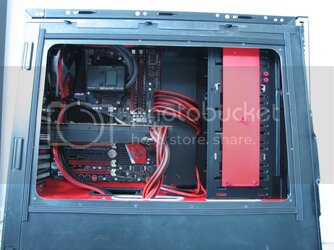
On it goes:
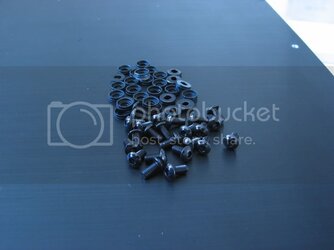
M3 screws from MDPC-X, I really love the quality of them, just superb:
Window DONE!!!
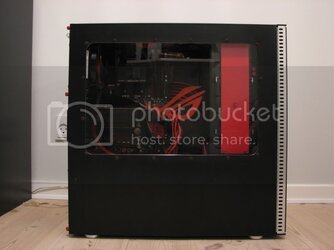
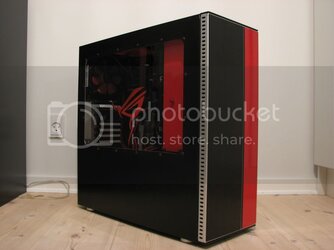
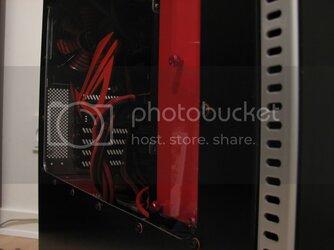

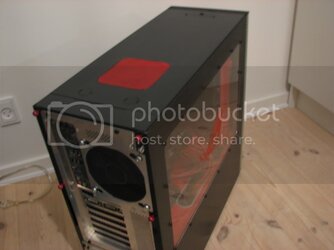




That's it for now, it's getting late here in Denmark and I'm getting tired
As always, thanks for looking!!!
Last edited:
- Thread Starter
- #39
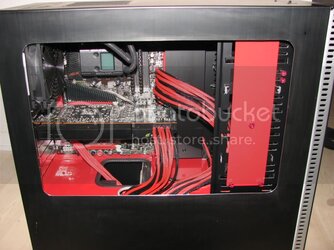
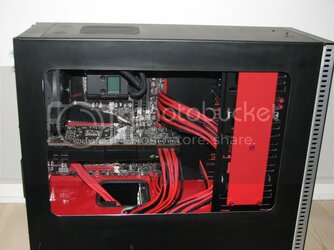
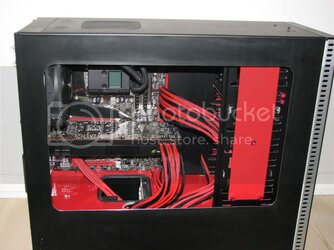
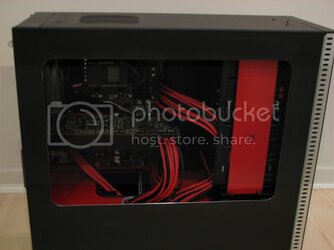
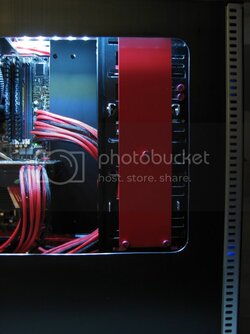
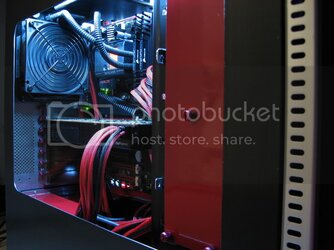
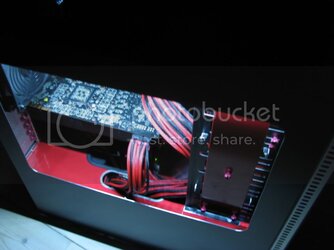
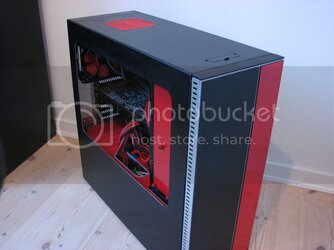
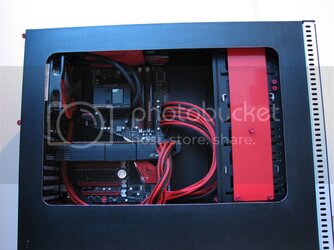
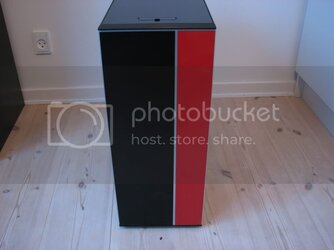
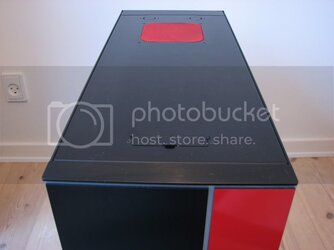
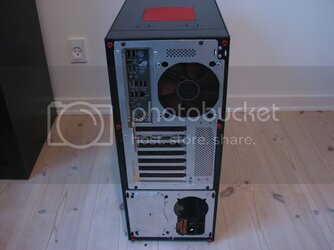
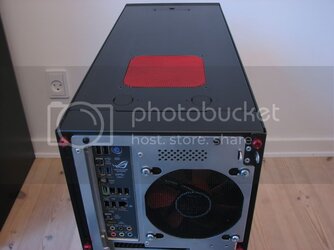
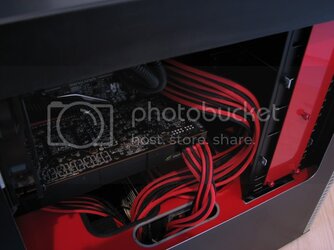
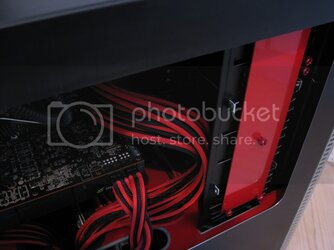
Update 2/4
I've finally managed to take some pictures, and as you will probably notice, the edge of the window has changed color I need to find something that make the plexiglas plate less static, it simply sucks all the dust to its surface
  suggestions are very welcome


Thanks for looking
I've finally managed to take some pictures, and as you will probably notice, the edge of the window has changed color


Thanks for looking
Similar threads
- Replies
- 33
- Views
- 2K
- Replies
- 15
- Views
- 268
