- Joined
- Jun 18, 2012
- Location
- California
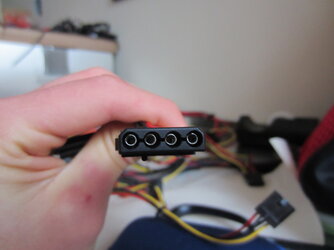
So I am sleeving my PSU. What size heatshrink do I need if I am sleeving each individual wire? I want 3:1 HS. Should I get 3/16" or do I need 1/4"?
Welcome to Overclockers Forums! Join us to reply in threads, receive reduced ads, and to customize your site experience!
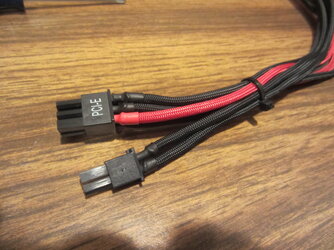
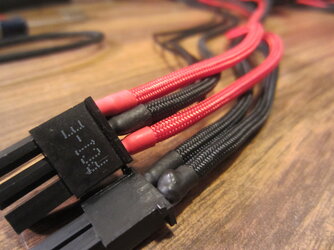
I have red sleeving and black sleeving. Any ideas on how to pattern them? Should I do every other wire red/black over and over?
I have red sleeving and black sleeving. Any ideas on how to pattern them? Should I do every other wire red/black over and over?
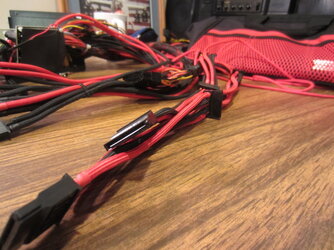
 Fingers hurt yet?