- Joined
- Feb 5, 2016
- Thread Starter
- #21
BUILD UPDATE:
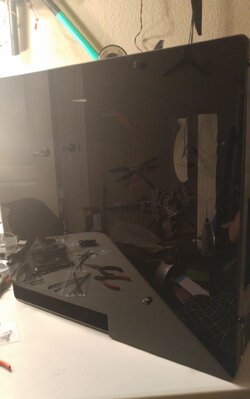
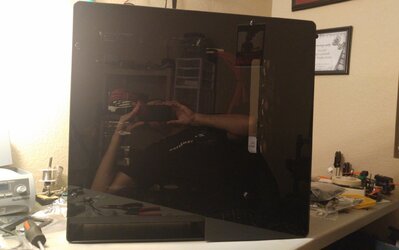
Here is another update on the build.
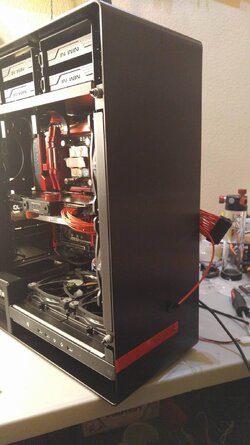
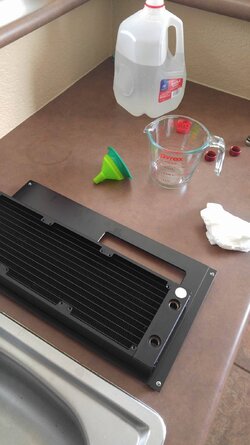
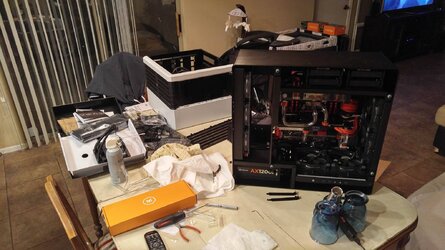
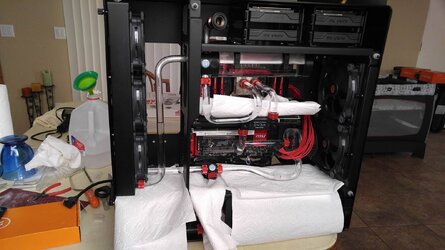
I drilled the mounting holes for the res and the pump and those are now attached.

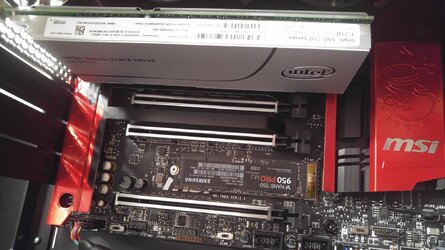
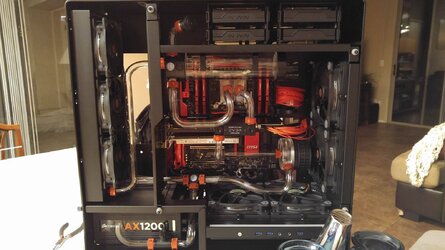
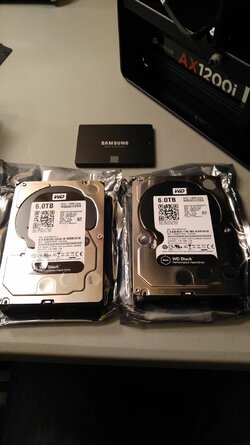
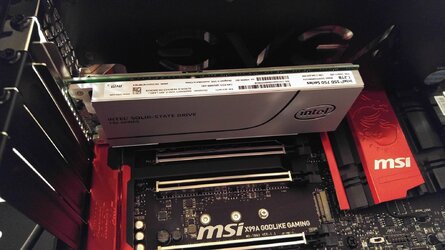
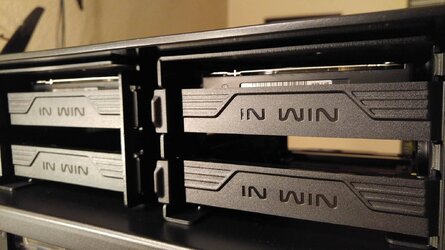
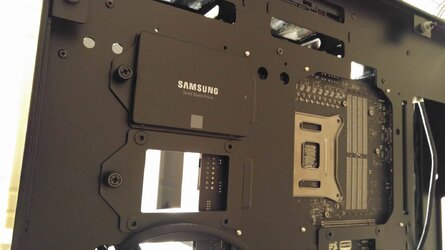
Next I installed the storage media. I put the two 6Tb WD Black HDD's in the top two HDD trays since the way the air flows through that area it has a higher air-speed then the lower 2 trays. I then mounted the Intel PCIe NVMe 1.2Tb SSD to the MoBo along with the Samsung 1Tb SSD to the back of the case.


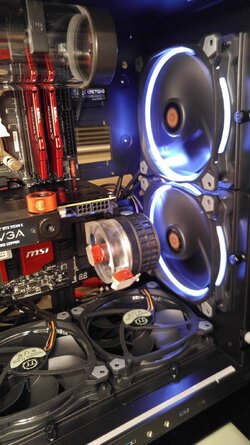
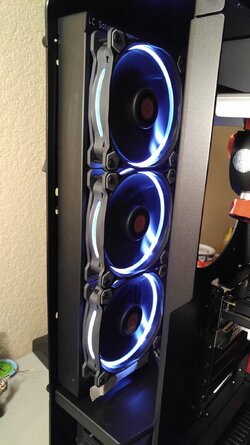
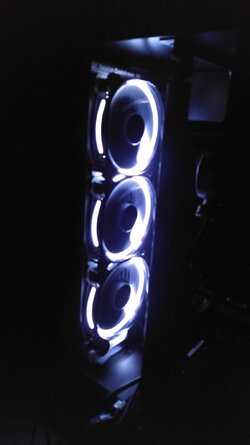
After this I decided to test all the fans in the system, mainly to see how loud they were. I hooked a 12v LiPo battery to the fans to power them up. They are actually pretty quiet and I'm sure once I get the sides of the case on it will be even better. I REALLY like the white ring lights too. I think it's going to make the system look very nice once it's all put together and filled with the pastel white coolant.


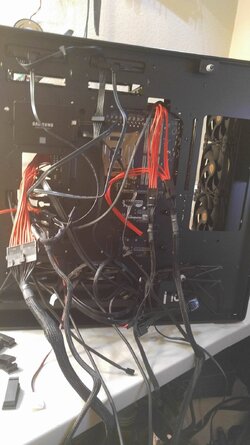
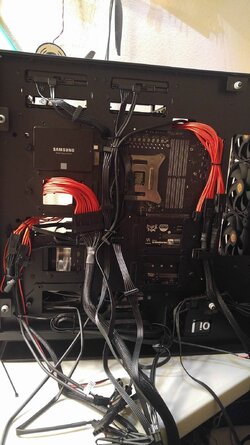
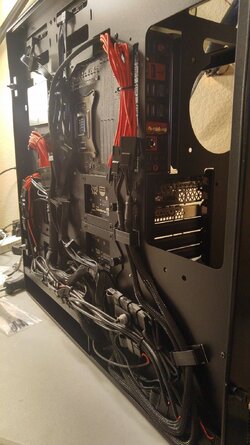
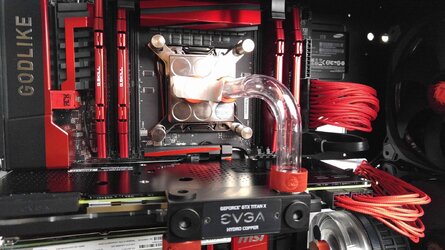
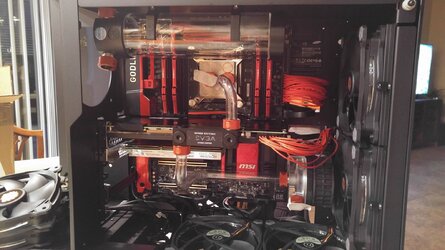
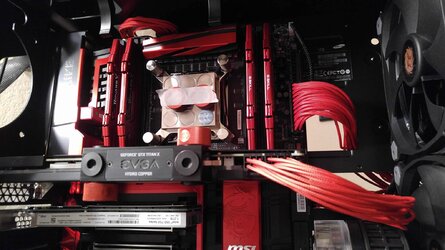
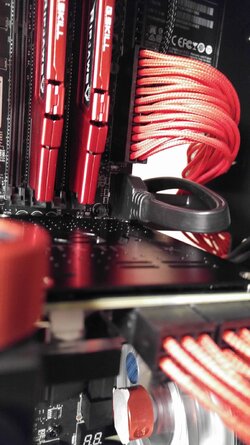
I originally was just going to use the power cables that came with the Corsair PSU but after making everything else look so nice I wanted to change them. I bought 250mm red individually sleeved power extensions and attached those. I need to organize the individual wires a bit better but will do that before I finish the build. Side note, where is the best place to order cable combs?

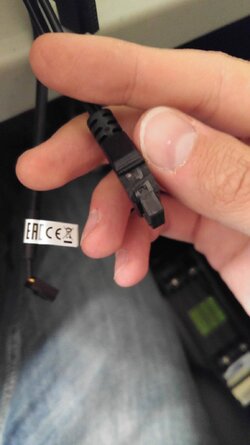
Next I started plugging in the wires for the case buttons and USB ports. Everything went smoothly till I had to plug in the USB 3 plug into a, in my opinion, not ideal location on the MoBo. The cable was hitting the back of the GPU so I ended up having to cut part of the cable to make it fit.


Tonight I hope to get the fans all plugged in, the main power cables from the PSU to the extensions attached and maybe start on the piping (which I am nervous about since I haven't done hard-line before. I bought a decent amount of extra piping to practice with). Oh and I also picked up a Samsung 950 Pro M.2 SSD that I will also be adding to the system. Might as well have 1 of every type of storage media possible right?
Josh
Here is another update on the build.
I drilled the mounting holes for the res and the pump and those are now attached.
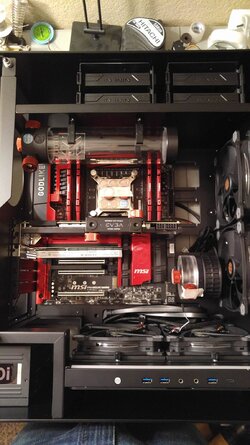
Next I installed the storage media. I put the two 6Tb WD Black HDD's in the top two HDD trays since the way the air flows through that area it has a higher air-speed then the lower 2 trays. I then mounted the Intel PCIe NVMe 1.2Tb SSD to the MoBo along with the Samsung 1Tb SSD to the back of the case.
After this I decided to test all the fans in the system, mainly to see how loud they were. I hooked a 12v LiPo battery to the fans to power them up. They are actually pretty quiet and I'm sure once I get the sides of the case on it will be even better. I REALLY like the white ring lights too. I think it's going to make the system look very nice once it's all put together and filled with the pastel white coolant.
I originally was just going to use the power cables that came with the Corsair PSU but after making everything else look so nice I wanted to change them. I bought 250mm red individually sleeved power extensions and attached those. I need to organize the individual wires a bit better but will do that before I finish the build. Side note, where is the best place to order cable combs?
Next I started plugging in the wires for the case buttons and USB ports. Everything went smoothly till I had to plug in the USB 3 plug into a, in my opinion, not ideal location on the MoBo. The cable was hitting the back of the GPU so I ended up having to cut part of the cable to make it fit.
Tonight I hope to get the fans all plugged in, the main power cables from the PSU to the extensions attached and maybe start on the piping (which I am nervous about since I haven't done hard-line before. I bought a decent amount of extra piping to practice with). Oh and I also picked up a Samsung 950 Pro M.2 SSD that I will also be adding to the system. Might as well have 1 of every type of storage media possible right?
Josh

