• Welcome to Overclockers Forums! Join us to reply in threads, receive reduced ads, and to customize your site experience!

RGD - Custom Built Surround Monitor Stand

Overclockers is supported by our readers. When you click a link to make a purchase, we may earn a commission. Learn More.
Ok! After a few days of tweaking the overall design, I came up with a solution that would be creative and solve my pricing issue.

Currently I have a standard IKEA corner desk that looks like so. Minus all the stuff.

1ePPye7.jpg

My current setup also looks like this:

V1f98k9h.jpg

One of my problems I have with a desk that has 3 monitors on it is that I'm cramped for space for things like my mouse, keyboard, etc. The main reason for this is due to the stands on the monitors themselves, which the original design was trying to fix. After talking with a few people, I decided to scrap the idea of a "stand" and go one step further and making the monitors "float."

I have almost all the parts that I would need, but the biggest expense I was going to have to make originally was to have brackets made to mount the monitors, to fix this I'm just going to use whats is currently on the market. I found these wall mountable VESA mounts for about $25 a piece, which is a lot cheaper than the $500+ I would have to have made for the original design, plus they pitch and rotate which will help with aligning the monitors once they are mounted.


CE-MT0A12-S1_side_3.gif

So back to CAD I went and using the material I already have as well as the desk I came up with this:


So I'm off to the metal shop to start cutting! I will be posting as I go along, stay tuned!
 
Last edited:
Now THAT is a great idea!

You sit seriously close to your monitors lol
 
You could mount them so that the bezels overlap, then its only one bezel wide instead of two.
 
Back from the metal shop, so here we go with another update!

Got my hands on the 3 VESA mounts and they are a lot more flexible that I would thought they would be.

EpMgUuVh.jpg

UI6c6b9h.jpg

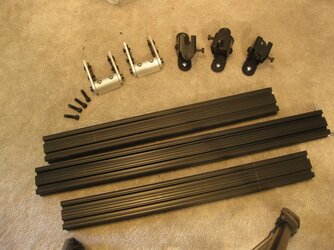
All the parts laid out

iWZW30Fh.jpg

Chop Saw

OZpwfJih.jpg

vp8eTVqh.jpg

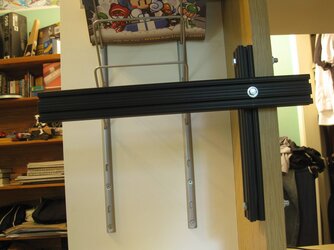
After a quick bit of sanding to smooth out all the rough edges, all the pieces are cut to length, one 22" main bar, two 18" arms, and two 12" supports.

1WZljWEh.jpg

Basic Layout

S5x7zxFh.jpg

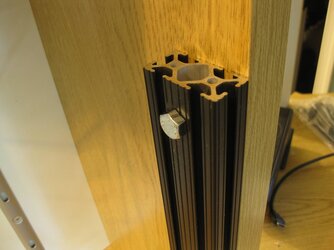
The ends of the aluminum did not come tapped for the hinges, so a little WD-40, power drill and hand drill, we had our tapped holes.

All put together, except for the VESA Mounts.

QaF0UIjh.jpg

I didn't have any extra T-Nuts that would normally come with the 80/20, so I had to improvise. It worked quiet well.

FOSpfO2h.jpg

gNBBafZh.jpg

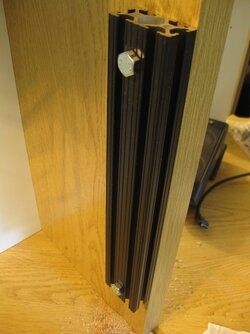
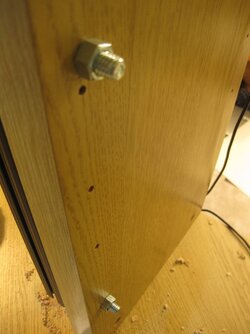
Lastly I drilled 4 3/8" holes in the supports for mounting to the desk.

nhb29h8h.jpg

So now comes the fun part, mounting it to the desk itself! Will be back later tonight with another update!
 
Last edited:
I'll give a tip here, I always used to use an impact driver instead of a hand drill to tap the ends of the extrusion. Worked much better, and was WAY faster.
 
Everything is coming together!

So lets just get right into it!

Marking Holes

rR1qnpPh.jpg

28HbEiKh.jpg

zw6UrM4h.jpg

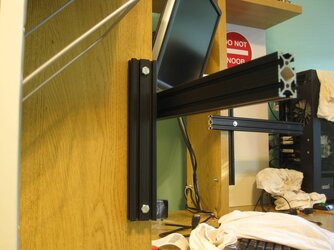
Supports Mounted

2C39OMUh.jpg

EQ95Cvxh.jpg

kJozvAgh.jpg

CAHG97Xh.jpg

Some of the parts were still soaked in WD-40 so I disassembled the support arm to clean everything. I also had to drill two 1/4" holes in the support arms to attach to the support beams.

7gTnxiCh.jpg

Drilled and mounted

SzYmqOrh.jpg

Hlk8ZP6h.jpg

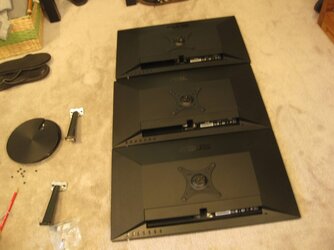
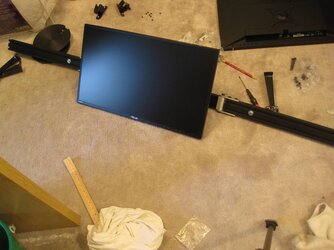
3 Monitors, ready to be mounted.

l88PUEoh.jpg

Ad9Icpmh.jpg

g9D5uGih.jpg

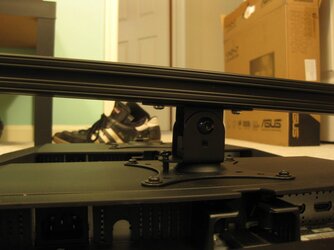
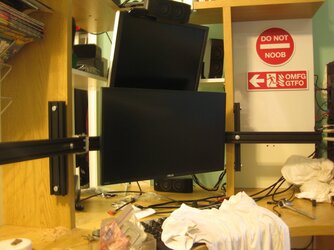
Mounted!

IifjVrjh.jpg

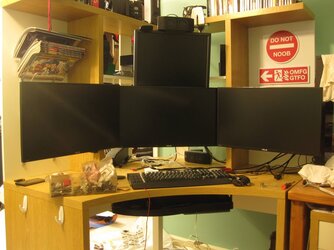
All three in place!

3DRdOc7h.jpg

Finally all three of my monitors are up and off my desk! I could not be happier with the overall result! There are a few things that need to be taken care of before I can call this completely finished:

- I still need to make a USB hub that will sit flush with bottom of one of the monitors (Next update)

- Cable management of the everything

- Lighting

- Minor adjustments to the monitor positions to get them to be level

- Painting or anodizing the hinges

Stay tuned!
 
Going to check three things off the list stuff do to:

- Cable management

- Lighting

- Minor Monitor Adjustments

Here we go!


So currently all that is left on my to do list is:

- Make USB hub that will sit flush with bottom of one of the monitors

- Painting or anodizing the hinges

Stay Tuned!
 
Now THAT is tidy!

Looks like the right side monitor is just a hair higher than the other two though :p
 
Back