• Welcome to Overclockers Forums! Join us to reply in threads, receive reduced ads, and to customize your site experience!

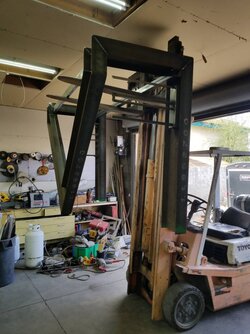
600lbs Steel I-Beam Desk/Computer Build

Overclockers is supported by our readers. When you click a link to make a purchase, we may earn a commission. Learn More.
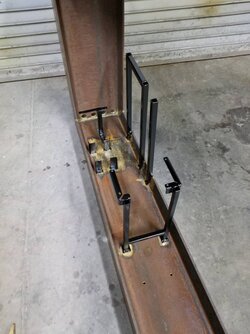
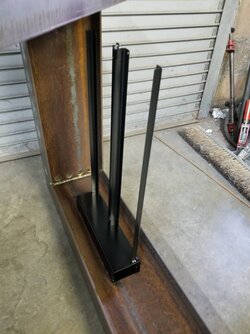
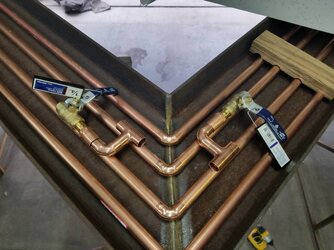
Clever idea with the rod to make sure the valves don't mysteriously open on their own. :thup:
 
It's getting closer!

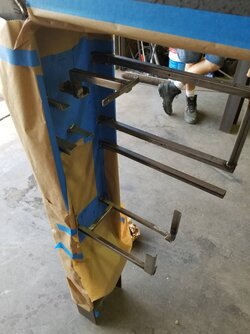
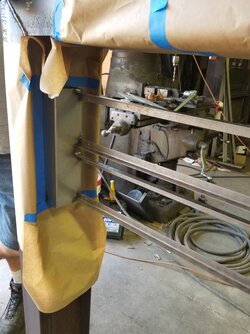
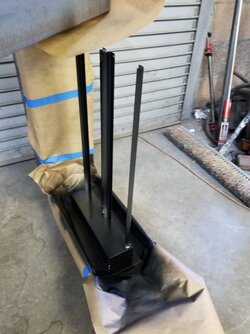
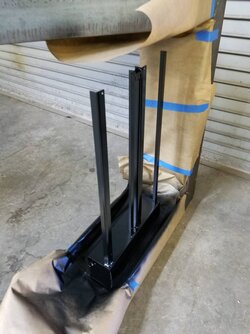
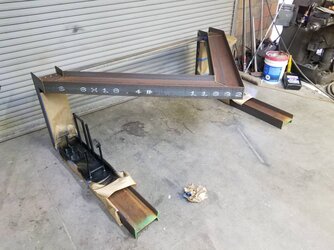
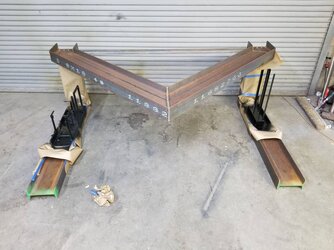
Power washed and scrubbed the entire desk today to smooth it out and remove any loose rust. I wanted to keep the general look of the beams so we didn't fully take all the rust off.

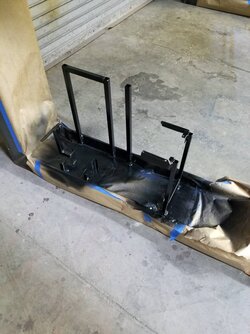
Once it was dry I masked off all the mounts for the Mobo, GPUs, PSU, and radiators then hit them with about 4 coats of black paint.

Tomorrow the real fun begins of cutting and soldering all the copper piping for the coolant system. I'll be buying all that tonight. Roughly 60ft worth and around 100 fittings. cae439a7a3ab6d8ec7701122c2eb5fa0.jpg 90d0c3643e87affe64ba6726cca82f63.jpg dc13dec94bd11acfc6c4646d301c52a9.jpg 27525af3bbe236422e6cf8753cf02e99.jpg 5570dfa346cfe69378e5b36c221d1fe4.jpg 0d12ef2f0491ea6749114fd1de170a6d.jpg 6b9cfd57d7eb1b641a46c55b657d8b8b.jpg d3703c674c7206de4f8add36a8620c41.jpg

 
Tonight I put together the motherboard, cpu, Waterblock, and NVMe M.2s.

All ready for install onto the desk tomorrow! 37f6c91650e9e13a78dfc34d25179999.jpg 040b0521a66a57c8c4ff8423854e675f.jpg 4a5b54ad3bbd345682695b2921e6337c.jpg 9cba4a89f1f607eec2dfcdd31aad16b6.jpg

 
Another update:

I pulled the tape and paper off and I really like how the stands came out.

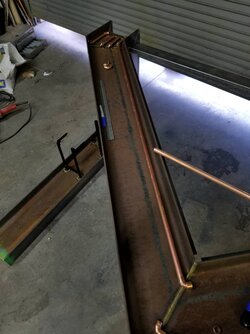
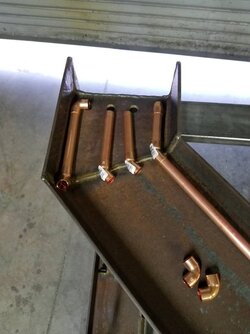
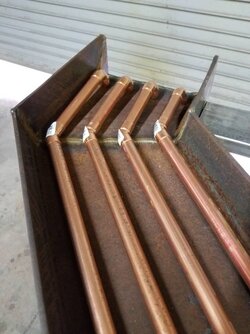
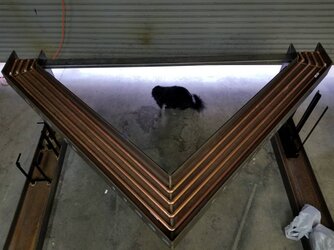
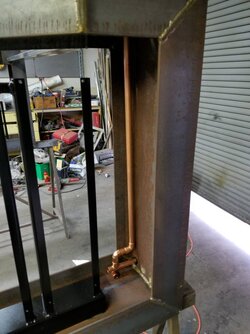
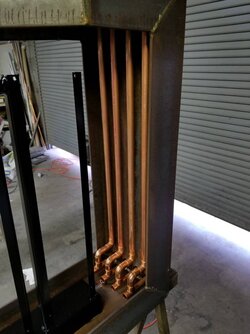
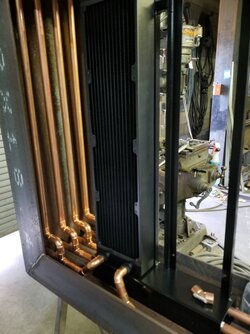
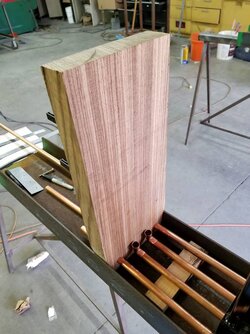
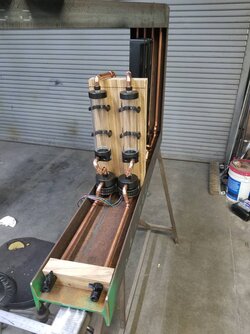
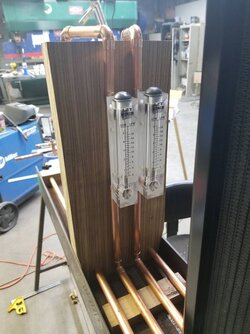
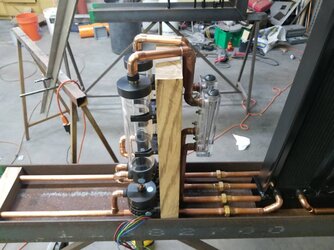
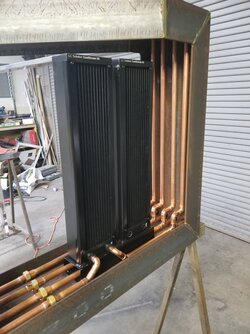
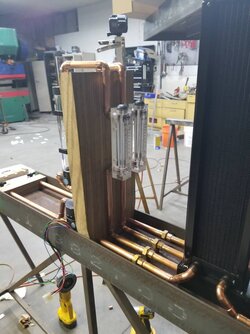
Next I started the fun task of piping the dual loops. I started with the top section first then started down along the radiator side of the desk. I haven't soldered any of the pipes yet. I am waiting to get the entire side finished before I solder anything.

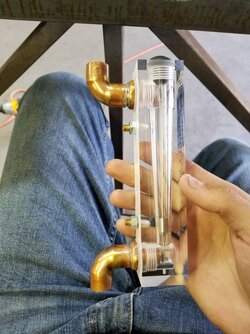
One radiator is now piped in along with all the drain valves on that side. I'm hoping to get that side finished tomorrow.


Overall I really like how this is coming together. cde499391e2a14bb86b1a7fc064f16c4.jpg 0bf2c8f0ecd99b67a23a5e0006f3d097.jpg 71d93f99fb502029d4bdb9b77836e82d.jpg 9d22c7a408447c63caf4008a09326756.jpg cf274155eb5cbc0d949e3db5291e7045.jpg 289e938c5bc2abccb10285821c9120fc.jpg aa00ecd89e3ee0eaa37b8d1e1560880b.jpg 77665021dd5e25c2560cf4758d5c9904.jpg 4f37c6c14fe6cb06b5f99d9942bc89fc.jpg

 
I mentioned silver solder on the previous page, but it occurs to me the biocide effect of silver makes silver solder an attractive choice. What solder are you using for the copper, if I may ask?
 
Holy cow. That just went from something I've never seen to one of the coolest things I've ever seen.
 
I mentioned silver solder on the previous page, but it occurs to me the biocide effect of silver makes silver solder an attractive choice. What solder are you using for the copper, if I may ask?

Isn't the copper piping already a natural antimicrobial?

Love the build so far!!!!
 
I mentioned silver solder on the previous page, but it occurs to me the biocide effect of silver makes silver solder an attractive choice. What solder are you using for the copper, if I may ask?
Problem with the silver is it needs to be easy hotter to solder compared to the lead free. 188*C compared to 420*C for silver. I'll do some test joints and see if it discolors the copper.

 
Are you going to use radiator? Seems like 3 miles of copper and 600lb steel desk is enough to dissipate half a dozen GHz easy..
 
Are you going to use radiator? Seems like 3 miles of copper and 600lb steel desk is enough to dissipate half a dozen GHz easy..

I was thinking the same thing! Regularly spaced spots of silver solder securing the tubing to the I-beams may do a fine job of dissipation! Then again, this build is all about excess. :clap:
 
I was thinking the same thing! Regularly spaced spots of silver solder securing the tubing to the I-beams may do a fine job of dissipation! Then again, this build is all about excess. :clap:
Haha I am thinking about how to use the frame as a passive cooling system along with the radiators. I'll do some testing this weekend.

I'll be working on it tonight and all day tomorrow. Hoping to get the piping done by Sunday and bring it home.

 
I sure hope one of those is attached to a kegerator. Be cool if they were under water too. With neons of course.
 
Good morning everyone,
This weekend I got a good amount done but am quickly realizing how big of a project this really has been. The copper piping is getting to be a massive headache, trying to figure out the best way to route it and make it fit correctly while still looking nice and I haven't even started soldering it yet. The radiator side of the desk is complete and yesterday I started on the PC component side. I knew from the beginning that this was going to be hard but it is kicking my butt and taking much longer than I was anticipating.

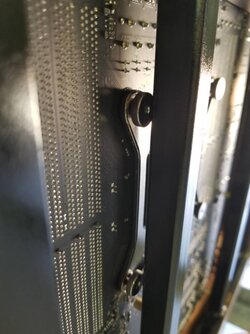
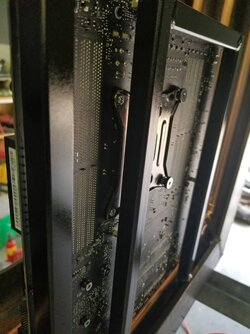
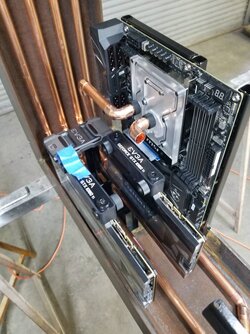
My first problem I ran into was when I mounted the motherboard. The thumb screws to hold the monoblock to the board were interfering with the motherboard mounts. I had to run to the hardware store to get some small 3mm nuts.

Next, the guy who's shop I've been using brought his dad by to see the progress being made and they asked where I was planning to fill the loop from. DOH!!! That's what I get for finishing the radiator side loop at 1am. I was planning on putting the fillers right at the top of the reservoirs. After talking through the setup with both of them, we decided it would be best to put them up on the top in the "V" using some sort of valve setup so I can fill while running but then close the valve to keep water from running backwards through the fill line. I'll twist on a barb fitting attached to a flexible tube which I'll fill from. I'll add these in during the soldering process.

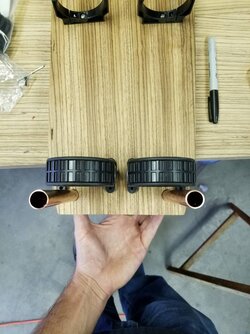
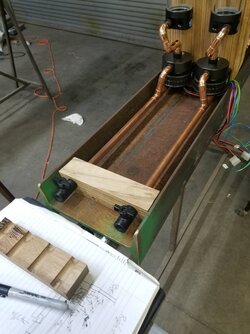
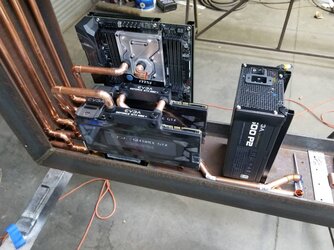
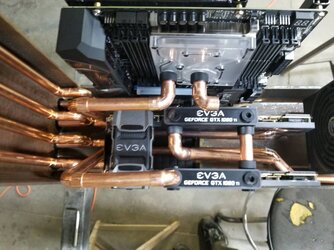
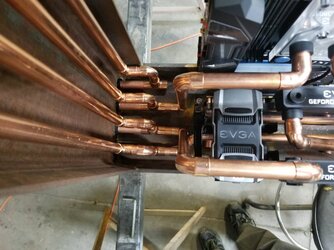
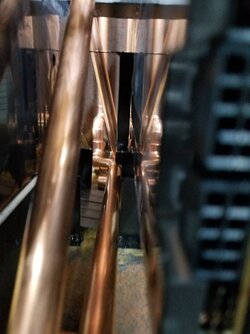
Once we figured all that out. I kept going on the PC side. As I started mounting components I started to realize this was going to be a big challenge. I slightly underestimated the amount if space the 1/2" copper pipe would take up on this side. Because it was going to take up more room than I thought so I had to figure out how to change the layout around to make them fit correctly. Pictures are attached with what I came up with for the GPU loop. I'll finish the CPU loop today and then get the second set of pumps and reservoirs mounted. I couldn't finish the cpu loop because I ran out of 45* fittings. I need to swing by the hardware store today and get more.

I also am wanting to add a 10gb Network card for high-speed data transfer between this rig and my network file server (new idea and not sure how I'll make it fit). The new card shows up today so I'll hopefully see if it's even possible.

Anyway, here are pictures for you. Oh and I have been shooting a time lapse of the piping process. 20180317_121845.jpg d5a66d8723c5260bcdb84ed86967aef8.jpg a0387bbdcf44e9214a55f47481bb960f.jpg 1fe2294f7b531e9a5b25c7ee5a98e758.jpg 4eb0be64d816f1fe5084e58b6de33e35.jpg 4ab6ce8e3ac53bcca5c665bb0d1f3956.jpg 723b0b04e79d82356ff439dc8b1c3756.jpg ea5c92e6a448cb8ed9523c6d4b2932b6.jpg c6974e5f94d76a45b20c5b2b6b27d098.jpg 769ee32a77daa74037c3a48477238dbb.jpg 740d015765be5d7094db349dd6ed0089.jpg 158ac8b936b5201e5072dff1913e3673.jpg 2023380773302bdbd5440b37fdb87896.jpg 9d2989248778a0f7727507bd1f2d7c3d.jpg 4421b12a7047b0f2ff89e4b9128d2d5a.jpg 81196f52a804a0dba148b275252b2220.jpg d646716144b5e0a4987180d78e073f04.jpg c44e760dd14a08c5616c27119996c5e1.jpg 1362921e5ad3d590e3236c197e711720.jpg

 
JL this build is looking EPIC!

I would highly recommend placing some pipe unions before and after the PC components. Once this is all sweated together there will be no way to move these components. Adding pipe unions will allow you to assemble and make replacements/service 1000 times easier. Just my 2¢.
 
Back