• Welcome to Overclockers Forums! Join us to reply in threads, receive reduced ads, and to customize your site experience!

Blake's Project: The Way a Cooler Master Cavalier 3 Should Be!

Overclockers is supported by our readers. When you click a link to make a purchase, we may earn a commission. Learn More.

gvblake22

Member
Joined
Dec 13, 2003
Location
Tempe Desert
Ok, I have recently upgraded my case to a Cooler Master Cavalier 3 SEEN HERE
11-119-075-03.jpg

I'm not gonna list all my mods right now because there are a lot and I'm still not sure if all will become a reality so that's why this is a running thread that I will update as each new mod has been started or completed.
Ok, well let's kick this biotch off!!
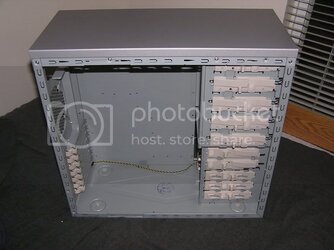
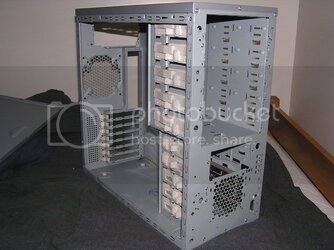
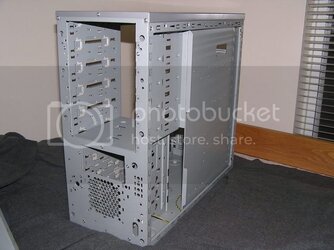
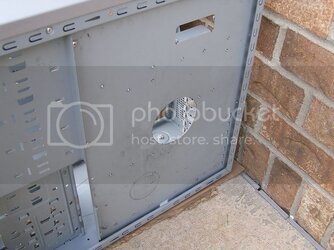
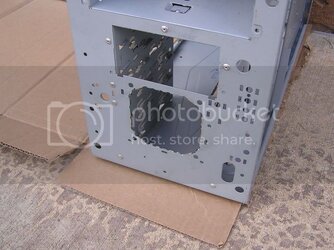
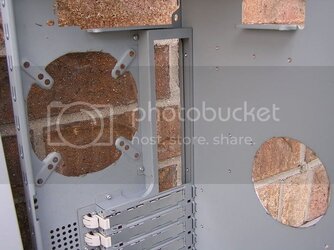
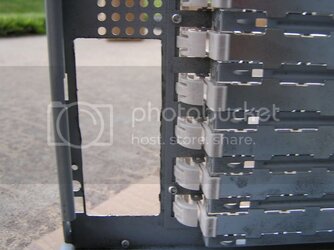
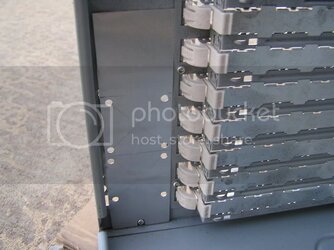
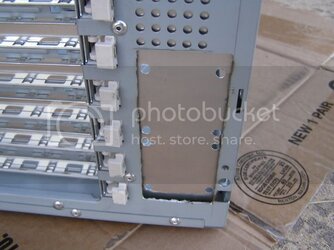
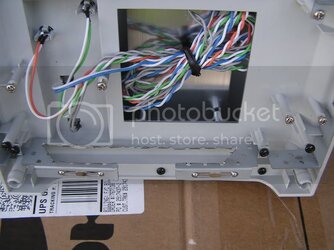
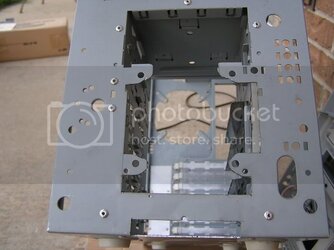
First task was to strip this thing of all its cloths and dignity! HAHA
barecase001.jpg
barecase002.jpg
barecase003.jpg
 
Last edited:
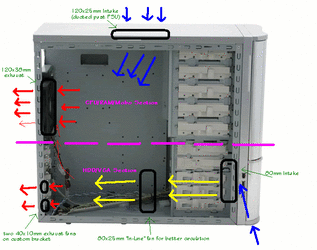
Ok, I decided I wanted to divide the cooling of this case into two sections. The top being the "CPU/RAM/Motherboard Section" and the bottom being the "HDD/VGA cooling section".
Airflow.gif

So once I figured out how I wanted to cool this bad boy, it's on to the prototype/construction phase...
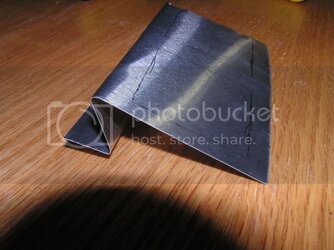
I started little and decided to try making the dual 40mm fan bracket. I found a roll of aluminum and decided it would work great for what I had in mind, here's how it turned out so far (no fans yet of course though):
The fans will go in the square areas outlined in pencil (kinda hard to see)
yeah016.jpg

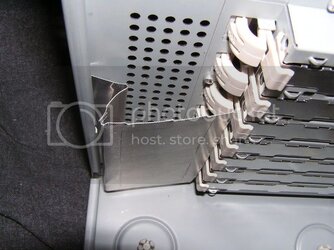
Here's what it should kinda look like. The bracket will be between the two 40mm fans and the back of the case (so the fans will be inside the case):
yeah020.jpg

Not quite sure how I will secure the bracket. It actually self press fits in there pretty well so I may just try that to begin with and if it doesn't work out I will see about some adhesive of some kind to hold it in place.
 
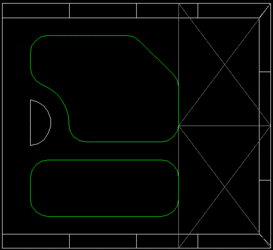
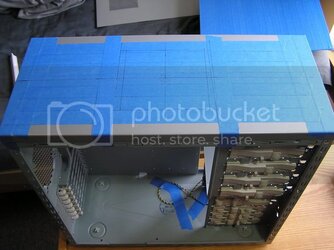
Well, after many, many, MANY hours of masking and measuring, and re-measuring, I have managed to finally mask off the designs and lines to cut!
Masked001.jpg

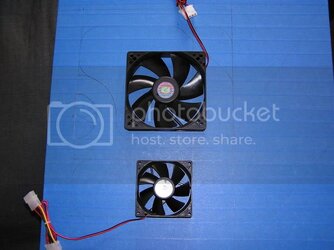
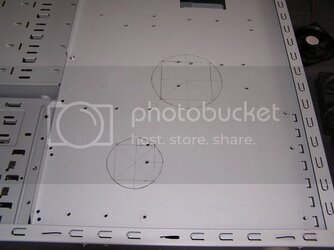
I made sure that I could fit in a 120mm fan in the top window section as well as an 80mm fan in the bottom window section if I decided later on that I needed more cooling:
Masked008.jpg

The top 120mm fan:
MaskedDesign003.jpg

An angle view from the top:
Masked006.jpg

Can you guess what these holes will be for? I just hope I won't need those standoff holes in the future!:
Masked012.jpg

Overall it was a long day of measuring and making mistake after mistake. I also found out how tricky it is to try and draw circles or arcs without a compas or protractor :bang head

Now on to the Dremel work!!
 
Last edited:
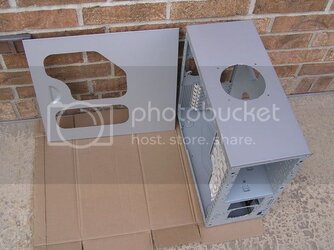
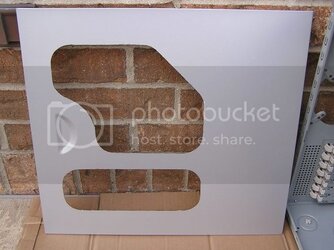
Finally got most of the dremel work done! That was a long process, PHEW!!!
DremelCuts001.jpg
DremelCuts002.jpg
DremelCuts004.jpg
DremelCuts005.jpg
DremelCuts006.jpg

Still have a couple more things to dremel out and then file it all down... :)
 
Well, unfortunately I wasn't quite done with the dremel work, but I managed to get the rest of it done today! YAY!

First task was to get that damn dual 40mm fan bracket situation fidgered out. I ended up redesigning it a little bit and I think I am happy with the results:
DremelCuts3.jpg
DremelCuts6.jpg
DremelCuts5.jpg

After that whole ordeal, I went back to attack the front intake in an attempt to increase airflow through the already small opening:
DremelCuts1.jpg
DremelCuts8.jpg

I am still waiting for all my fans and other "accessories" to arrive so tomorrow I hope to get all the cuts filed down, the window installed and try to get all of the metal shavings out of the case. Anyone know something that works good to clean all that crap up?
 
are you going to put any u-channel molding on those blowholes/fan slots? I think you should, it will make all your cuts look WAY more professional, and make it look teh pimperest. :)

Nice case... I like the side panel design. How did you get it soo damn smoooth?
 
Tyreal said:
are you going to put any u-channel molding on those blowholes/fan slots? I think you should, it will make all your cuts look WAY more professional, and make it look teh pimperest. :)

Most definately. I have a bunch of chrome molding ready and waiting to go around the window cuts. I will have a large fan filter/guard over the top blowhole so I'll probably just fille that down smooth and let the filter cover up the cuts. The front cuts will all be covered by the front bezel and I will file down the cuts on the rear of the case real nice and I'll put one of those chrome wire grills over the rear 120mm fan. Then I will also probably put some chrome molding around the hole I cut in the mobo tray.

Tyreal said:
Nice case... I like the side panel design. How did you get it soo damn smoooth?
Patience. Just go nice and slow and take your time and it just sorta takes care of its self. I also went back after I got it all cut out and ground down the really rough edges a little bit very carefully. The trick is to just go slow; don't rush it. The pictures don't show it close up but the cuts (although very straight) are very sharp/ragged before filing. If I were to run my bare finger across any of the cuts I would probably rip the heck outta my finger. I used a fiberglass reinforced cutting wheel for all the cuts on the dremel in case anyone was wondering.
 
Last edited:
Son1990 said:
Wow! where did u get that window kit?!!?!
UMMMMMM, if I weren't so reserved, I would have taken that as an insult. But I guess it could be a compliment since it seems to look "professional". :)

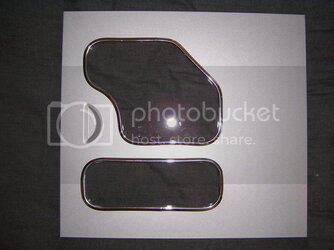
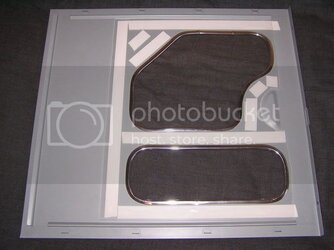
It's definately not a kit of any kind. I bought and cut the plaxiglass myself, designed, measured, and cut the window myself, bought the chrome door molding from AutoZone and installed it myself, and affixed the plexiglass to the panel with 3M double sided tape. Take a look through the whole thread and you'll see the progress of all the work I had to do to get to this point ;)
 
dicecca112 said:
hey blake, if I'm not mistaken you posted this over at legit forums as well. Looks great man.
Yep, I decided I'd share the wealth :santa:
haha
But since LR has been good to me, I have posted a few "bonus" shots over there.
 
gvblake22 said:
Most definately. I have a bunch of chrome molding ready and waiting to go around the window cuts. I will have a large fan filter/guard over the top blowhole so I'll probably just fille that down smooth and let the filter cover up the cuts. The front cuts will all be covered by the front bezel and I will file down the cuts on the rear of the case real nice and I'll put one of those chrome wire grills over the rear 120mm fan. Then I will also probably put some chrome molding around the hole I cut in the mobo tray.
Wow. Thats so awesome man. Molding is the best.
Patience. Just go nice and slow and take your time and it just sorta takes care of its self. I also went back after I got it all cut out and ground down the really rough edges a little bit very carefully. The trick is to just go slow; don't rush it. The pictures don't show it close up but the cuts (although very straight) are very sharp/ragged before filing. If I were to run my bare finger across any of the cuts I would probably rip the heck outta my finger. I used a fiberglass reinforced cutting wheel for all the cuts on the dremel in case anyone was wondering.

I can learn alot from this. Subscribed man...
 
Back