• Welcome to Overclockers Forums! Join us to reply in threads, receive reduced ads, and to customize your site experience!

Blake's Project: The Way a Cooler Master Cavalier 3 Should Be!

Overclockers is supported by our readers. When you click a link to make a purchase, we may earn a commission. Learn More.
HousERaT said:
man that is a really nice touch you put on that case...... If I didn't have so many computers I'd do another one..... I really miss case modding..... excellent job bro :thup:

BTW are you just going for a practical case or do you plan to make it all pretty and stuff?
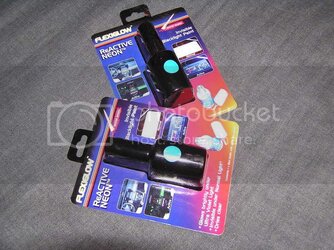
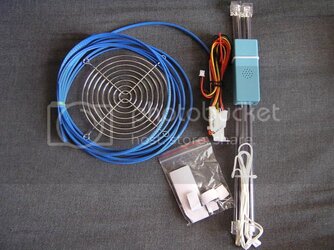
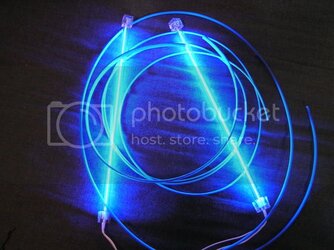
LOL, well, I'm not really sure what you mean by "pretty", but I do have some blue UV wire sleaving, a couple UV CCFL's, and some blue UV reactive paint in the mail as we speak so I'll be adding a little more "color" to it soon. I have also toyed with the idea of having it professionally powder coated a nice reflective silver color but that's pretty expensive and would require ripping my whole case back apart so I can't see that happening anytime soon.
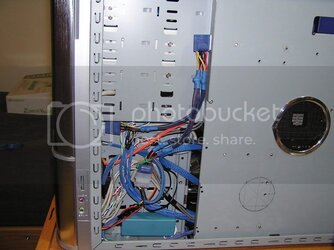
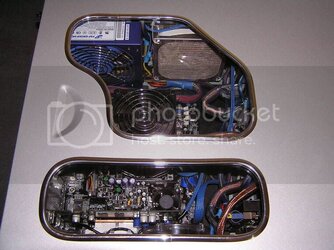
The only other thing I have planned is possibly cutting another hole in the mobo tray for the chipset and then making a window on the right side panel. But yeah, my overall aim in this project is to keep it clean and "practical" while also maintaining the uniqueness and colorfulness of a custom modded case.

And THANK YOU for all of your kind words, I really appreciate it!! It's always nice to get some praise for all the time hard work you put into a project :D
 
Ok, well, I just couldn't resist. Since I'm still waiting on my order from Jab-tech, I'll post what I have so far. Just use your imagination ;)
UVPaint003.jpg
 
Finnaly you got the order! damn bro lol.
"..its all your fault you should have known to call" hahaha

~Ken
 
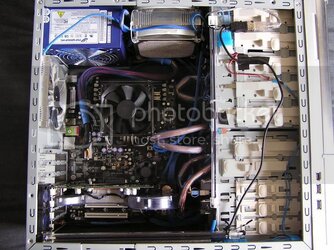
I did A LOT of work on the lighting/color situation and here's what I ended up with...
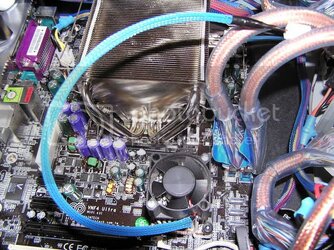
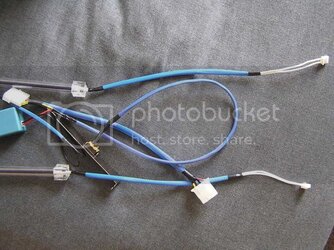
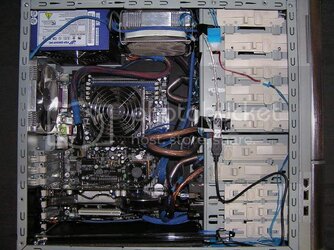
First task was to use up all that wonderful UV Blue sleaving; pffft, who needs heat shrink?!
Chipset fan:
BlueMods002.jpg
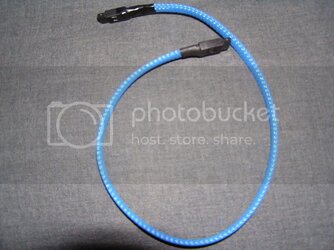
SATA cable:
BlueMods007.jpg
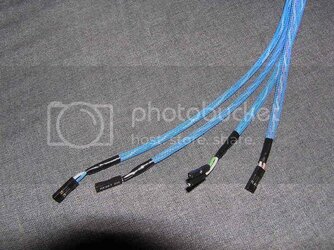
Case Front I/O cables:
BlueMods010.jpg
Temperature Probe:
BlueMods015.jpg
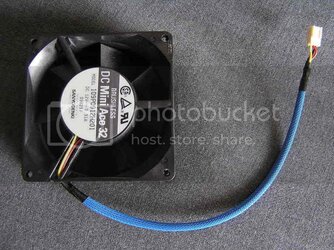
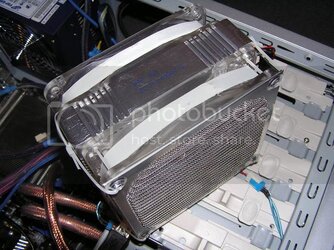
Heatsink Fan:
BlueMods016.jpg
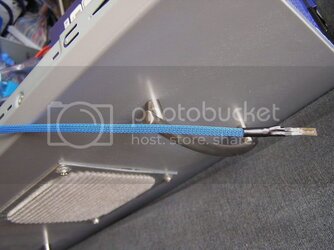
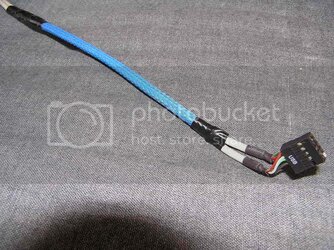
Internal USB Headers:
BlueMods023.jpg
and the cables for the UV CCFL's:
BlueMods017.jpg
 
After the sleaving was nocked out, I busted out the UV reactive paint!!! :)
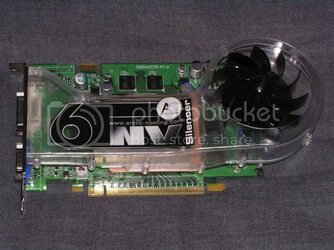
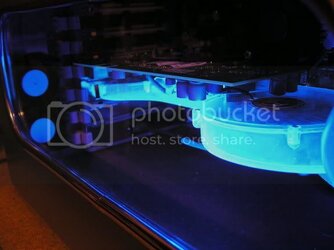
An ordinary NV Silencer?:
BlueMods025.jpg
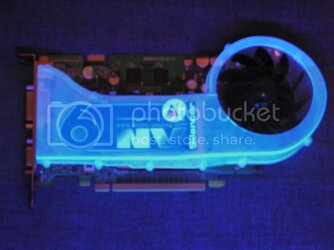
...only to the untrained eye!!!:
BlueMods026.jpg

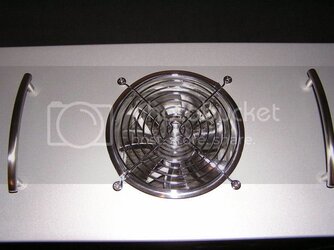
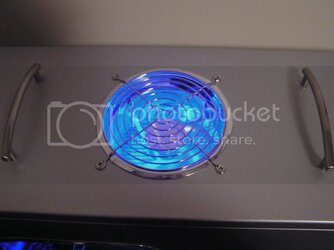
Next up I decided I was gonna modify the look of the top intake a little bit because I made one edge of the hole a little too large and it stuck out the side of that square metal dust guard I had before. This way it looks the way it should; round:
BlueMods031.jpg
So I just put the dust filter on the inside instead:
BlueMods028.jpg
 
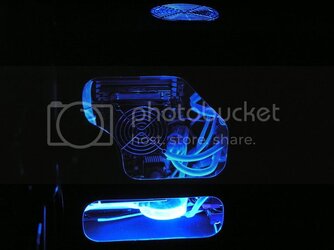
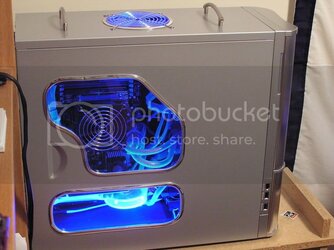
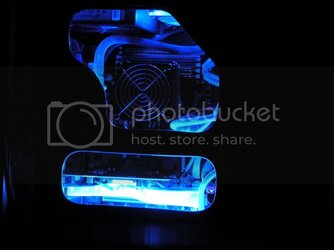
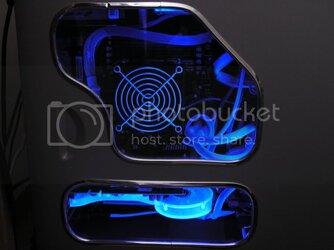
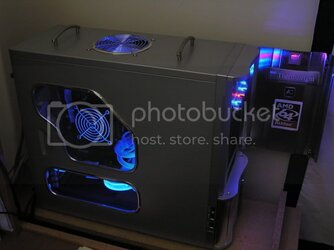
And now for the better night shots I promised you all!!! :clap:
BlueMods049.jpg
BlueMods050.jpg
BlueMods060.jpg
BlueMods057.jpg

I am still contemplating painting up the wire grill on the heatsink fan with the blue UV reactive paint to help tie it all together. I'll probably also add the other 12" UV CCFL along the top of the case.
Overall, I'm pretty tired, but pretty happy with the results. Hopefully you guys like it too; but if not, then just go . . . . . . . .
icon_fU.gif
 
Tyreal said:
Wow. I love the lighting. The painting of the nv silencer was just brilliant btw!

It so darn bright~!
Yeah, and that is only one thin coat of paint! Glad I didn't do more :eek:
Check this one out:
BlueMods043.jpg
 
Son1990 said:
*Cough* Window Etch *Cough*
:p

Anyway, I got the second UV CCFL installed:
twoUVCCFLs001.jpg

As well as painting the fan grill with the UV reactive paint:
twoUVCCFLs022.jpg

I also threw up a couple stickers I had lying around just for kicks:
twoUVCCFLs017.jpg

I really like how the lighting turned out. Don't know if I'll have anymore updates :(
MAYBE another window on the other side panel if I get ambitious or even possible an etch of some kind, but I dunno;)

Thanks for all your kind words, I know I can always count on your guys' positive feedback.
G'night :santa:
 
Last edited:
WICKED SICK.

Nice job mate. I really think you should paint the cpu fan grill. i would also paint all grills and probably the hard drive cover. but just don't over do it.... i surely would and be sorry. :p
 
Tyreal said:
WICKED SICK.

Nice job mate. I really think you should paint the cpu fan grill. i would also paint all grills and probably the hard drive cover. but just don't over do it.... i surely would and be sorry. :p
I did just paint the grill on the CPU fan... That's what the most recent pics are;)
 
:eek: I'm not worthy. It's as simple as that... Your mod is awesome and better than mine :temper: (though mostly done, I have a couple more things I'm planning)

Above humor notwithstanding, you did a fantastic job! I love the window design, and what you did with your fans! Do the 40mm fans do what you hoped for?

You know, I looked for some molding at my AutoZone, but they had a bunch of junk and nothing I could use. I tried some weather stripping I got from Home Depot, but I had to cut it to go around my sharp design angles, and it looked like s***, so I just took it off.

I had not given a lot of consideration to UV paint, but I may get some and see what happens.

Great job, man! :thup: :attn:
 
Now that this thread is back to life, thanks to my friend gig-o-ram, I would like to know how you used your uv paint (and what brand), because I have some clearneon uv orange paint, and it doesn't do anything. I've put like 3 layers of it on my 120mm fan, and it does tons of bubbles and some parts are glowing in like a yellow-green color.
 
Back