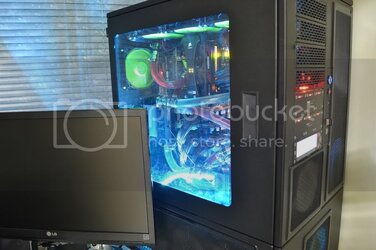
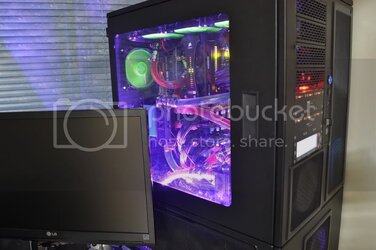
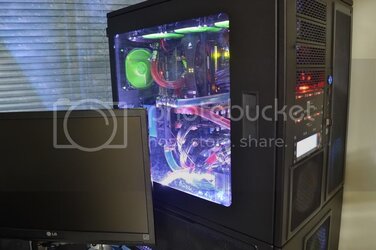
-
Welcome to Overclockers Forums! Join us to reply in threads, receive reduced ads, and to customize your site experience!
You are using an out of date browser. It may not display this or other websites correctly.
You should upgrade or use an alternative browser.
You should upgrade or use an alternative browser.
My Gimp "Hamster"...
- Thread starter frank anderson
- Start date
OP
- Joined
- Jun 5, 2011
- Thread Starter
- #42
Sorry for the delay, had to play catch up with real life.. now on with the show !!
As some of you may recall, my Thermochill TA120.3 arrived at a rather funky state, so here it is after some intensive cleaning and flushing with distilled vinegar.. Hope it is enough and nothing is hiding inside :?

So this is what $1000 worth of Bitspower stuff looks like..

After spending over $2K USD with Bitpower in the past few months, all I got as a freebie was a bunch of expired calendars, or are they book marks?

Some Petra's Biocide, I got them just in case I need them, not using it at the moment, using Mayhem's Dyes and Silver Coil only.. shipping is kind of expensive so I ordered some along with my silver coils just in case..

Mayhems super concentrated dyes... ok it does not say "super concentrated" on the bottle, but it is highly concentrated..

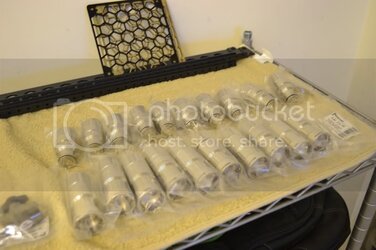
Had to replace all my quick disconnects in the mean time, still working out my RMA from my old set.. Make sure you order Koolance stuff from a authorized distributor or you just take you chances.. /shrugs..

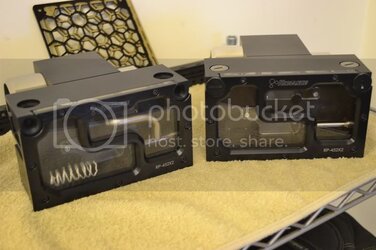
Look Mom, Twins !!!

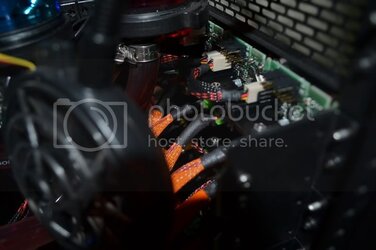
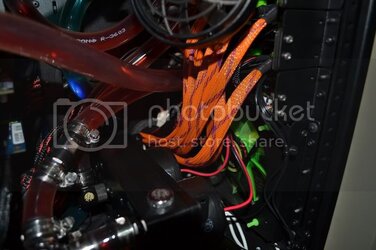
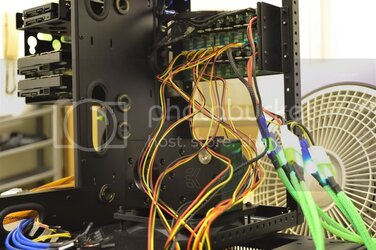
The cable mess, it's a lot cleaner now, but this is how it looked at first glance.. Lamptron FC8 soon to be replaced by Aquaero and Power Amp 2..

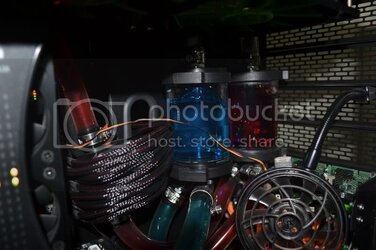
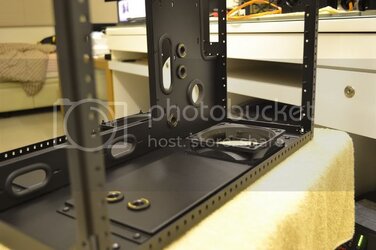
did some drilling to fit my Carbon Black CaseTop Water-Fill SET Model Name: BP-CBWP-C04


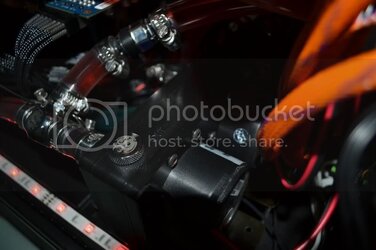
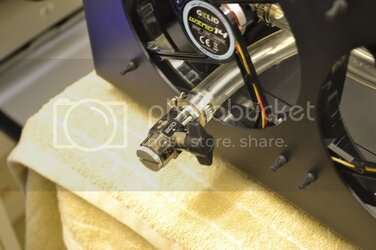
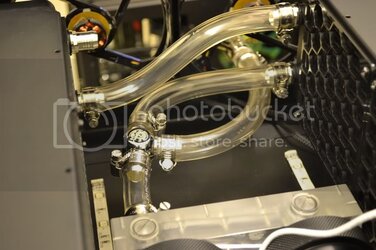
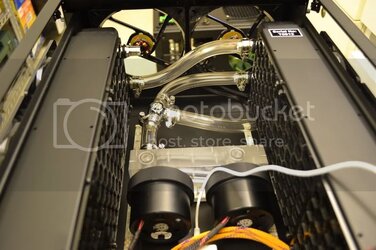
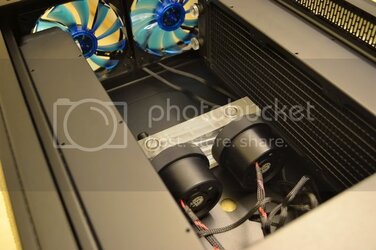
Here is some close up and personal shots of the BP dual top + Mod Kit, I have to say, it's a real piece of workmanship..


More pics coming soon, please stay tuned..
As some of you may recall, my Thermochill TA120.3 arrived at a rather funky state, so here it is after some intensive cleaning and flushing with distilled vinegar.. Hope it is enough and nothing is hiding inside :?
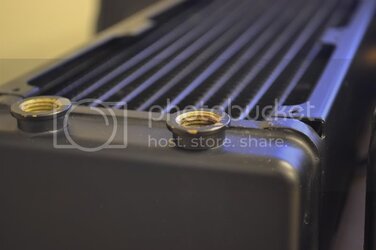
So this is what $1000 worth of Bitspower stuff looks like..
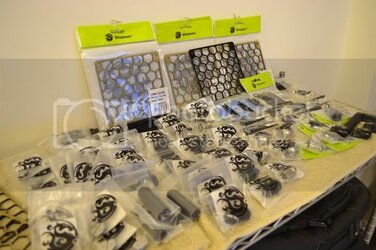
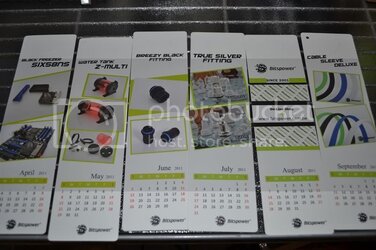
After spending over $2K USD with Bitpower in the past few months, all I got as a freebie was a bunch of expired calendars, or are they book marks?
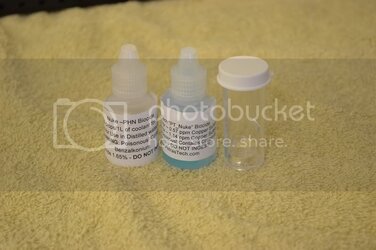
Some Petra's Biocide, I got them just in case I need them, not using it at the moment, using Mayhem's Dyes and Silver Coil only.. shipping is kind of expensive so I ordered some along with my silver coils just in case..
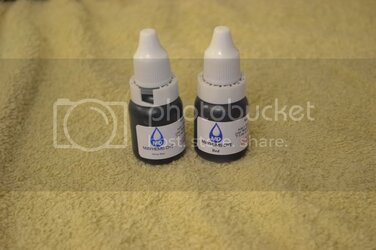
Mayhems super concentrated dyes... ok it does not say "super concentrated" on the bottle, but it is highly concentrated..
Had to replace all my quick disconnects in the mean time, still working out my RMA from my old set.. Make sure you order Koolance stuff from a authorized distributor or you just take you chances.. /shrugs..
Look Mom, Twins !!!
The cable mess, it's a lot cleaner now, but this is how it looked at first glance.. Lamptron FC8 soon to be replaced by Aquaero and Power Amp 2..
did some drilling to fit my Carbon Black CaseTop Water-Fill SET Model Name: BP-CBWP-C04
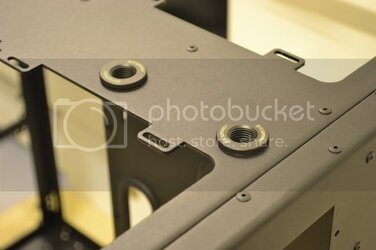
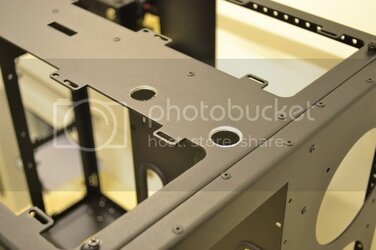
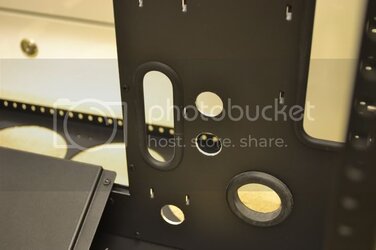
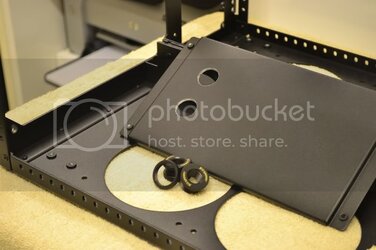
Here is some close up and personal shots of the BP dual top + Mod Kit, I have to say, it's a real piece of workmanship..
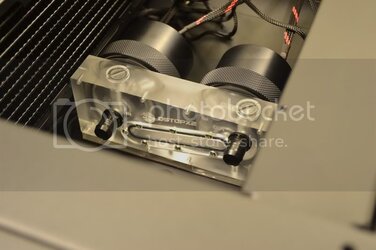
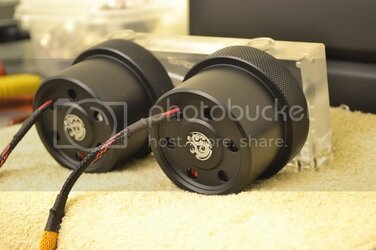
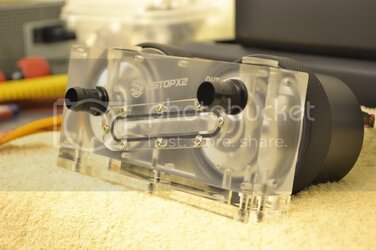
More pics coming soon, please stay tuned..
- Joined
- Jun 17, 2010
- Location
- Marietta, GA
 Nuff said.
OP
- Joined
- Jun 5, 2011
- Thread Starter
- #44
Well here's the final update for the evening, I got tired of sitting around waiting for my Aquacomputer stuff to arrived so I started to assemble everything.. What do you know? The evening that I assembled everything, I got a email from Shoggy that my stuff is being delivered... now how's that for irony.. Still good news though and Thank You Shoggy for assisting me in this whole matter.. Good Customer service goes a long way..
Now on with the show for this evening..
2x Lamptron FC8 controlling 18 fans (16x Gelid 12 and 2x Gelid 14)

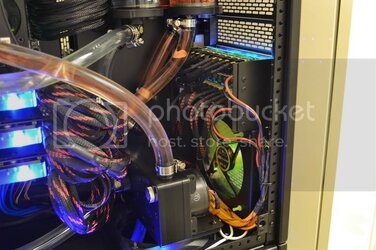
A bit messy but it's getting there.. just needs a bit more of my "tinker-itis" lovin...

Cable's "R" Us..

here's my new desk + my new "putter"....

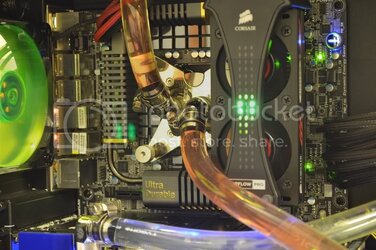
360 Radiator + Dual D5 Block just for the CPU, Is this overkill ?

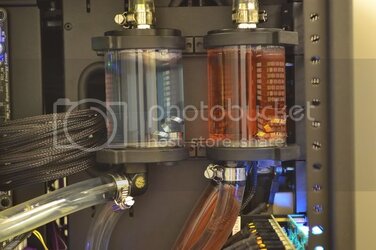
I didn't know how the dual bong was going to come out, but after this shot, I have to say... It came out a lot better then I expected...

Koolance CPU 370

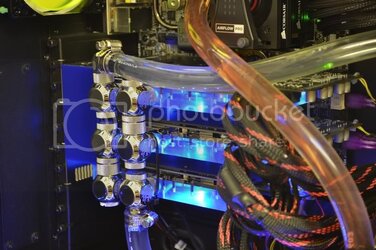
Bitspower VG-NGTX580 blocks with Silver Shining T Block + D Plugs.. The black zip tie is not really that noticeable in the case, it helps as for some reason, my bottom card likes to sag, tho if I put it in parallel, problem does not exist as the 2nd D Plug takes up the pressure.. I tested both Parallel vs Serial, I got better temps with serial.. something like 48, 49, 50 with serial, but I would get 50, 49, 50 with Parallel.. either way, these are being replaced with Aqua Computer GTX580 blocks once they arrive..

Things left to do..
Add enough radiators to land a 5c Delta or less...
Install Aquaero XT + Waterblock + front black aluminum panel
Route CPU loop to Aquaero Waterblock > CPU
Install power amp 2 x6 + front black aluminum panel
Install Aqua Computer GTX580 Blocks x3
Install Aquaero in line flow and temperature sensors..
Install Mod Right PCIE 6 and 8 Pin PCIE extension cables..
Install Bitspower 20-50mm extensions in place of some of the tubings that are going through the middle panel.. (can't really tell in the pictures due to the dark areas and well hidden)
Optional..
Replace the 2x dual D5 blocks with Koolance RP452x2
I think that's all I have left to do... /scratches head...
Now on with the show for this evening..
2x Lamptron FC8 controlling 18 fans (16x Gelid 12 and 2x Gelid 14)
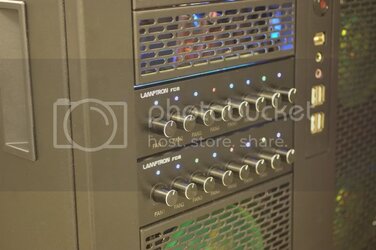
A bit messy but it's getting there.. just needs a bit more of my "tinker-itis" lovin...
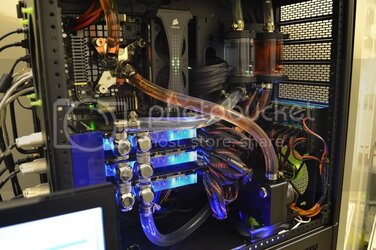
Cable's "R" Us..
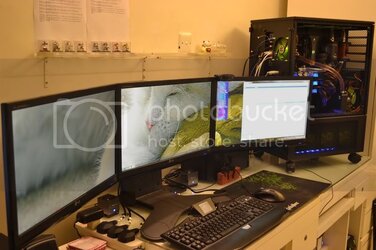
here's my new desk + my new "putter"....
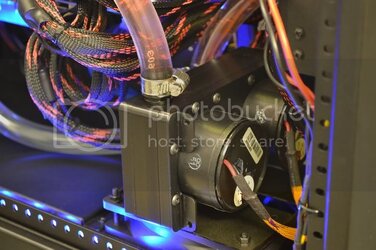
360 Radiator + Dual D5 Block just for the CPU, Is this overkill ?
I didn't know how the dual bong was going to come out, but after this shot, I have to say... It came out a lot better then I expected...
Koolance CPU 370
Bitspower VG-NGTX580 blocks with Silver Shining T Block + D Plugs.. The black zip tie is not really that noticeable in the case, it helps as for some reason, my bottom card likes to sag, tho if I put it in parallel, problem does not exist as the 2nd D Plug takes up the pressure.. I tested both Parallel vs Serial, I got better temps with serial.. something like 48, 49, 50 with serial, but I would get 50, 49, 50 with Parallel.. either way, these are being replaced with Aqua Computer GTX580 blocks once they arrive..
Things left to do..
Add enough radiators to land a 5c Delta or less...
Install Aquaero XT + Waterblock + front black aluminum panel
Route CPU loop to Aquaero Waterblock > CPU
Install power amp 2 x6 + front black aluminum panel
Install Aqua Computer GTX580 Blocks x3
Install Aquaero in line flow and temperature sensors..
Install Mod Right PCIE 6 and 8 Pin PCIE extension cables..
Install Bitspower 20-50mm extensions in place of some of the tubings that are going through the middle panel.. (can't really tell in the pictures due to the dark areas and well hidden)
Optional..
Replace the 2x dual D5 blocks with Koolance RP452x2
I think that's all I have left to do... /scratches head...
OP
- Joined
- Jun 5, 2011
- Thread Starter
- #45
UPDATE: I got my Swiftech 360 QP res which I will be adding to the motherboard side, going to use that for dedicated CPU cooling.. now the plan will be....
Ba da bing, Ba da boom !!!
CPU + Aquaero XT = 360 + Dual D5
Swiftech QP 360 Quiet Reservoir (mb side)
Swiftech MCP655 x2
EK Dual top black acetal
Koolance CPU370
Aquaero waterblock for Aquaero XT (pending delivery)
GPU = 360x3 + Dual D5
HWL Black Ice SR1 360 (power supply side)
Thermochill TA120.3 x2 (inside pedestal)
Bitspower 580 Blocks x3 (current)
Aqua Computer 580 copper blocks (pending delivery)
Bitspower Dual Mod Top Clear Acrylic with Black dress kit
Swiftech MCP655 x2
- Joined
- Nov 2, 2011
- Location
- Kansas City
nice build! I have become completely engulfed by water cooling and am already planning my next build XD. Just finished my first build this week. It's not the prettiest, but it works and I learned a lot from it.
- Joined
- Jan 20, 2010
- Location
- Hampshire, England
best before and after ive ever seen on this forum, and its not even finished yet. whos with me?
- Joined
- Jul 16, 2005
- Location
- Bermuda
Subscribed. I wish I had the cash to do this. I LOVE to see projects like this come together. Keep up the good work, and keep the pictures coming! 
OP
- Joined
- Jun 5, 2011
- Thread Starter
- #49
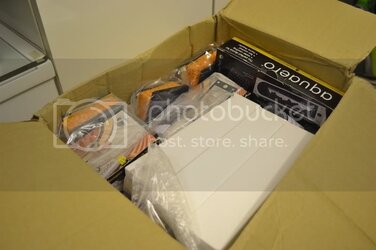
Got 2 shipments in today, one from Aquacomputer's and the other from Demcifilter's, the AC box looks like it was tossed quite a bit, but everything inside arrived in good condition, I think... still need to test everything to make sure it works..
Here goes..
The AC box in all it's glory..

and it's opened..

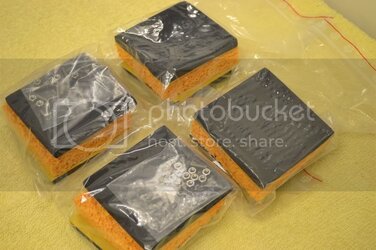
First is the Shoggy Sandwichs..

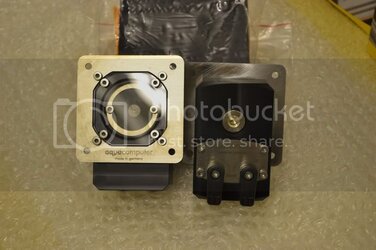
AC Ball Valve Filters..

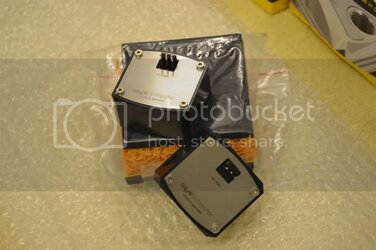
AC Inline flow meter for the Aquaero..

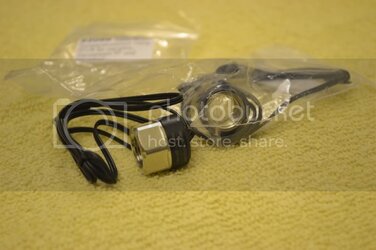
AC inline temperature sensors..

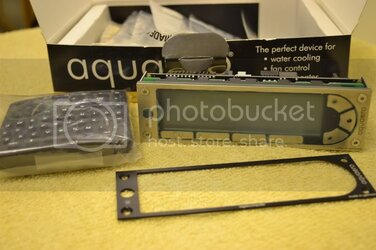
AC Aquaero XT w/ remote and Black front plate..

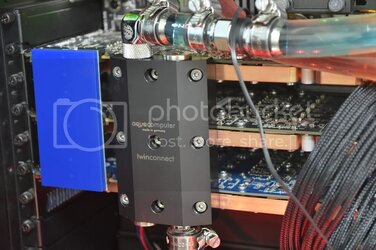
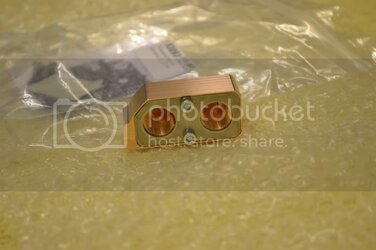
AC Aquaero XT Water Block..

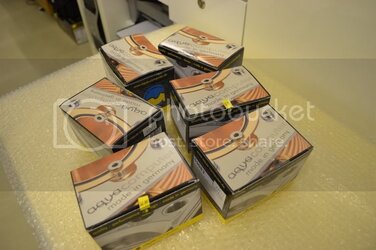
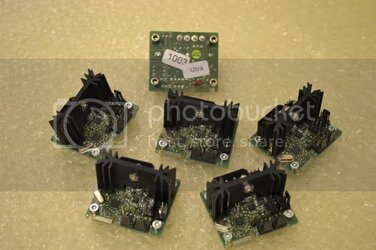
AC Power Amp 2 Ultra (AC was out of stock so I got these from Performance PC's, the rest was from AC direct)..


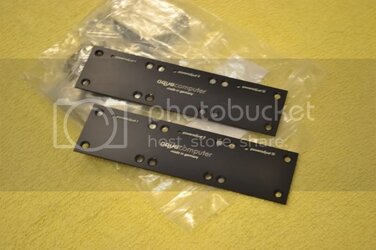
AC Power Amp front plate and mount x2 (holds 3 PA per).

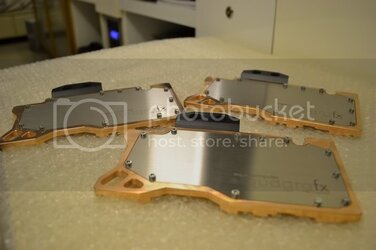
AC Aquagrafx 580.. oh my they are sexy !!!

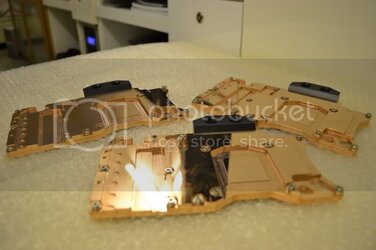
showing off it's rear..

and the bridge that will connect it all together in Parallel or serial.. Kudos for AC making things simple..

Demcifilter's package arrived..

a bunch of filters..

I just installed one real quick to see how they look, pretty easy and looks good in my opinion.. These are the "non ferrous" ones as my CL case is aluminium and magnets don't stick to it, so instead it comes with a soft magnet strip about 1mm thick, stick it on your case and the filter itself magnets on that.. All the filters was custom made to fit.. It's very soft and very easy to remove for cleaning..

Here goes..
The AC box in all it's glory..
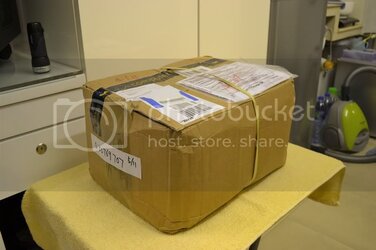
and it's opened..
First is the Shoggy Sandwichs..
AC Ball Valve Filters..
AC Inline flow meter for the Aquaero..
AC inline temperature sensors..
AC Aquaero XT w/ remote and Black front plate..
AC Aquaero XT Water Block..
AC Power Amp 2 Ultra (AC was out of stock so I got these from Performance PC's, the rest was from AC direct)..
AC Power Amp front plate and mount x2 (holds 3 PA per).
AC Aquagrafx 580.. oh my they are sexy !!!
showing off it's rear..
and the bridge that will connect it all together in Parallel or serial.. Kudos for AC making things simple..
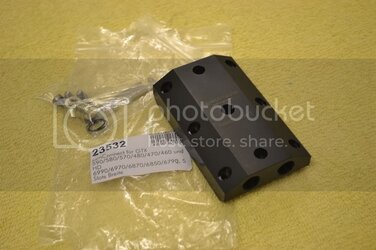
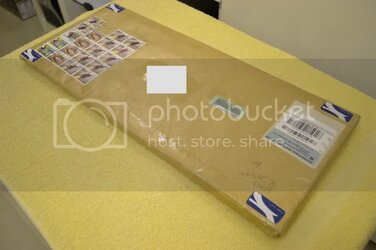
Demcifilter's package arrived..
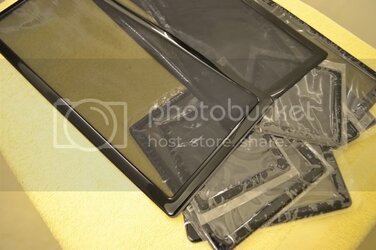
a bunch of filters..
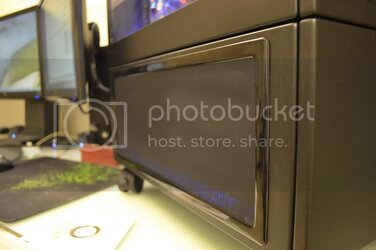
I just installed one real quick to see how they look, pretty easy and looks good in my opinion.. These are the "non ferrous" ones as my CL case is aluminium and magnets don't stick to it, so instead it comes with a soft magnet strip about 1mm thick, stick it on your case and the filter itself magnets on that.. All the filters was custom made to fit.. It's very soft and very easy to remove for cleaning..
OP
- Joined
- Jun 5, 2011
- Thread Starter
- #50
Wow.. This project is looking like it is nearing toward its end.. I want to Thank all the people here and there that has watched and the vendors that has supported me with my questions and supplied me with the info necessary to complete this "evolution" project, definitely a learning experience, but fun never the less...
Well Good News | Bad News... Good News is my Aquaero 5 XT with all the bells and whistles is up and running, Bad News is due to personal life (well it's not a secret, I'm moving to a bigger apartment where I will have my own PC room) and an upcoming business trip right after that (gotta make the "greens" to fund my dirty habit :lol ... The AquagraFX 580's will have to wait after to be installed as I need to dismantle everything and get it ready for the movers.. Well it's not really bad news since my rig is in a use-able state..
Anyways...
The AQ5 is one bad a** piece of hardware and kudos to Aqua Computer for making such a wonderful piece of technology.. I had no problems setting it up at all and using the software, don't let the people that "cant" use it due to problems and is screaming about it on forums deter you, it was simple..
1) download the old aqua suite 4.72.00 and make sure the PA2 are firmware flashed to 1003 and set them to first PA2 to 50, next to 51, and so on, so forth.. You have to connect them individually to the USB on your MB directly one at a time, no reboot of PC is required..
2) Attach everything to your AQ5 according to the manual and the AQ5 to your motherboard, only the AQ5 needs to be attached to the USB..
3) Download Aquasuite 2012 (THIS is a different version of Aqua Suite then the one you used for updating your Power Amp 2)..
4) Download the latest .NET Framework 4.0
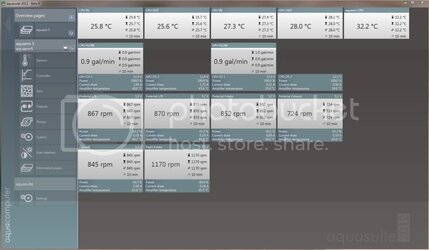
5) Voila.. everything showed up under the Aquaero 5 sub menu and I just attached stuff to my overview page as I saw fit (check out below screenshot)..

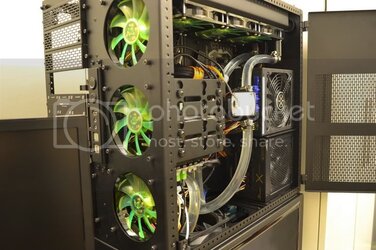
Power Supply side with flow sensor, hard disk cage, SR1 360 (GPU)

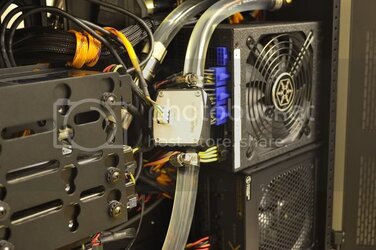
Close up of flow sensor and dual power supply (1200w strider gold and 540 seasonic, both 80 gold)

My power station that is powering my LED's and AQ5..

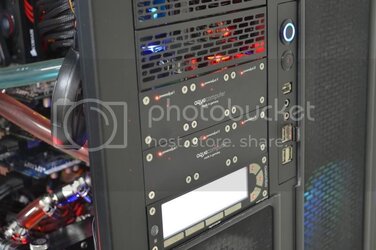
AQ5 + PA2 (x6), front black panel..

far view..

Current Connection: (testing)
FAN CHANNEL 1: pedestal left / Thermochill TA120.3 / 3x 120 Gelid Wing 12 (Manufacturer rated 0.22 amp 12v) - running @ 5.2v 870 rpm
FAN CHANNEL 2: pedestal right / Thermochill TA120.3 / 3x 120 Gelid Wing 12 @ 5.2v 869 rpm
FAN CHANNEL 3: pedestal intake / 1x Gelid Wing 12 @ 5.2v 843rpm
FAN CHANNEL 4: pedestal exhaust / 2x Gelid Wing 14 (Manufacturer rated 0.35 amp 12v) @ 5.2v 731rpm
FAN CHANNEL 5: CPU Loop D5 1 (speed 2)
FAN CHANNEL 6: CPU Loop D5 2 (speed 2)
FAN CHANNEL 7: Caselabs M10 right power supply side / 3x Gelid Wing 12 @ 7.2v 1170rpm
FAN CHANNEL 8: GPU D5 1 (speed 5)
FAN CHANNEL 9: GPU D5 2 (speed 5)
FAN CHANNEL 10: Caselabs M10 top left (Swiftech MCQ QP-360), top right (HWL SR1 360), 6x Gelid Wing 12 @ 5.2v 845rpm
GPU FLOW: 0.9-1.0 GPM
CPU FLOW: 0.9 GPM
AC inline temp sensor x4 (sensor > AQ Waterblock > CPU > sensor) + (sensor > GPU block x3 > sensor)
AC inline "high flow" flow meter x2
LOOP 1: pump > sensor > AQ waterblock > Koolance CPU 370 > sensor > Swiftech MCQ QP-360 > flow meter > BP 80 reservoir > Pump >
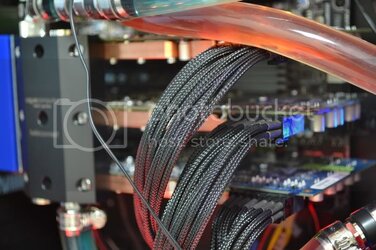
LOOP 2: pump > Thermochill TA120.3 > Thermochill TA120.3 > HWL SR1 360 > flow meter > sensor > BP VG-NGTX580 blocks x3 > sensor > BP 80 reservoir > pump >
dual loop red and blue dye MAYHEM's.. good stuff !! Hard to focus on moving water..

AQ5 back panel, very hard to get all the wires cleaned up, was the best I can do..

w/ Flash

added a drain outlet to my CPU loop, same as the one inside pedestal for GPU loop.. This setup rocks, I had my system drained, both loops in 20 minutes.. Then took less then 30 minutes to fill back up and bled entirely.. perfect placement of components !!

oh my 580 SLI !!

swiftech MCQ 360 for CPU and AQ5 water block loop..

koolance 370 spanking..

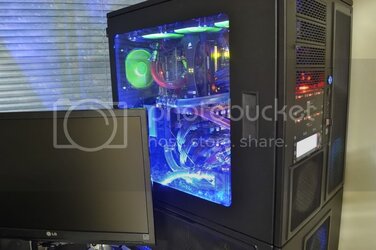
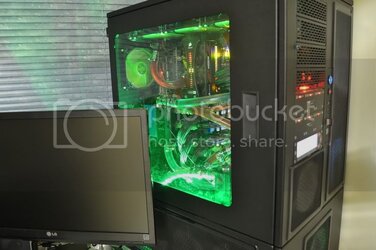
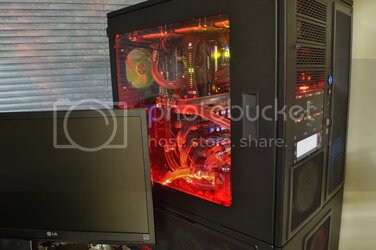
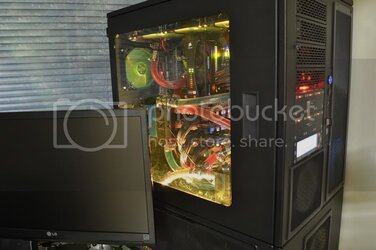
a night shot with the LEDs on...

opposite side..

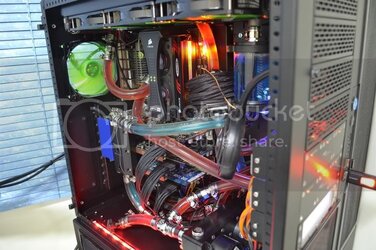
Fun station at night time !!!

here's just another one with the lights on..

That's all for now, perhaps I'll take some shots of my new game room upcoming and while I setup my rig there once moved...
Well Good News | Bad News... Good News is my Aquaero 5 XT with all the bells and whistles is up and running, Bad News is due to personal life (well it's not a secret, I'm moving to a bigger apartment where I will have my own PC room) and an upcoming business trip right after that (gotta make the "greens" to fund my dirty habit :lol
Anyways...
The AQ5 is one bad a** piece of hardware and kudos to Aqua Computer for making such a wonderful piece of technology.. I had no problems setting it up at all and using the software, don't let the people that "cant" use it due to problems and is screaming about it on forums deter you, it was simple..
1) download the old aqua suite 4.72.00 and make sure the PA2 are firmware flashed to 1003 and set them to first PA2 to 50, next to 51, and so on, so forth.. You have to connect them individually to the USB on your MB directly one at a time, no reboot of PC is required..
2) Attach everything to your AQ5 according to the manual and the AQ5 to your motherboard, only the AQ5 needs to be attached to the USB..
3) Download Aquasuite 2012 (THIS is a different version of Aqua Suite then the one you used for updating your Power Amp 2)..
4) Download the latest .NET Framework 4.0
5) Voila.. everything showed up under the Aquaero 5 sub menu and I just attached stuff to my overview page as I saw fit (check out below screenshot)..
Power Supply side with flow sensor, hard disk cage, SR1 360 (GPU)
Close up of flow sensor and dual power supply (1200w strider gold and 540 seasonic, both 80 gold)
My power station that is powering my LED's and AQ5..
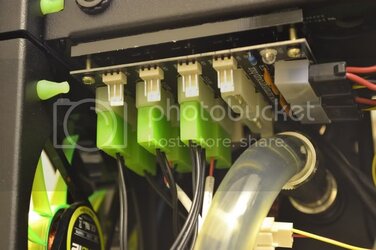
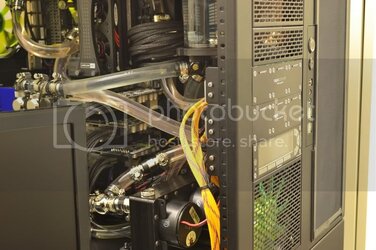
AQ5 + PA2 (x6), front black panel..
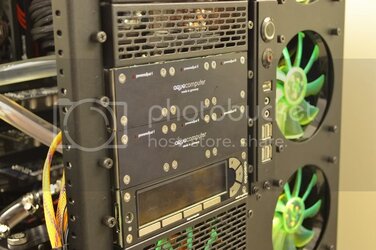
far view..
Current Connection: (testing)
FAN CHANNEL 1: pedestal left / Thermochill TA120.3 / 3x 120 Gelid Wing 12 (Manufacturer rated 0.22 amp 12v) - running @ 5.2v 870 rpm
FAN CHANNEL 2: pedestal right / Thermochill TA120.3 / 3x 120 Gelid Wing 12 @ 5.2v 869 rpm
FAN CHANNEL 3: pedestal intake / 1x Gelid Wing 12 @ 5.2v 843rpm
FAN CHANNEL 4: pedestal exhaust / 2x Gelid Wing 14 (Manufacturer rated 0.35 amp 12v) @ 5.2v 731rpm
FAN CHANNEL 5: CPU Loop D5 1 (speed 2)
FAN CHANNEL 6: CPU Loop D5 2 (speed 2)
FAN CHANNEL 7: Caselabs M10 right power supply side / 3x Gelid Wing 12 @ 7.2v 1170rpm
FAN CHANNEL 8: GPU D5 1 (speed 5)
FAN CHANNEL 9: GPU D5 2 (speed 5)
FAN CHANNEL 10: Caselabs M10 top left (Swiftech MCQ QP-360), top right (HWL SR1 360), 6x Gelid Wing 12 @ 5.2v 845rpm
GPU FLOW: 0.9-1.0 GPM
CPU FLOW: 0.9 GPM
AC inline temp sensor x4 (sensor > AQ Waterblock > CPU > sensor) + (sensor > GPU block x3 > sensor)
AC inline "high flow" flow meter x2
LOOP 1: pump > sensor > AQ waterblock > Koolance CPU 370 > sensor > Swiftech MCQ QP-360 > flow meter > BP 80 reservoir > Pump >
LOOP 2: pump > Thermochill TA120.3 > Thermochill TA120.3 > HWL SR1 360 > flow meter > sensor > BP VG-NGTX580 blocks x3 > sensor > BP 80 reservoir > pump >
dual loop red and blue dye MAYHEM's.. good stuff !! Hard to focus on moving water..
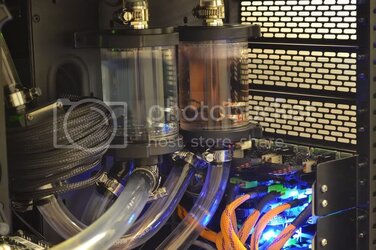
AQ5 back panel, very hard to get all the wires cleaned up, was the best I can do..
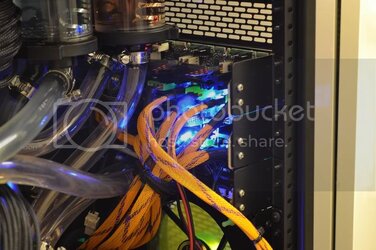
w/ Flash
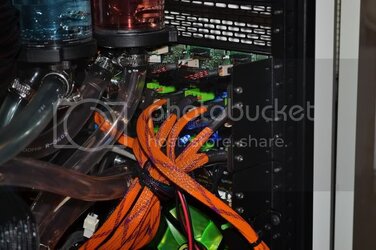
added a drain outlet to my CPU loop, same as the one inside pedestal for GPU loop.. This setup rocks, I had my system drained, both loops in 20 minutes.. Then took less then 30 minutes to fill back up and bled entirely.. perfect placement of components !!
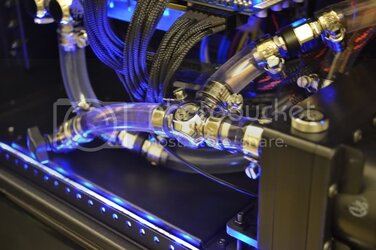
oh my 580 SLI !!
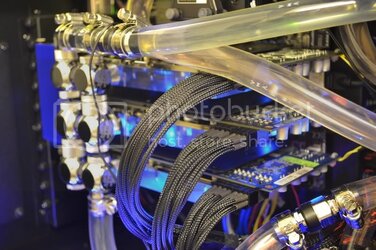
swiftech MCQ 360 for CPU and AQ5 water block loop..
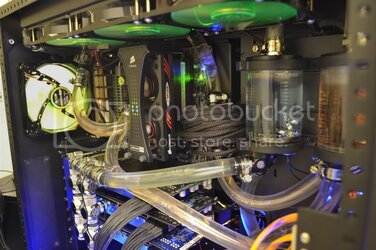
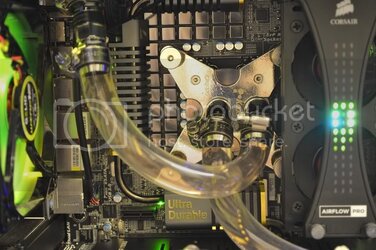
koolance 370 spanking..
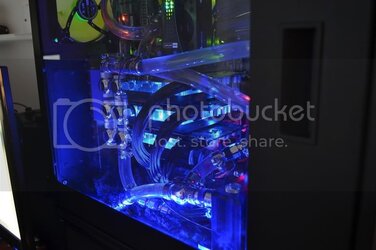
a night shot with the LEDs on...
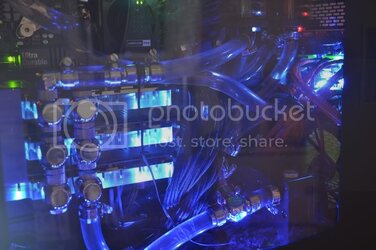
opposite side..
Fun station at night time !!!
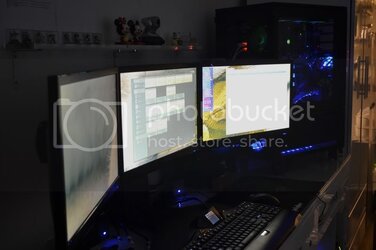
here's just another one with the lights on..
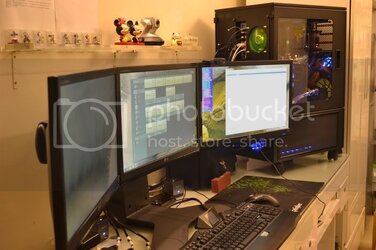
That's all for now, perhaps I'll take some shots of my new game room upcoming and while I setup my rig there once moved...
Last edited:
OP
- Joined
- Jun 5, 2011
- Thread Starter
- #51
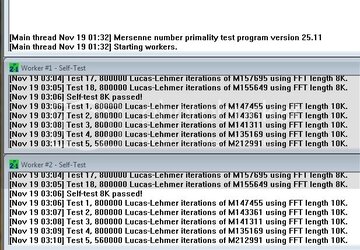
Just temps and AQ5 doing it's thing.. sweet jeeebus I am very impressed with the temps, I can't wait to see what my aquagraFX blocks will do, I'm expecting quite a bit of difference on the GPU temps.
benchmark test ran for 1.5 hours, Heaven ran in SLI span mode with all 3x GPU, Prime 95 2 threads running, other 2 thread is left for Heaven.. Ambient is 24.5c (according to my clock).
OK this settles it once and for all.. Serial vs Parallel.. Serial wins.. The CPU loop is overkill (lol)...

50c average using bitspower blocks, I'm going to miss those looks, I still think they are sexier then a waitress in 3inch pumps..

Task Manager and Timer..

In depth temp details form AIDA64, Think I have enough room for some massive CPU over clocking? I think so !!

and Prime95

feel free to buzz me with any questions or comments...
benchmark test ran for 1.5 hours, Heaven ran in SLI span mode with all 3x GPU, Prime 95 2 threads running, other 2 thread is left for Heaven.. Ambient is 24.5c (according to my clock).
OK this settles it once and for all.. Serial vs Parallel.. Serial wins.. The CPU loop is overkill (lol)...
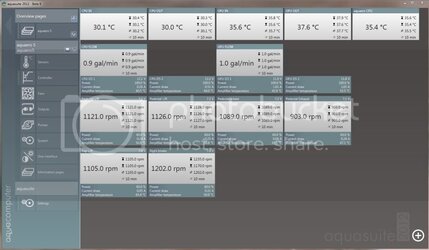
50c average using bitspower blocks, I'm going to miss those looks, I still think they are sexier then a waitress in 3inch pumps..
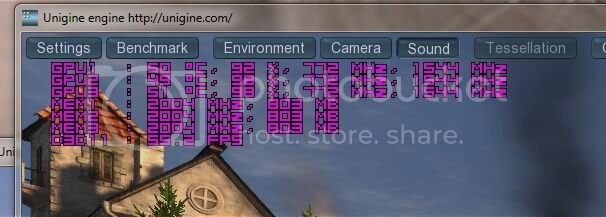
Task Manager and Timer..
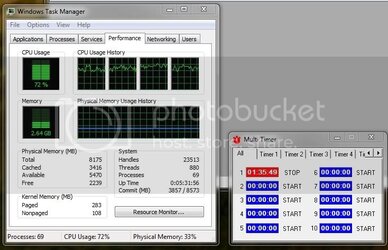
In depth temp details form AIDA64, Think I have enough room for some massive CPU over clocking? I think so !!

and Prime95
feel free to buzz me with any questions or comments...
- Joined
- Nov 14, 2011
- Location
- DE
Sweet build man and I thought I was cringing when I purchased all my WC components. I like how the GPUs look with those t-blocks look on the bitspower blocks, looks really clean.
- Joined
- Jul 19, 2011
- Location
- USA
VERY NICE! HOW MUCH!?
Haha, the hell you would go through if your PSU crapped out...
Haha, the hell you would go through if your PSU crapped out...
- Joined
- May 9, 2011
- Location
- Alberta, Canada
Very impressive. Mind if I ask what you used to get that multi-colored LED setup? (I'll admit, I was too lazy to try and discern it from your previous posts, sorry...)
OP
- Joined
- Jun 5, 2011
- Thread Starter
- #56
VERY NICE! HOW MUCH!?
Haha, the hell you would go through if your PSU crapped out...
The whole system was well thought out during the build period, priority was ease of use rather than aesthetics though I did try to balance both, it would take me less than 5 minutes to pull out and replace the PSU, since it's full modular
Very impressive. Mind if I ask what you used to get that multi-colored LED setup? (I'll admit, I was too lazy to try and discern it from your previous posts, sorry...)
They are the "Sunbeam 24-key Remote Control Lights (Double pack)" purchased from a local shop in my area..
Here...
OP
- Joined
- Jun 5, 2011
- Thread Starter
- #58
Looks amazing and I really like those long exposure shots. I hope you have locks on those trolley wheels! It's about 3cm from the edge of the desk!
That wont be fun if it fell down on the floor, indeed all 4 wheels are locked..
I wish this case was not so heavy, I can't lift it myself, so I put it on castors and wheel it 120° to work on the other side, perhaps once it's all settled in and I don't plan on tinkering with it anymore, I'll remove the castors and put on the rubber feets, going to need a friend to help me lift it though, it weighs a good 70LBS or so...
OP
- Joined
- Jun 5, 2011
- Thread Starter
- #59
Latest Update:
Have not done much tinkering lately, been using it and playing Dragon Age Origins in 3 way surround..
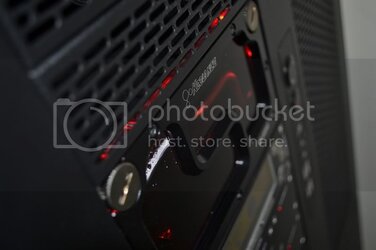
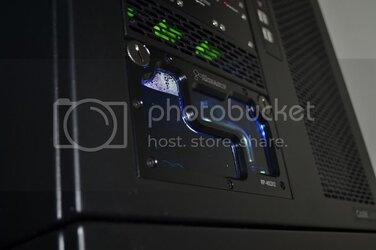
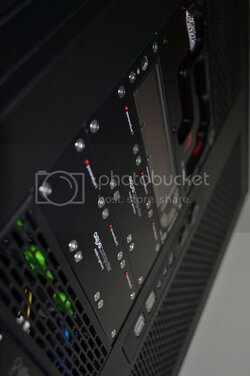
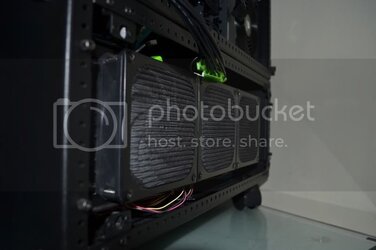
[*] Swapped out old water cooling setup and installed dual Koolance RP452x2
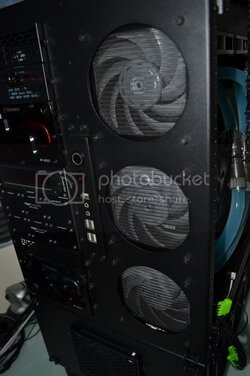
[*] Removed old Demciflex filters and went with stand alone aluminium filters attached on the fans behind the panel, hidden from sight.
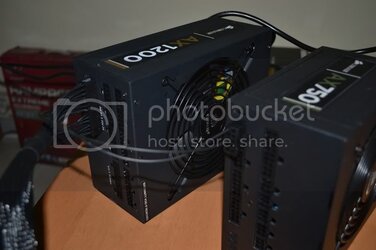
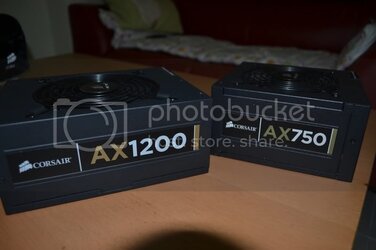
[*] Swapped out old Silverstone (high pitch wine while under load) and Seasonic PSU (was working fine, just took the AX750 out of my other rig and replaced it with this one so I can have matching PSU) and installed Corsair AX1200 + AX750


Jumpered on to the main PSU to power on simultaneously.


Have not done much tinkering lately, been using it and playing Dragon Age Origins in 3 way surround..
[*] Swapped out old water cooling setup and installed dual Koolance RP452x2
[*] Removed old Demciflex filters and went with stand alone aluminium filters attached on the fans behind the panel, hidden from sight.
[*] Swapped out old Silverstone (high pitch wine while under load) and Seasonic PSU (was working fine, just took the AX750 out of my other rig and replaced it with this one so I can have matching PSU) and installed Corsair AX1200 + AX750
Jumpered on to the main PSU to power on simultaneously.
- Joined
- Apr 16, 2009
- Location
- Prince George, B.C.
HOLY crap man that is a beutiful build. puts mine to shame and mine looks pretty damn good. wish i had that kinda dough to spend on mine lol.
Similar threads
- Replies
- 51
- Views
- 23K
- Replies
- 5
- Views
- 681
- Replies
- 12
- Views
- 1K
