• Welcome to Overclockers Forums! Join us to reply in threads, receive reduced ads, and to customize your site experience!

SpacemanSpiff-Navig Project

Overclockers is supported by our readers. When you click a link to make a purchase, we may earn a commission. Learn More.

Navig

Senior Case Master
Joined
Dec 7, 2003
In case you were wondering what I've been up to since completing my benching station. I give you the SpacemanSpiff-Navig project. Yes we need to give it a better name.

SpacemanSpiff liked my work on my first benching station, so after some negotiatin', we came up with plans for a fully lidded benching station to his design specs.

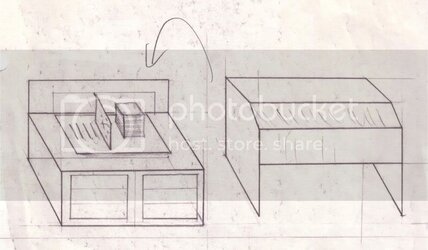
Here was my first rough sketch of what he described to me:

Spacemanprojectsmall.jpg


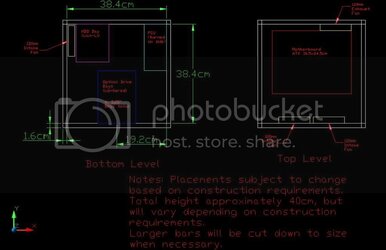
And here were some of his designs for layout:

SpiffsLubicCase.jpg


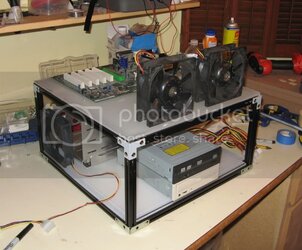
Here is an overall rough mockup of the component layout:

Barelayout1.jpg


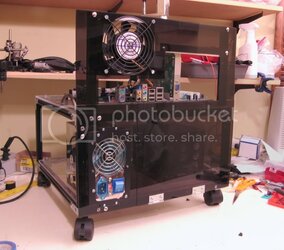
The build is on going--here is the latest pic:

Backpanelplasticcompleted1.jpg


I'm shootin' for completion of the case in maybe 2 weeks, after which it'll be shipped to Spaceman for the install and accessories/lighting.


Here is the worklog.


I'll post pics here every now and then like I do.


navig
 
dude this is amazing.. i wish i had the chance to do something like this... roughly how much do you spend on materials doing a project like this ?
 
A little update pic...

Completedlid.jpg


Thanks for the compliment. Love that remote, too. Wish I had bought more of those cheap remote units while they were available. Still using that system to this day.

Overall, I think the parts are going to come in at about $300. You do have to factor in that I really have all the tools necessary to do such a project.

Approximate breakdown:

Lubic Frame $100
Plastic trays $30
Plastic lid $60
Aluminum $10
Brackets and handles $40
Hard drive cage $25
Nuts n bolts $10


navig
 
Got some work accomplished today!

Finished all the bracketry to hold the lid together:

Lidfinishmounted.jpg


Backside view:

Lidfinishpciside.jpg


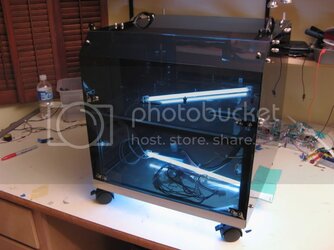
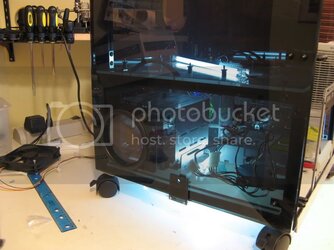
Internally lit:

Lidfinishlit.jpg


And one of my signature concepts to my builds. The whole lid can just be popped on and off--in this model, you don't even have to turn the system off!

th_FirstLidtest1.jpg


navig
 
Well, the project is roughly done. Just got to do some finish work (paint & details etc.).

Since the last pics:


Added the side clips to hold the lid on:

Sideclips.jpg


As well as rear clips:

Backclips.jpg


Added a button cluster:

Buttoncluster.jpg


Cut out the front panel and added a bezel (to be painted matte black):

Frontbezel.jpg


Cut out a side intake to keep the hard drives cool:

Sideintake.jpg


Cut out the front intakes:

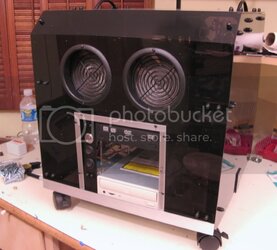
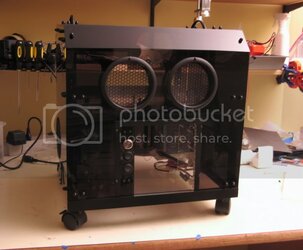
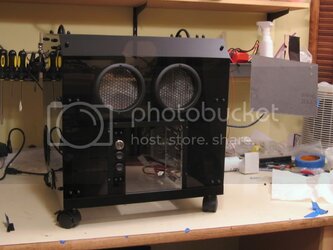
Frontcompletedwithgrills.jpg


Lid still comes right off, no need to even turn off the system. Ready for some real components!

Motherboardfanspacing.jpg
 
After a stray comment about the case looking as dark and evil as the first time you saw Darth Vader, we decided to officially title this project:


Project Dark Side


darth-vader-deluxe-helmet2.jpg


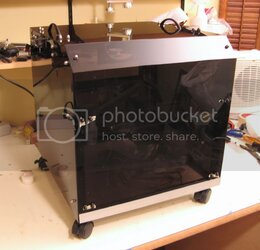
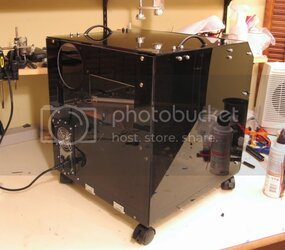
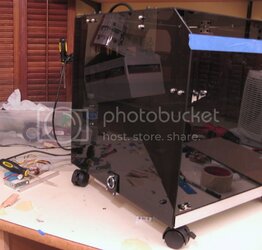
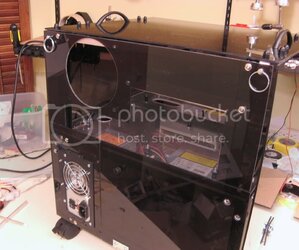
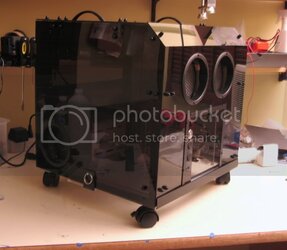
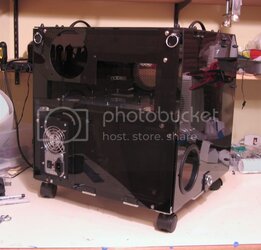
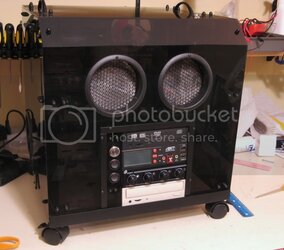
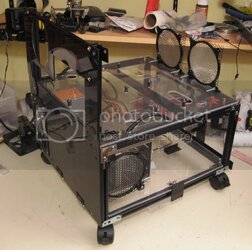
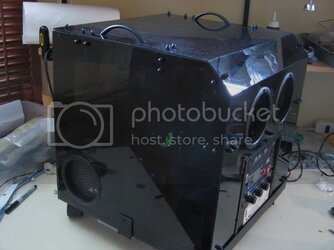
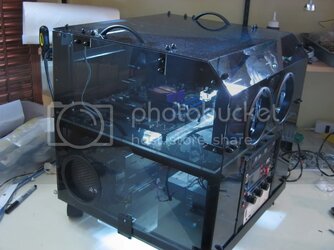
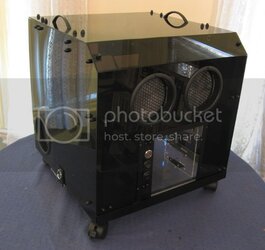
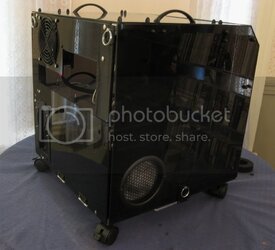
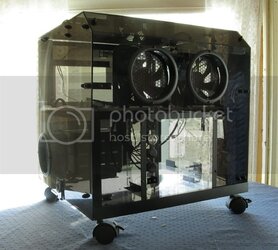
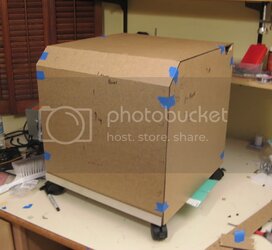
Here are some new pics, with the whole basic case completed:


Completedempty1.jpg


Completedempty2.jpg


Completedempty3.jpg


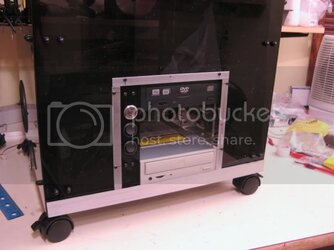
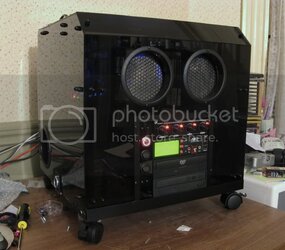
And with some components in the 5.25 bay:


Completed5.jpg


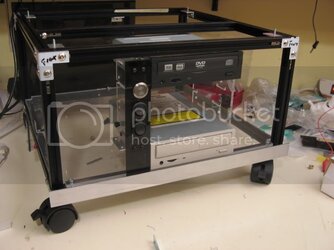
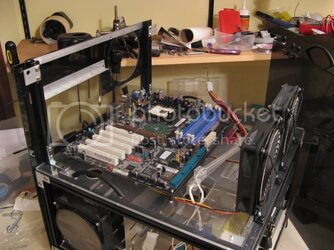
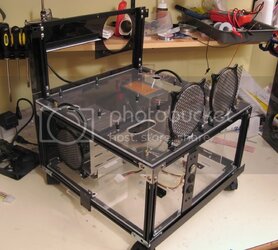
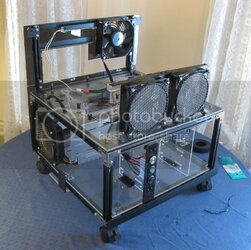
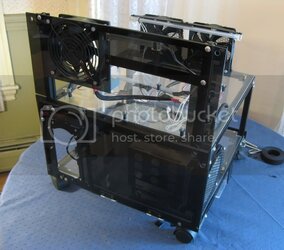
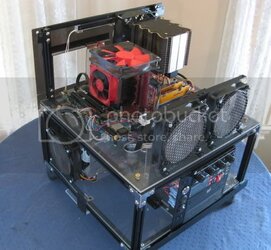
And some pics without the lid on:

Completedlidless1.jpg


Completedlidless2.jpg


And some quick videos:

One of my signature functional features: quick complete disassembly:

th_Completedlidtest.jpg


And my drop down hatch for quick access to the hard drives:

th_Hatchtest1.jpg


navig
 
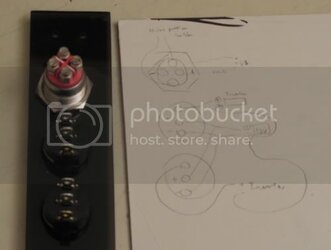
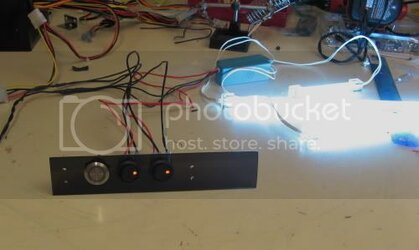
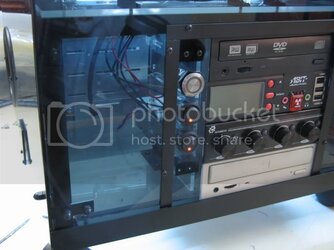
Okay, finally got everything 100% completed, including the wiring of the front panel.

Diagram'd:

Switchpanelexample.jpg


Tested:

Switchpanelcathodes.jpg


And mounted:

Switchpanelinplace.jpg


Testing the contrast of unlit and lit:

Completedcaseunlit.jpg


Completedcaselit.jpg
 
Here is the completed system, awaiting components:

Empty1.jpg


Emptybackside.jpg


And with the lid (still no components):

Emptylidded.jpg

Emptyliddedbackside.jpg

Emptytransilluminated.jpg
 
Putting in some components is super simple and quick (altho had to build a few custom cables):

Installvideocard.jpg


Turn it on and put on the lid:

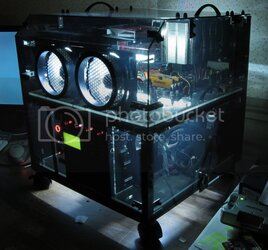
Running1.jpg


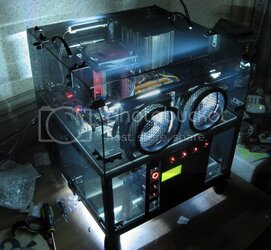
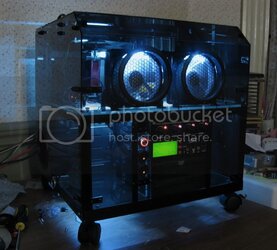
Turn off the room lights and take some internally lit pics:

Runninglit1.jpg

Runningdarklit2.jpg

Runningdarklit.jpg


And finally, taking the lid on and off is just that easy! It can even be done real time without even turning off the computer. Need to clip on temp probes? Fire a laser temp probe? Or oldschool put your finger on the southbridge heatsink? Mount some voltmod measures? Manually clear the cmos? Its just this easy:

th_Finallidtest.jpg
 
Back