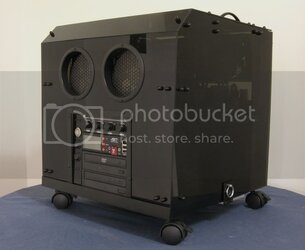
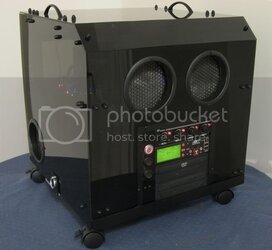
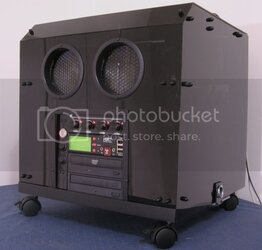
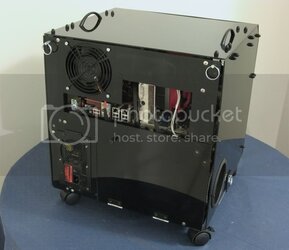
-
Welcome to Overclockers Forums! Join us to reply in threads, receive reduced ads, and to customize your site experience!
You are using an out of date browser. It may not display this or other websites correctly.
You should upgrade or use an alternative browser.
You should upgrade or use an alternative browser.
SpacemanSpiff-Navig Project
- Thread starter Navig
- Start date
- Joined
- Dec 7, 2003
- Thread Starter
- #23
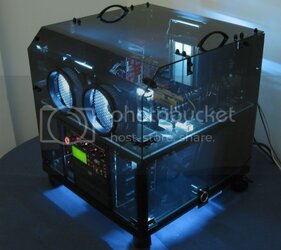
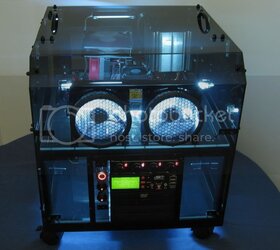
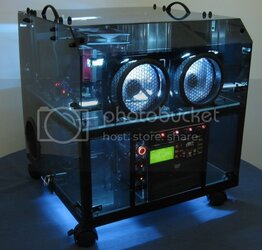
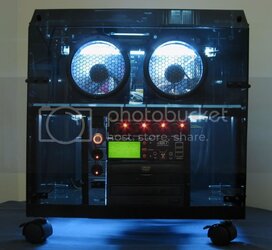
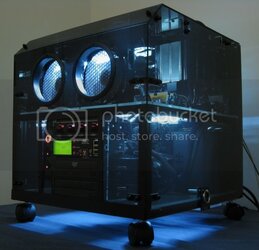
Hi, thanks for the compliments. I'm using the darker shade of acrylic available from delviesplastics. I can't really discuss specific prices or anything, but the approximate price I've charged is about materials + $100.
My next project will be for me--a competition "trophy" case deal, so I won't have time for any for-sale projects until thats completed. I always make threads about my projects both here and at the abit forums, so I'm not hard to find.
My next project will be for me--a competition "trophy" case deal, so I won't have time for any for-sale projects until thats completed. I always make threads about my projects both here and at the abit forums, so I'm not hard to find.
- Joined
- Jan 26, 2006
Where did you get the honeycomb mesh for the fans? I'm modding a (dead) subwoofer and that's exactly what I need!
- Joined
- Dec 7, 2003
- Thread Starter
- #28
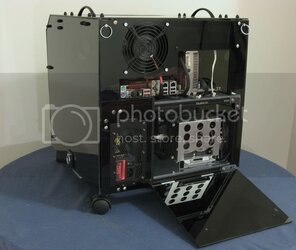
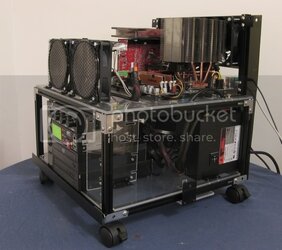
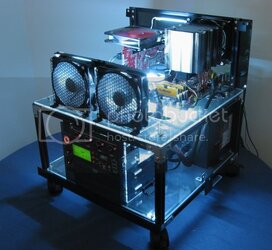
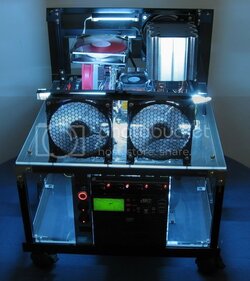
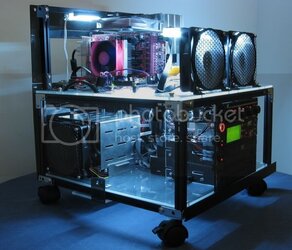
Some open pics to display the componentry:


For those of you who aren't in the know, the components are: e6600 at 3.42ghz (quiet operation overclock 1.2975v), Crucial Ballistix 1gbx2 at 900mhz 4-4-4-12 1T, x1900xtx (obviously custom cooled), Tuniq tower 120 lapped, Abit IN9 32x Max, 2x Raptor X 150gb, 2xDVD drives.
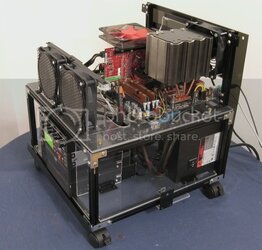
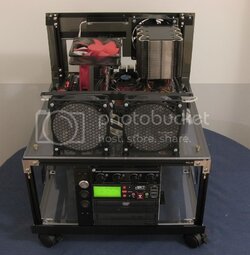
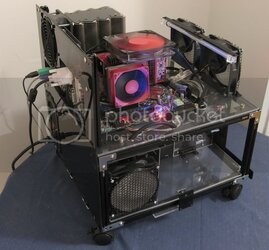
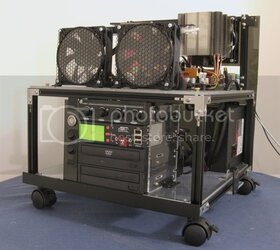
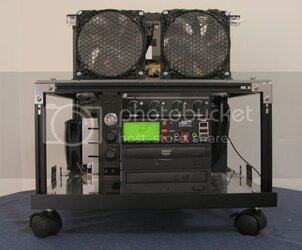
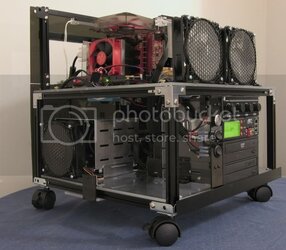
For those of you who aren't in the know, the components are: e6600 at 3.42ghz (quiet operation overclock 1.2975v), Crucial Ballistix 1gbx2 at 900mhz 4-4-4-12 1T, x1900xtx (obviously custom cooled), Tuniq tower 120 lapped, Abit IN9 32x Max, 2x Raptor X 150gb, 2xDVD drives.
- Joined
- Jan 3, 2007
- Location
- Netherlands
Sweet looking case!  congrats on a project well done
- Joined
- Jul 22, 2004
- Location
- Port Elgin, Canada
I am totally doing something like this with my t-slotted bar cube!
- Joined
- Nov 14, 2003
Wow. Just, wow.
I just started working with lexan today for the first time other than making windows.....and some of the stuff I see done on that just blows my mind. The dual-psu bracket i had to remake for my lian-li a10b, now looks horrid hehehe.
If you don't mind me asking, what tools did you use to make the holes n whatnot in the plastic, such as the cable pass through for wiring, as well as getting the edges of the material to come out so smooth and clean looking? Any certain sites I should check out? I am eventually hoping to be able to build a case of my own, and this project shows some ideas I had can be done.
- Joined
- May 17, 2006
- Location
- Somerville, MA
Woah! Thats wicked kick ***! Im very impressed, one of the coolest ive seen so far. Very nice job.
- Joined
- Dec 7, 2003
- Thread Starter
- #39
Thanks for the compliments!
The pass thru's were made by starting with 2 end holes made with a circle hole cutter. Then I connected the 2 holes with a jigsaw.
Circle hole cutters are nice as they are cheap ($12), adjustable, but must be used with a drill press. Otherwise, you can use hole saws and slow patience (I've seen hole saw kits at Sam's Club for wicked cheap)--with a hand drill. Or, if the hole is small enough, you can use a unibit, another very useful plastic bit.
After that, it's no rocket science. The edges were smoothed out with a hand file, then sandpaper: 220, 600, 1000 should be fine.
I'm thinking about experimenting with flame polishing, as I'm tired of all that sanding--but won't work with polycarbonate, as far as I know.
Here's another example of the work. This was done with the best of tools: unibit, and a scroll saw. Took only 15 minutes!

Practice Practice Practice! Also plastic drill bits are awesome.
The pass thru's were made by starting with 2 end holes made with a circle hole cutter. Then I connected the 2 holes with a jigsaw.
Circle hole cutters are nice as they are cheap ($12), adjustable, but must be used with a drill press. Otherwise, you can use hole saws and slow patience (I've seen hole saw kits at Sam's Club for wicked cheap)--with a hand drill. Or, if the hole is small enough, you can use a unibit, another very useful plastic bit.
After that, it's no rocket science. The edges were smoothed out with a hand file, then sandpaper: 220, 600, 1000 should be fine.
I'm thinking about experimenting with flame polishing, as I'm tired of all that sanding--but won't work with polycarbonate, as far as I know.
Here's another example of the work. This was done with the best of tools: unibit, and a scroll saw. Took only 15 minutes!
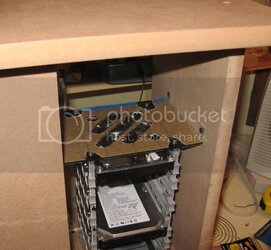
Practice Practice Practice! Also plastic drill bits are awesome.
- Joined
- Jul 22, 2004
- Location
- Port Elgin, Canada
Yeah, I gotta start experimenting with plastics before I do a big project, I would like to do some bending too.
Similar threads
- Replies
- 99
- Views
- 3K
- Replies
- 1
- Views
- 504
