-
Welcome to Overclockers Forums! Join us to reply in threads, receive reduced ads, and to customize your site experience!
You are using an out of date browser. It may not display this or other websites correctly.
You should upgrade or use an alternative browser.
You should upgrade or use an alternative browser.
[WIP]SG10 Build Log
- Thread starter SeeThruHead
- Start date
- Joined
- Feb 23, 2011
- Location
- Toronto, Canada
- Thread Starter
- #62
- Joined
- Feb 23, 2011
- Location
- Toronto, Canada
- Thread Starter
- #63
- Joined
- Aug 19, 2012
Great looking build STH coming along really nicely, but i would say if your planning to use the POWER and RESET Buttons!! You need to think about installing them before you go any further. Because of where they are located, once you install all your parts, you will find you can not access that space. I know because i made that mistake here when building my Bench unit before. Regards AJ.
- Joined
- Feb 23, 2011
- Location
- Toronto, Canada
- Thread Starter
- #65
- Joined
- Feb 23, 2011
- Location
- Toronto, Canada
- Thread Starter
- #66
- Joined
- Oct 14, 2007
Rather than continue hijacking your thread, I split off the photography discussion here: http://www.overclockers.com/forums/showthread.php?t=736387 

- Joined
- Feb 23, 2011
- Location
- Toronto, Canada
- Thread Starter
- #68
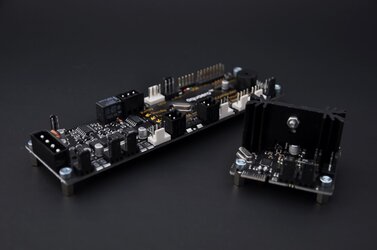
Have no idea how to hook this up, thinking I'll use the first three fan channels for 2 fans each, hook up the remaining three fans the the poweradjust 2. Connect the two pumps with PWM splitter to the fourth fan output for PWM control. Anyone have any experience with this unit can let me know if my proposed plan is the best option?
Buy the available heatsink for it. Connect all fans to the four available channels. I don't use the PWM function, I do all voltage control. I use headers 1, 2, and 4 for 2 fans each, and channel 3 controls a single fan.
The PowerAdjust is good for pump control if you don't have a PWM enabled pump.
The PowerAdjust is good for pump control if you don't have a PWM enabled pump.
- Joined
- Feb 23, 2011
- Location
- Toronto, Canada
- Thread Starter
- #70
- Joined
- Feb 23, 2011
- Location
- Toronto, Canada
- Thread Starter
- #72
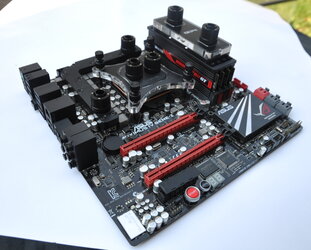
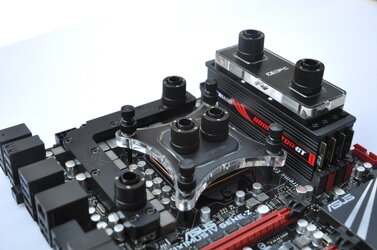
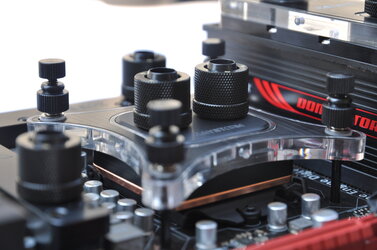
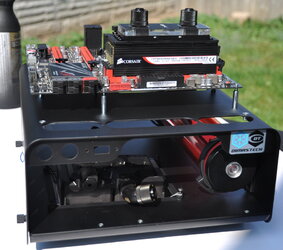
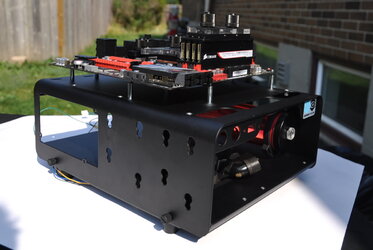
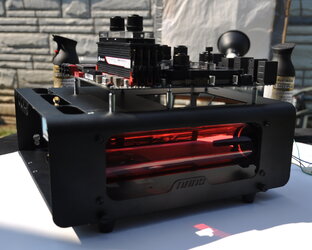
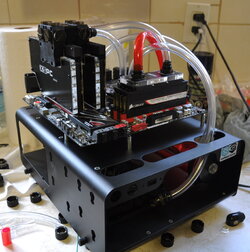
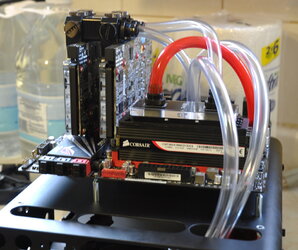
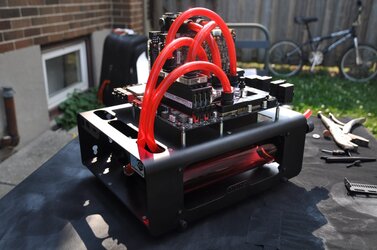
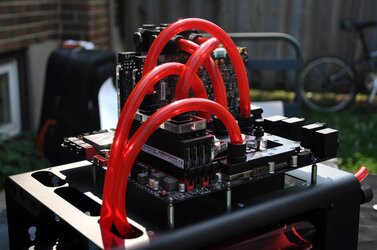
Final product won't be for some time. I've got the tubing routed and set up, but I've only tackled the easy stuff so far. Got lots of custom wiring and sleeving to go. Cut a custom bracket to attach my aquaero inside the mo-ra3. There's some led work I want to do and some lighted acrylic with some art on it I'd like to add. Probably going to send the bench off to get sandblasted and repowerder coated in matte black too since I've cut, scratched and chipped the paint all over.
- Joined
- May 22, 2011
- Location
- USA
Great log. It's coming along in great detail. Love the shots you take.
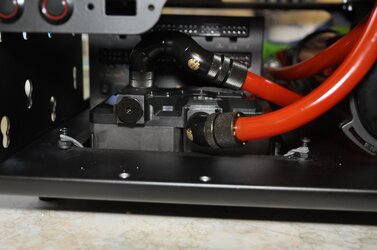
Just make sure when you're priming you're extra careful since that angle to the inlet of the pump can be problematic. That's the same concept as having a reservoir underneath the pump. You'll be tipping that bench station to feed the pump, that's for sure. Nonetheless thought I'd point that out.
Physics, got to love it and respect it.
- Joined
- Feb 23, 2011
- Location
- Toronto, Canada
- Thread Starter
- #74
Great log. It's coming along in great detail. Love the shots you take.
Just make sure when you're priming you're extra careful since that angle to the inlet of the pump can be problematic. That's the same concept as having a reservoir underneath the pump. You'll be tipping that bench station to feed the pump, that's for sure. Nonetheless thought I'd point that out.
Physics, got to love it and respect it.
Absolutely. In essence the reservoir is more for looks than it is functional, I guess it lets me easily check water levels too. Fluid will flow into the lower part of the loop no matter what. As long as there is some water in the loop above the top of the S connector attached to the inlet of the pump it will get water. That will be incredibly easy since I'll be filling the bench part of the loop completely before connecting it to the rad. The rad itself stands much higher than the bench and will be the point where air gathers, I will also use the top unused port on it as a fill port when the whole loop is connected.
- Joined
- Feb 23, 2011
- Location
- Toronto, Canada
- Thread Starter
- #75
- Joined
- Aug 19, 2012
So from what you said i gather then, this is a mock up of the final product and your just checking your fittings to make sure. Before you do the final build, where it stays altogether and in full working order. I see so next you are going to recoat the Dimastech, well what ever you decide to do, its going to look really great. AJ.
- Joined
- Feb 23, 2011
- Location
- Toronto, Canada
- Thread Starter
- #78
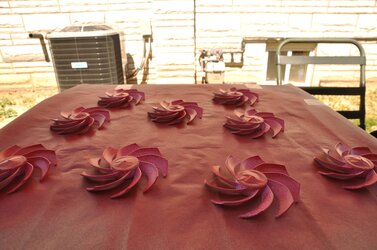
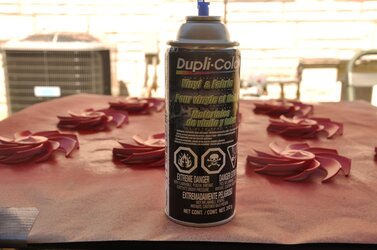
There's a tiny plastic ring that lodges into a groove near the end of the axle. I pried them out with a pair of tiny screwdrivers.That's sexy. How do you get the fan blades off? I've never done it, do they just pop off? I'd expect there to be a tiny circlip or something, but I have no idea what actually holds my magic spinning air movers together.
- Joined
- Feb 23, 2011
- Location
- Toronto, Canada
- Thread Starter
- #79
- Joined
- Jun 29, 2005
- Location
- Over Here!
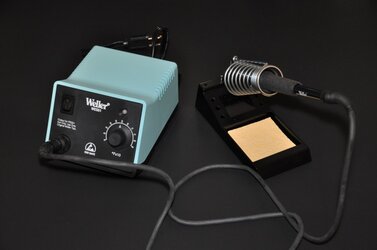
I have that exact same iron and love it! Though my foam pad is chewed up and old; solid investment!

