-
Welcome to Overclockers Forums! Join us to reply in threads, receive reduced ads, and to customize your site experience!
You are using an out of date browser. It may not display this or other websites correctly.
You should upgrade or use an alternative browser.
You should upgrade or use an alternative browser.
[Build Log] - Phantom Skies
- Thread starter GearingMass
- Start date
- Joined
- Jun 28, 2012
Although I don't see any good way to rinse her out without getting water all over the card.
How'd you rinse your 780 hydro?
Just plug the two holes you won't use with the G1/4 plugs, hook a fitting and short bit of tube to one opening, then pour water through.
- Joined
- Jun 24, 2014
- Location
- TX/CO
- Thread Starter
- #64
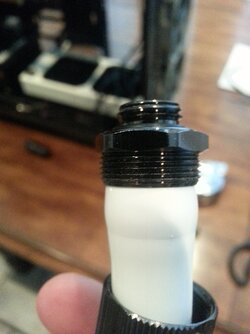
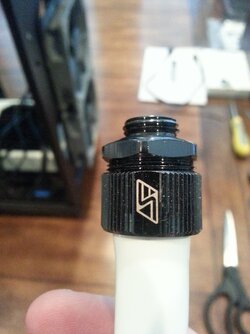
Ok so I'm slightly concerned, below is the hose fitted on a compression fitting, and then with the compression 'cap' over it - shown is the maximum the cap will screw in over the tube - I feel like it should go in farther, please let me know if I'm wrong.
I had to dip the hose in hot water to even get it on the fitting, but I believe that's normal.
The hose ID & OD didn't measure out exactly the size it's supposed to be, but I don't know how close it is supposed to be or if that's what's causing the 'problem'


I had to dip the hose in hot water to even get it on the fitting, but I believe that's normal.
The hose ID & OD didn't measure out exactly the size it's supposed to be, but I don't know how close it is supposed to be or if that's what's causing the 'problem'
- Joined
- Jun 28, 2012
Yes
Is it supposed to only go that far hand-tight and then the rest of the way with a vice grip?
I used this:
- Joined
- Jun 28, 2012
Ah ok, so I do use tools to finish tightening it.
"It's my first time doing this"
It was mine too, I just wasn't comfortable with finger tightening either.
Those flats are an exact mm wrench size, but I forgot which one
- Joined
- Jun 24, 2014
- Location
- TX/CO
- Thread Starter
- #70
It was mine too, I just wasn't comfortable with finger tightening either.
Those flats are an exact mm wrench size, but I forgot which one
I should be able to just pad an adjustable vice grip with a thin microfiber cloth and that'll do the trick. I appear to have every wrench size on earth except the two I need

Will press on!!

- Joined
- Jun 24, 2014
- Location
- TX/CO
- Thread Starter
- #74
Mmmm looks tasty
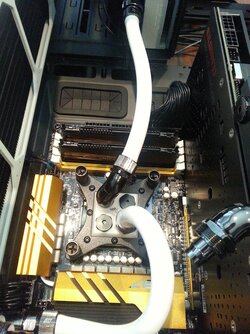
One thing, be sure to double-check flow direction through the CPU block.
Not sure if anyone mentioned that it does have a dedicated In and Out port.
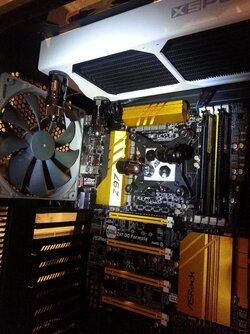
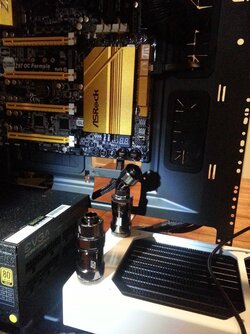
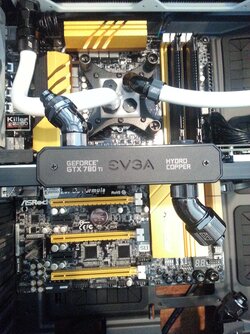
Yep! The top-right port on the 2nd picture is labeled the Inlet port, and it's getting fed directly from the dual-bay res pump outlet
- Joined
- Jun 28, 2012
Yep! The top-right port on the 2nd picture is labeled the Inlet port, and it's getting fed directly from the dual-bay res pump outlet
Figured you had it covered
Never hurts to double-check on the little things though!
- Joined
- Jun 28, 2012
Yes! And for that I'm grateful!
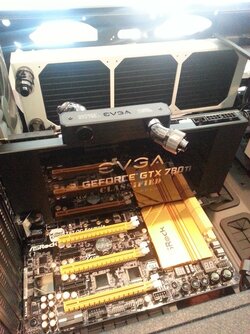
Very thoughtful of EVGA
Too bad I didn't have mine before building my loop....

Similar threads
- Replies
- 157
- Views
- 6K
- Replies
- 23
- Views
- 2K
- Replies
- 4
- Views
- 1K
