Bobkelso
New Member
- Joined
- Nov 2, 2019
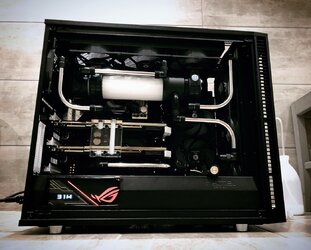
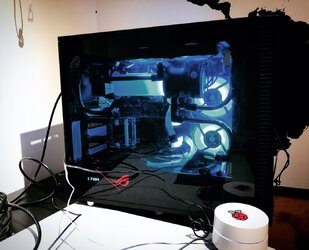
So I have long thought about building a computer with a custom water loop and now it’s time. So I will post my build progress here [emoji846]
Lets start with the build hardware and specs:
Hardware specs:
Chassis: Fractal Design Define S2
Motherboard: Asus Z390-F
CPU: I9 9900K
RAM: HyperX Fury 4x16GB
GPU: 2x ASUS GeForce RTX 2080 Ti 11GB DUAL OC
PSU: ASUS Thor 1200w
Extras:
der8auer OC-Frame Intel 9th Gen
SSD samung 256gb Pro
SSD SAMSUNG 1TB
Optane Memory H10 32GB + 1TB
CableMod PRO ModMesh RT-Series
Corsair Commander Pro
Water cooling hardware:
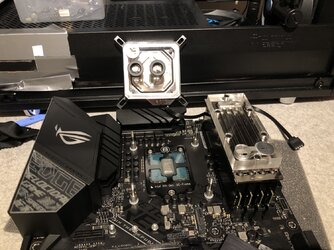
1x EK-Velocity RGB – Nickel + Plexi
1x EK-RAM Monarch X4 – Nickel
2x EK-RAM Monarch Module – Black (2pcs)
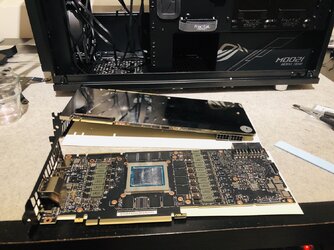
2x EK-Vector RTX 2080 Ti RGB – Nickel + Acetal
1x EK-FC Terminal X2 S 3-slot – Plexi
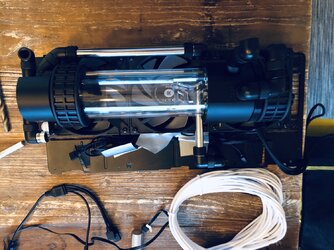
1x EK-XRES 140 Revo D5 RGB PWM
1x EK-RES X3 – TUBE 250 (204mm)
1x EK-CoolStream SE 360 (Slim Triple)
1x EK-CoolStream SE 240 (Slim Dual)
1x EK-CoolStream XE 360 (Triple)
1x EK-CoolStream CE 140 (Single)
7 x EK-Vardar EVO 120ER RGB (500-2200 rpm)
1 x EK-Furious Vardar EVO 140 BB (2500rpm)
1x EK-RES X3 – Multiport TOP
Different types of Fittings
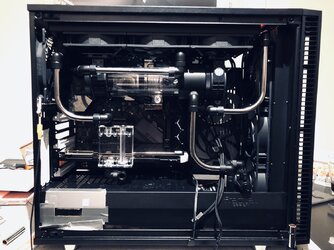
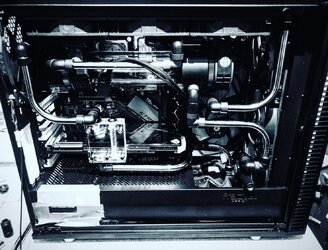
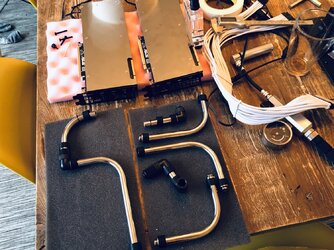
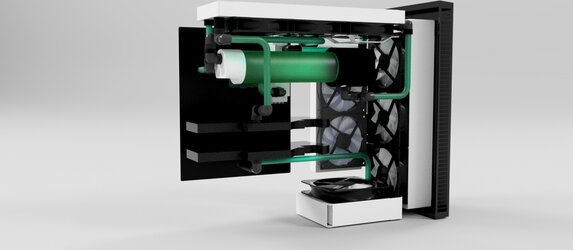
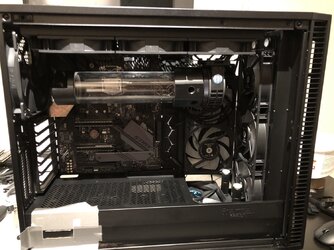
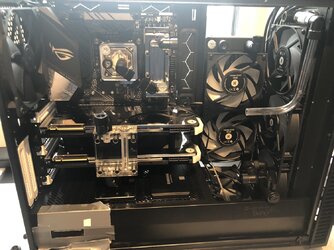
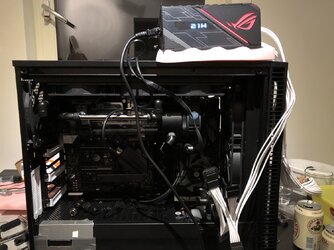
Because it is my first time to build a computer with water cooling I have browsed around and looked a lot. I decided to try Hardtubing. Especially because I think it is more beautiful and gives straight and fine lines. I am a big fan of trying to plan all my things in advance. So I draw up the basic layout and did the first design of the water loop in Fusion360. The Define s2 chassis will need some mods in order to fit the rads. The front will have a mesh grill so the XE 360 Can have a good air intake and The side panel will also need to have a cut-out in order to mount the SE 240 on the side.
Last edited:
