• Welcome to Overclockers Forums! Join us to reply in threads, receive reduced ads, and to customize your site experience!

FEATURED Vertical Benching Station

Overclockers is supported by our readers. When you click a link to make a purchase, we may earn a commission. Learn More.
Hope everyone had a happy and safe Thanksgiving in the US!


Let’s make some hard drive trays.


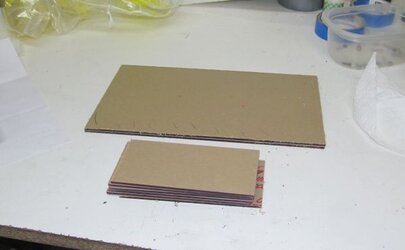
Cut some stock red plastic:


Hard%2Bdrives%2Bstock%2Bplastic.jpg


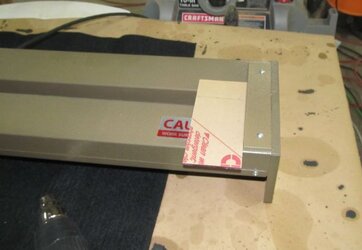
Heated them up:

Hard%2Bdrives%2Bheating%2Bplastic.jpg


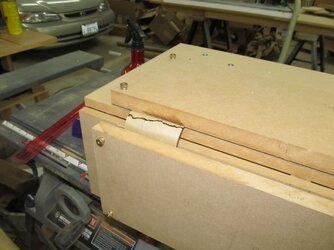
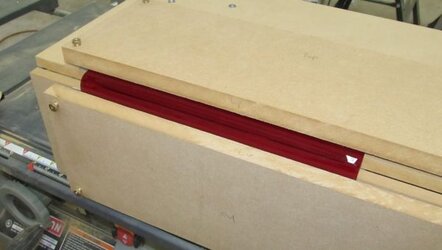
Bent them on a self made jig:


Hard%2Bdrives%2Bbending%2Bjig.jpg


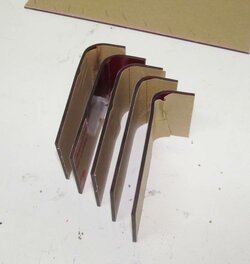
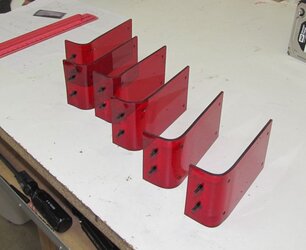
Crank out some little soldiers:


Hard%2Bdrives%2Bbent.jpg


Added mounting screws and mounting holes:

Hard%2Bdrives%2Bcomplete.jpg


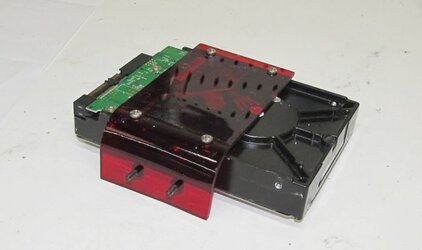
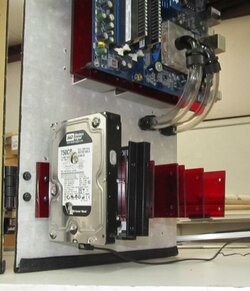
I wanted to keep it simple and flexible. Hard drive screws to the plate. Drive plate can mount anywhere on the pegboard.


Hard%2Bdrives%2Bmounting%2Bdrive.jpg


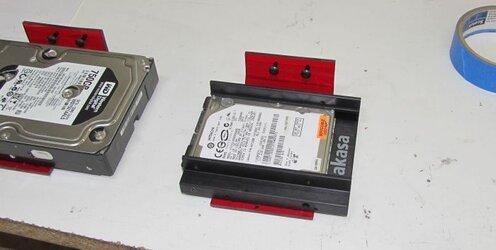
For 2.5” drives, I could easily add the smaller spaced mounting holes, but I’m going with some of these Akasa bay mounts, allows me 2x 2.5 drives in the same slot.


Hard%2Bdrives%2Bmounting%2B2.5%2Bdrives.jpg


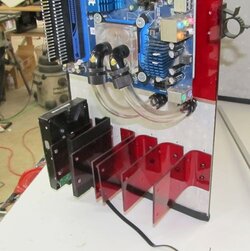
Again, I could mount these drives any which way, but I think I will bunk them like in a row:


Hard%2Bdrives%2Bmounted%2Bto%2Bstation2.jpg


Hard%2Bdrives%2Bmounted%2Bto%2Bstation1.jpg


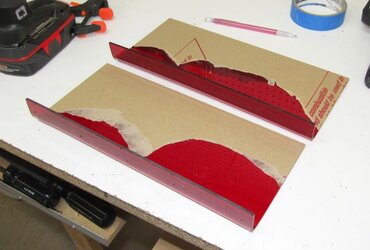
While I was at it, I cut some larger storage trays. Using the exact same method to bend:


Trays%2Bbending%2Bjig.jpg


Some nice approx 11.5” x 3” trays.

Trays%2Bcompleted.jpg


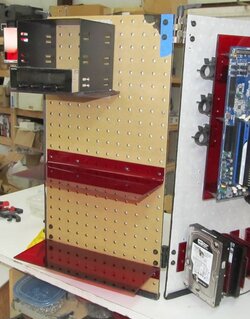
This is going to store my phone, camera, etc. I plan on mounting a USB hub behind and having all the cables nice and ready to go.


Trays%2Bmounted%2Bto%2Bstation2.jpg
 
Last edited:
Updates have been a little slow as I've been working on a side project, that will be implemented on this station.


I give you:


Building a Custom Radiator Shroud, Navig Style.

--> Link here <--


.
 
Well, that was a fairly massive side project!

But I think worth it in the end:

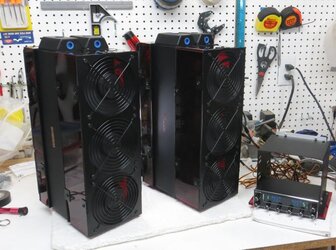
One of my big goals was to have a watercooling system in which I really would never have to worry, do I have enough cooling capacity. I think this’ll do:


Smile.jpg


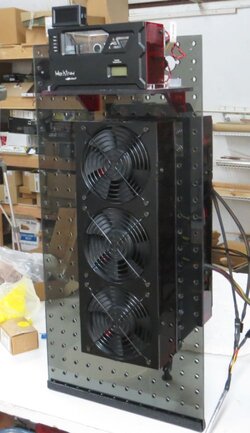
I have two complete radiator systems, one dedicated to the cpu and one to the gpu.

Each unit has:

1) Alphacool Monsta 360 radiators.

2) Intake is 3 38mm yate loons with custom radiator shroud.

3) Exhaust is 3 25mm yate loons with custom radiator shroud.
 
Last edited:
Time to fabricate the last station unit:


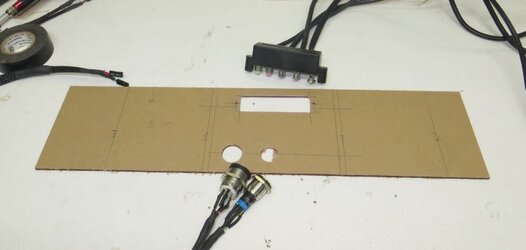
Custom switch panel


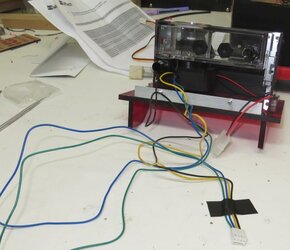
Put together some custom cables and cut out a panel.


Switch%2Bpanel%2Bstart.jpg


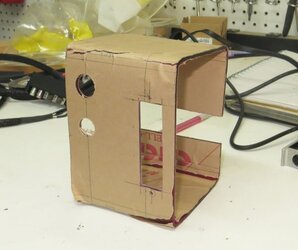
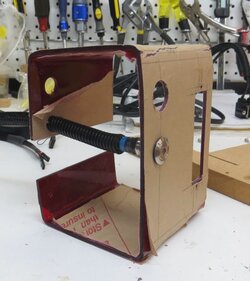
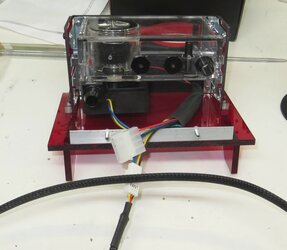
Folded it with the same techniques I’ve been using:


Switch%2Bpanel%2Bfolded.jpg


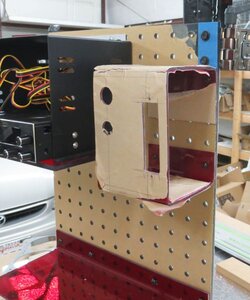
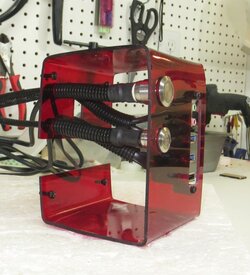
Plan is to mount it like so:


Switch%2Bpanel%2Bmounted.jpg


There are going to be several cable bundles visible, so I think I’ll keep them clean like so:


Switch%2Bpanel%2Bcleaning%2Bcabling.jpg


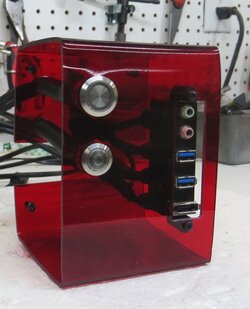
Finish it up:


Switch%2Bpanel%2Bcompleted%2Bcabling.jpg


Switch%2Bpanel%2Bcomplete.jpg
 
Last edited:
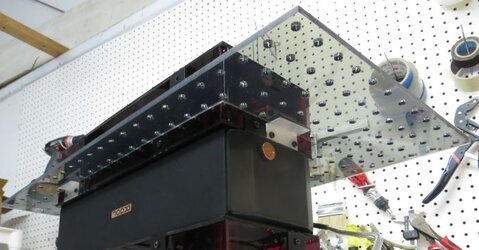
this looks like lots of fun!
should be in the next rig of the quarter competition for sure!

(though not sure is that fair for everyone else)
 
For the past few months I’ve been focusing on all the individual units, now its time to start putting it all together, and that’s pretty exciting!


I needed to start all the finish work on the paneling, so I started with the motherboard panel and the 5.25 bay panel.


Panels%2Bfirst%2Blink3.jpg


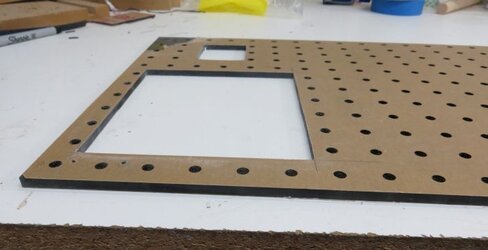
First I cut all the necessary pass thru holes:


Finishing%2Bpanels%2Bcutting%2Bholes.jpg


Plus I took the time to sand down and finish all my machined edges.


Looking good:

Finishing%2Bpanels%2Bcutting%2Bholes2.jpg


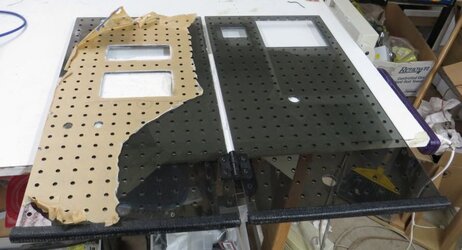
Then I set the upright and it was time to remove all the protective paper!


Finishing%2Bpanels%2Bupright.jpg


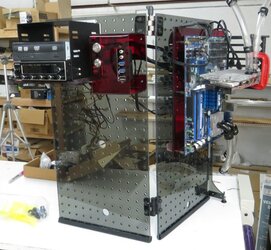
This is the first time I’ve got the panels up and finished. I think it looks pretty unique.


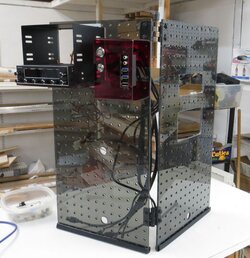
Started adding components.


Finishing%2Bpanels%2Bupright2.jpg


Finishing%2Bpanels%2B1%2Band%2B2%2Bcomplete.jpg


At this point I took a day for a little side project.


Given how far off the motherboard sits from the surface of the panel, and also that it is an end panel, I wanted a little more stability in the plane perpendicular to the panels.


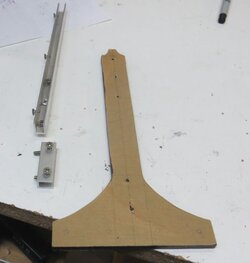
So I took some ¼” gray plastic (same as the paneling) and started to put together a side strut.


Side%2Bstrut%2Bstart.jpg


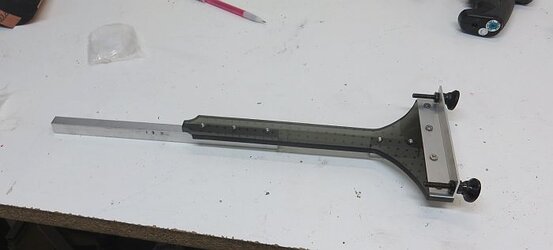
And here it was assembled, with leveling feet:


Side%2Bstrut%2Bfinished.jpg


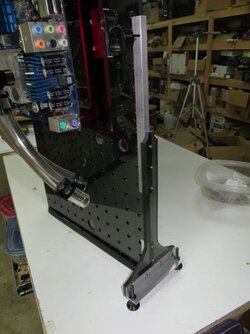
It is easily detached, if I don’t need it. But installed, you can see how it stabilizes the panel from forward/backward wobble:


Side%2Bstrut%2Binstalled.jpg
 
Last edited:
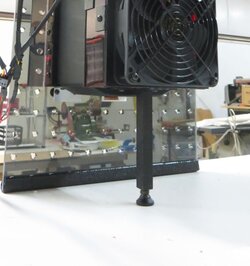
nice. I was about to ask about the stability, and you already answered that in the next photo. this is all very handsome looking. can't wait to see the final.
 
Next I went to work on the radiator panels.


Here were my methods:

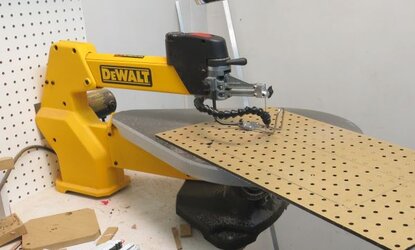
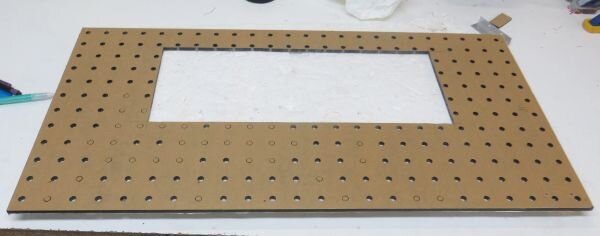
I cut the large cutouts with my scrollsaw:

Radiator%2Bhole%2Bscrollsaw.jpg


Radiator%2Bhole1.jpg


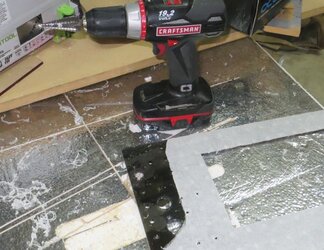
Holes were cut with a unibit to ⅞”.


Resevoir%2Btube%2Bpassthrus2.jpg


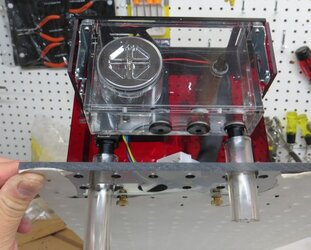
The holes were carefully placed to match the barbs on the Swiftech Maelstroms:


Resevoir%2Btube%2Bpassthrus.jpg


And while I was at it, I took the mess of cables that comes stock on the Maelstroms:


Resevoir%2Bwire%2Bmess1.jpg


And cleaned them up a bit:


Resevoir%2Bwire%2Bmess2.jpg
 
Last edited:
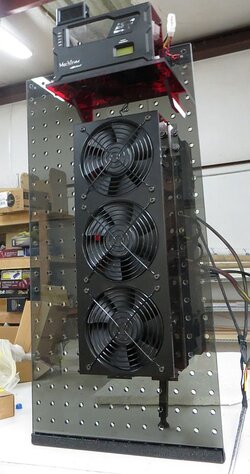
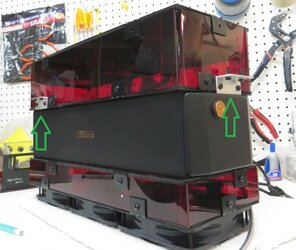
Next I tackled fastening the radiators to the panels (well actually given the size of my radiator units, maybe more like how to attach the panels to the radiator).


Clips:

Shroud%2Bpanel%2Bclips1%2Blabeled.jpg


Attach:


Shroud%2Bpanel%2Bclips2.jpg


Added a foot for stability:


Radiator%2Bfoot.jpg


Now I’ve got a completed radiator panel:


Radiator%2Bpanel%2Bupright2.jpg


Radiator%2Bpanel%2Bupright3.jpg


Radiator%2Bpanel%2Bupright1.jpg
 
Last edited:
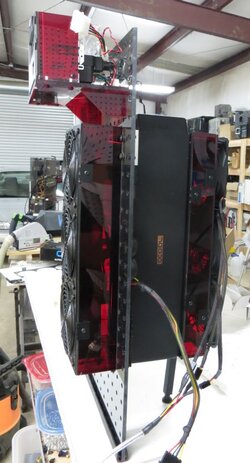
Starting to look like something there:


Radiator%2Bpanel%2Bupright5.jpg
 
Last edited:
very nice, it is all adding up very beautifully!! well done!!!!
 
Double up the radiator panels!


Radiator%2Bpanel%2B2%2Binstalled.jpg


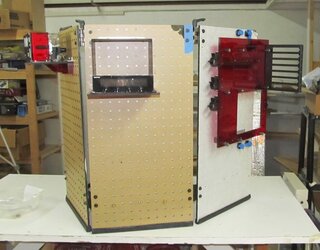
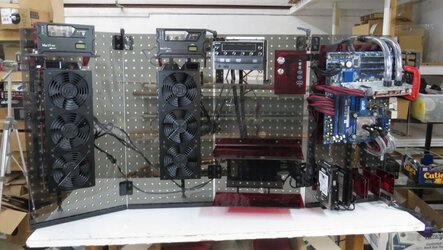
Assemble all the panels.

All%2Bpanels%2Bflat.jpg


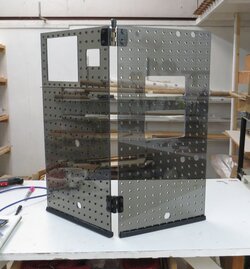
Here I’ve got them all laid out like Asian panels. If I kept them all in a single plane like this, then I definitely need the extra edge support strut.


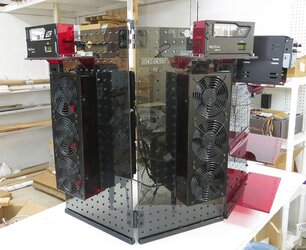
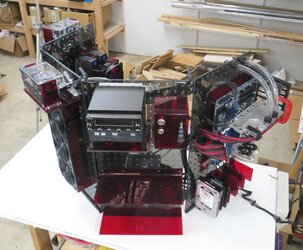
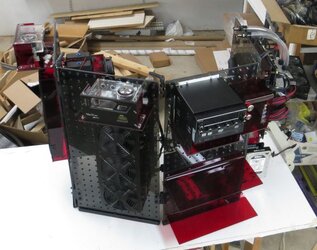
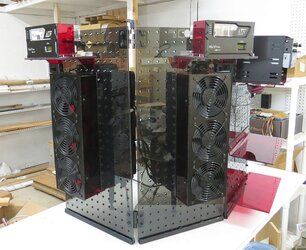
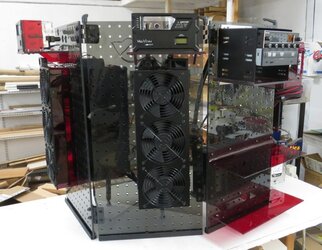
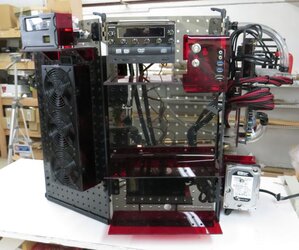
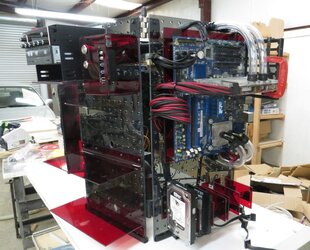
However, this unit is going on a square coffee/end table, so the actual end configuration of the panels will be something like this:


All%2Bpanels%2Bhi2.jpg


All%2Bpanels%2Bhi.jpg


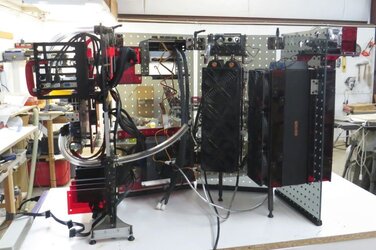
Photographing this layout is going to be a little goofy tho, because at face level, you can’t really photograph the whole thing in one picture.


Going from left to right of the case:


Radiator%2Bpanel%2B2%2Binstalled.jpg


All%2Bpanels%2Bleft2.jpg


All%2Bpanels%2Bleft3.jpg


All%2Bpanels%2Bleft4.jpg


And the view from the backside.


All%2Bpanels%2Bbackside.jpg


I know this project is looking like its almost complete, but these is still a lot of cleaning up to do--working all the cabling (remember 12 fans, 2 pumps, 2 radiators, 4 temp probes, 6 hard drives, 2 optical drives, switch panel devices), plus I’ve got to run all my watercooling lines.
 
Last edited:
Back